Sign In
Upload
Download
Table of Contents
Contents
Add to my manuals
Delete from my manuals
Share
URL of this page:
HTML Link:
Bookmark this page
Add
Manual will be automatically added to "My Manuals"
Print this page
×
Bookmark added
×
Added to my manuals
Manuals
Brands
QNAP Manuals
Storage
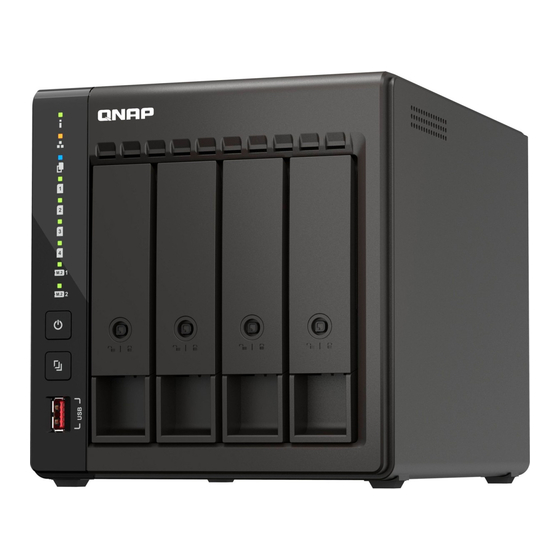
TS-453E
Repair manual
QNAP TS-453E Repair Manual
Hide thumbs
Also See for TS-453E
:
User manual
(58 pages)
1
Table Of Contents
2
3
4
5
6
7
8
9
10
11
12
13
14
15
16
17
18
19
20
21
22
23
24
25
26
27
28
29
30
31
32
33
34
35
36
37
38
39
40
41
42
43
44
45
46
47
48
49
50
51
52
53
54
55
56
57
58
59
60
61
62
63
64
65
66
67
68
69
70
71
72
73
74
75
76
77
78
79
80
81
82
83
84
85
86
87
88
89
90
91
92
93
94
95
96
97
98
99
100
101
102
103
104
105
106
107
108
109
110
111
112
113
114
115
116
117
118
119
120
121
122
123
124
125
126
127
128
129
130
131
132
133
134
135
136
137
138
139
140
141
142
143
144
145
146
147
148
149
150
151
152
153
154
155
156
157
158
159
160
161
162
163
164
165
166
167
168
169
170
171
172
173
174
175
page
of
175
Go
/
175
Contents
Table of Contents
Bookmarks
Table of Contents
Table of Contents
1 Important Information
Safety Information
2 Introduction
NAS Model Categorization
Repair Requirements
Resources
3 Category a NAS Models
Disassembling the TS-453E
Reassembling the TS-453E
TS-453E Components and Screws
4 Category B NAS Models
Disassembling the TS-AI642
Reassembling the TS-AI642
TS-AI642 Components and Screws
5 Category C NAS Models
Disassembling the TVS-H874T
Reassembling the TVS-H874T
TVS-H874T Components and Screws
6 Category D NAS Models
Disassembling the TVS-H1288X
Reassembling the TVS-H1288X
TVS-H1288X Components and Screws
7 Category E NAS Models
Disassembling the TS-H1677Axu-RP
Reassembling the TS-H1677Axu-RP
TS-H1677Axu-RP Components and Screws
8 Glossary
Air Shroud
Backplane
Circuit Board
Drive Cage
Fan Duct
Flat Head Screw
Heatsink
LCD Display Module
Mounting Holes
Advertisement
Quick Links
1
Disassembling the Ts-453E
Download this manual
NAS Repair Manual
Document version: 1
02/07/2024
Table of
Contents
Previous
Page
Next
Page
1
2
3
4
5
Advertisement
Table of Contents
Need help?
Do you have a question about the TS-453E and is the answer not in the manual?
Ask a question
Questions and answers
Related Manuals for QNAP TS-453E
Server QNAP TS-53E Series User Manual
(58 pages)
Desktop QNAP TS-h886 User Manual
(80 pages)
Storage QNAP TS-62 Series User Manual
(79 pages)
Storage QNAP TVS-h 74 Series User Manual
(78 pages)
Storage QNAP TS-h686 User Manual
(70 pages)
Network Storage Server QNAP TS 73A Series User Manual
(68 pages)
Network Hardware QNAP TVS 72XT Series User Manual
(61 pages)
Storage QNAP TS-832PX User Manual
(53 pages)
Network Hardware QNAP TS-433 User Manual
(51 pages)
Network Storage Server QNAP TS-877XU User Manual
(50 pages)
Desktop QNAP TS-131K User Manual
(45 pages)
Network Storage Server QNAP TS- 31K Series User Manual
(43 pages)
Storage QNAP TVS-H1688X Quick Installation Manual
(16 pages)
Storage QNAP TS-464 Quick Installation Manual
(16 pages)
Storage QNAP TS-264-8G Quick Installation Manual
(16 pages)
Network Storage Server QNAP NAS TS-883XU Quick Installation Manual
(12 pages)
This manual is also suitable for:
Ts-216g
Ts-253e
Ts-431x3
Ts-431kx
Ts-431k
Ts-433
...
Show all
Ts-ai642
Ts-264
Ts-464
Ts-664
Ts-262
Ts-462
Ts-432x
Ts-632x
Ts-h874t
Ts-473a
Ts-673a
Ts-873a
Tvs-472xt
Tvs-672xt
Tvs-872xt
Tvs-h474
Tvs-h674
Tvs-h874
Tvs-h674t
Ts-832px
Tvs-675
Tvs-h1288x
Ts-855x
Ts-1655
Ts-h886
Tvs-h1688x
Ts-h1677axu-rp
Ts-873aeu
Ts-873aeu-rp
Ts-832pxu
Ts-832pxu-rp
Ts-855eu
Ts-855eu-rp
Ts-1232pxu-rp
Ts-877xu-rp
Ts-h1277xu-rp
Ts-1283xu-rp
Ts-h1277axu-rp
Table of Contents
Print
Rename the bookmark
Delete bookmark?
Delete from my manuals?
Login
Sign In
OR
Sign in with Facebook
Sign in with Google
Upload manual
Upload from disk
Upload from URL


Need help?
Do you have a question about the TS-453E and is the answer not in the manual?
Questions and answers