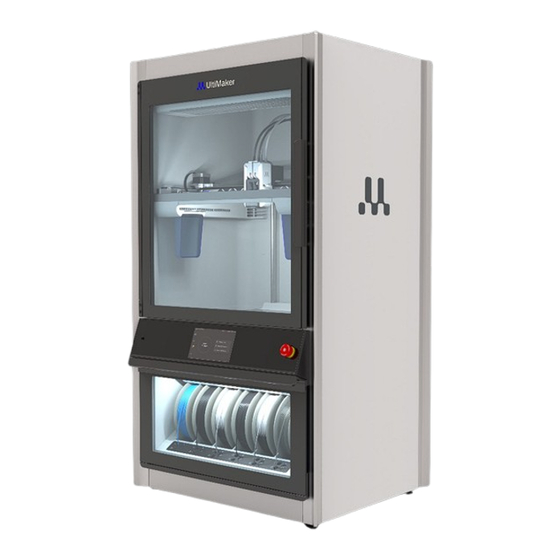
Ultimaker Factor 4 Repair Manual
Gantry module
Hide thumbs
Also See for Factor 4:
- Quick start manual (44 pages) ,
- Installation and user manual (28 pages) ,
- Repair manual (6 pages)
Advertisement
Quick Links
Repair manual
Gantry module
The gantry is the XY part of the UltiMaker Factor 4 motion system. It is engineered for precision and reliability.
The gantry module contains motors, belts, pulleys, and the X beam on which the print head is mounted.
Note: The print head is not part of the gantry module and can be placed aside during this repair.
Although it is a complex assembly, removing the gantry module is quick and simple. The entire system can be
taken out of the machine in minutes. When the gantry requires maintenance, this can be done outside the printer
for better access to components. In case of an issue, swap the gantry for a replacement module for minimal
downtime.
Requirements
Level
•
Operator level:
ordinary, instructed, or skilled
•
Service level: 1
Notes
•
Some components must be disconnected. Turn off the printer and disconnect the power cable before
starting this procedure.
•
Before starting this procedure, prepare a surface on which to place the gantry after removal. The surface
must be flat, stable, and at least 600 x 500 mm.
•
This process requires removing the print head from the gantry. Ensure both print cores have cooled down to
a safe temperature or remove them from the print head to prevent the risk of burns.
Tip: With the UltiMaker Factor 4 Service plan, a hot swap service is included. Simply remove the old gantry
module, install the replacement module, and place the old gantry in the packaging that the replacement
came in for reduced downtime and quick return shipment.
UltiMaker Factor 4
Tools
•
Torx 20 screwdriver
•
Hex 2.5 screwdriver
Repair manual – Gantry module
Parts
•
70-232060
Gantry module
EN-V1.1-240523
Advertisement

Related Manuals for Ultimaker Factor 4


Summary of Contents for Ultimaker Factor 4
- Page 1 Gantry module The gantry is the XY part of the UltiMaker Factor 4 motion system. It is engineered for precision and reliability. The gantry module contains motors, belts, pulleys, and the X beam on which the print head is mounted.
- Page 2 Place it on a flat, stable surface. cables. Note: Ensure that the door is fully open while removing the gantry, so you do not bump into it or pinch your fingers between the door and gantry. UltiMaker Factor 4 Repair manual – Gantry module EN-V1.1-240523...
- Page 3 Note: After tightening the bolt, carefully attempt to tilt the head to check if it is secure. If not, loosen the bolt, Finished! realign the left plate on the print head, and retighten the bolt. UltiMaker Factor 4 Repair manual – Gantry module EN-V1.1-240523...
- Page 4 Turn on the printer Reconnect the power cable at the back of the UltiMaker Factor 4 and turn on the printer with the power switch. Wait for the printer to finish booting up completely.
Need help?
Do you have a question about the Factor 4 and is the answer not in the manual?
Questions and answers