Advertisement
Quick Links
Advertisement

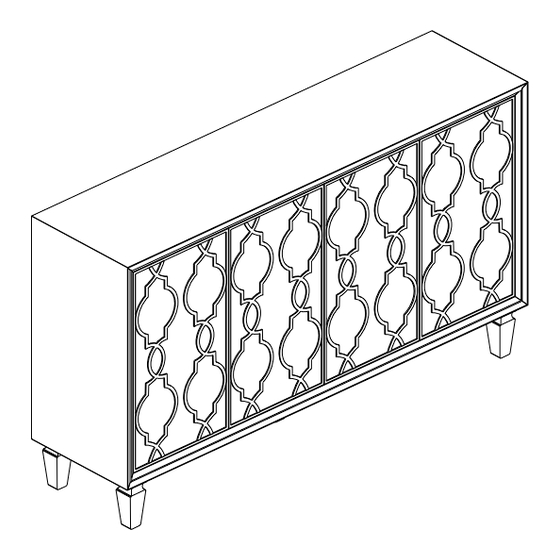
Related Manuals for HULALA HOME SBHM0687


Summary of Contents for HULALA HOME SBHM0687
- Page 1 ITEM NO. NOTE:...
- Page 2 time. 。 Weight Limitation 150LBS...
- Page 4 HARDWARE 1 PC 1 PC 1 PC 1 PC 1 PC 1 PC 2 PCS 1 PC 1 PC 1 PC 1 PC 4 PCS 1 PC : 2Personen...
- Page 5 PARTS LIST 1 ③ ① ② SPARE ② shipment.
- Page 6 ④ ⑥ ⑦ ⑧ ⑤ ⑩ ⑪ ⑫ ⑬ ⑨ ⑭...
- Page 7 ASSEMBLY ⑭ x1 ④ x8 ⑭ ④ ④ ④ ④ STEP1: Use bolt ④ (B), allen key ⑭.
- Page 8 STEP2: picture show .
- Page 9 ⑭ ⑭ x1 ⑭ allen key ⑭ as picture show .
- Page 10 ⑭ x1 ⑭ STEP4: with...
- Page 11 ③ x16 ⑤ x4 ⑬ x1 ⑬ ③x16 ⑤x4 ③ ⑤ STEP5: Use screws ③ ⑤ to ⑬ .
- Page 12 ⑭ ⑭ ⑭ STEP6: , ⑭.
- Page 13 ② x26 ⑬ ⑬ ② STEP7: ② to attach screwdriver ⑬ .
- Page 14 ⑧ ⑧x8 Shelf holder can be adjusted up or down ⑧ ⑧ ⑧ ⑧ ⑧ ⑧ ⑧ ⑧ Insert shelf pin ⑧ 7 ,...
- Page 15 ⑬ x1 ① x8 ⑥ x4 ⑬ ①x8 When installing hinge please pay attention ① to distinguish the category of hinge!!!! ⑥ ① ⑥ ① ⑥ ① ⑥ STEP9: ① to attach the hinges ⑥ to door panel ⑬ . (H)&(K)
- Page 16 ⑬ x1 ① ⑦ x4 ⑬ ①x8 ⑦x4 When installing hinge please pay attention to distinguish the category of hinge!!!! ① ① ⑦ ① ⑦ ⑦ ① ⑦ STEP10 ⑦ to door panel ① (I)&(J) , ⑬ .
- Page 17 ⑬ x1 ① x16 ⑥ ①x16 ⑬ ⑬ .
- Page 18 ⑬ x1 ① x8 ⑦ ①x8 ⑬ STEP12: ① , tighten screws with screwdriver ⑬ .
- Page 19 ⑬ x1 ① x8 ⑦ ①x8 ⑬ Use screw ① ⑬ .
- Page 20 Attention: If the door looks over out or over in,you can adjust the head rebounder as image. STEP14: Attention:...
- Page 21 Concealed hinges are three-way adjustable: Horizontal by screw adjustment! Concealed hinges are three-way adjustable: In-and-out by loosening the hinge arm mounting screw or via cam adjustment! Concealed hinges are three-way adjustable: Vertical via slots in the mounting plate or via cam adjustment! Hinge adjustment method...
- Page 22 Attention: After installation, adjust the adjustable leveler to keep the cabinet balanced .
- Page 23 ⑬ x1 ① x4 ⑫ x2 ⑫x2 ①x4 ⑬ ⑫ ① STEP16: Use screw ① ⑫ to preassemble ⑬...
- Page 24 ⑫ x2 ⑩ x4 ⑪ x4 ⑬ ⑪ ⑫ ⑩ ⑫x2 ⑩x4 ⑬ STEP17: of part ⑫ ⑪ by hammer. ⑫ ⑫ , use screw ⑩...
- Page 25 ⑫ ⑫ ⑨ x2 ⑨x2 ⑫ ⑫ STEP18: ⑨...
Need help?
Do you have a question about the SBHM0687 and is the answer not in the manual?
Questions and answers