
Related Manuals for NavLinkz CI-RL4-UCON7-R1L


Summary of Contents for NavLinkz CI-RL4-UCON7-R1L
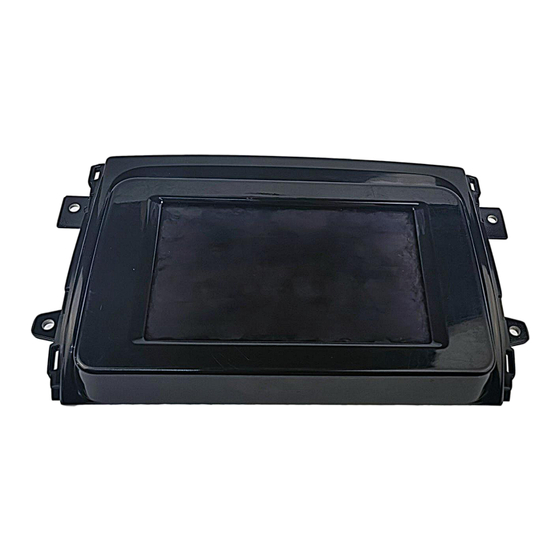
- Page 1 CI-RL4-UCON7-R1L interface installation manual (beta version) 1.Fitted cars Fits Fiat Ducato8 with all-in-one head-unit R1LOW by Mitsubishi This interface can support: reverse camera, 4 av-inputs etc.
- Page 2 Features 1.One simple daughter PCB insertion, it works also when the external box is not connected. 2. This total unit can be manually powered on by ACC [BATT and Manual ACC connected to cigarette lighter, thus would be no current leakage at all]. 3.
- Page 3 Accessories ② ③ ① ⑤ ⑦ ④ ⑥ ⑧ What's in the Package Name Name Interface Box 4 Video RCA Cable Internal PCB Board External Switch keypad External PCB Board with LVDs cable Power CAN- Φ3*28mm copper pole Harness(optional) Φ2.5*6mm/Φ3*6mm screw Power harness...
- Page 4 Connections Internal PCB should be inserted inside the monitor, and external PCB board should be fixed on the rear cover of the monitor. Connect the Reverse trigger wire to the Reverse-IN...
- Page 5 Daughter PCB installation 1、Remove the screws on the rear cover. 2、Take down the rear cover. 4. and connect our ribbon to the connector of 3.The oem ribbon should be connected to the OEM. our internal converter board .
-
Page 6: Dip Setting
5. Fix the rear cover and be careful the ribbon 6.Connect the ribbon to our external PCB board and use the copper which can support to fix our external PCB board 5. Dip settings 8-DIP setting Dip UP=OFF DOWN=ON Default setting FRONT CAM enabled FRONT CAM disabled AV1 enabled... -
Page 7: Specifications
6 Specifications Name Parameter Video input amplitude 0.7Vpp ,75 Ω Sync amplitude 3~5Vpp,5K, negative pulse Reverse-out: 12V, 1A[max] Reverse-IN: 3V-16V Av1 , cam video amplitude. 0.7Vpp,75 Ω Av1 , cam format NTSC/PAL/SECAM automatic Power consumption 3.6W [0.3A @12V] Standby current <...
Need help?
Do you have a question about the CI-RL4-UCON7-R1L and is the answer not in the manual?
Questions and answers