
Related Manuals for RH Teen RH BABY&CHILD OSLO CANOPY BED TWIN


Summary of Contents for RH Teen RH BABY&CHILD OSLO CANOPY BED TWIN
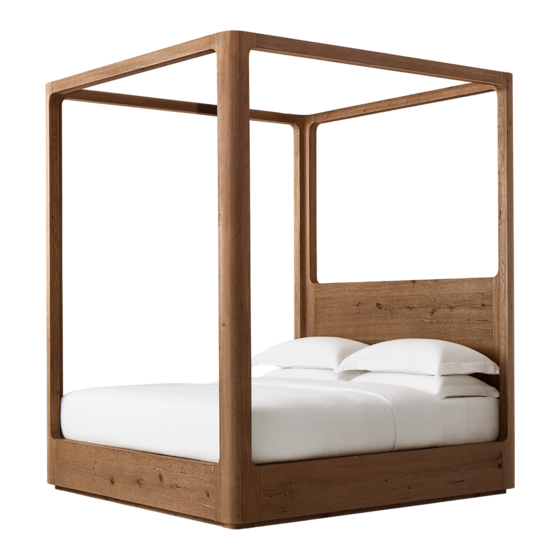
- Page 1 OSLO CANOPY BED - TWIN, FULL & QUEEN A S S E M B L Y & I N S T A L L A T I O N I N S T R U C T I O N S E N G L I S H...
- Page 2 OSL O CA N O PY BE D - T W I N , F UL L & Q UE EN E N G L I S H O SL O C A NO PY B E D - T WIN , F U LL & Q U EE N Be sure to check all packaging materials carefully for small parts that may have become loose during shipment and place all parts on a non-abrasive surface.
- Page 3 OSL O CA N O PY BE D - T W I N , F UL L & Q UE EN E N G L I S H PA RTS I NC LU D E D A. HEADBOARD B. FOOTBOARD C.
- Page 4 OSL O CA N O PY BE D - T W I N , F UL L & Q UE EN E N G L I S H HA RDWAR E K. STEEL BOLT (M8 x 85) L. HALF MOON WASHER (27.5 x 14.5 x 8) M.
- Page 5 OSL O CA N O PY BE D - T W I N , F UL L & Q UE EN E N G L I S H ASSE M B LY INST RU CT I O NS 1. Stand up the Headboard (A) upright in the desired location and secure the Steel Bolts (K) to Headboard (A) by turning them manually.
- Page 6 OSL O CA N O PY BE D - T W I N , F UL L & Q UE EN E N G L I S H 3. Raise the Side Rails (C) and place the bolts on the headboard post to align with the boreholes on the end of the side rails.
- Page 7 OSL O CA N O PY BE D - T W I N , F UL L & Q UE EN E N G L I S H 4. Insert the Support Slat (E) into each bracket on the headboard and footboard. 5.
-
Page 8: Safety Instructions
OSL O CA N O PY BE D - T W I N , F UL L & Q UE EN E N G L I S H 6. Place the Bed Slats (D) on top of the slat rails. Using a screwdriver, secure the Bed Slats (D) using Steel Screws (R). - Page 9 OSL O CA N O PY BE D - T W I N , F UL L & Q UE EN E N G L I S H WA R R A NT Y CARE INSTRUCTIONS CONT'D If you are not completely satisfied with your purchase, please contact Avoid oil, as its usage could discolor the wood.
Need help?
Do you have a question about the RH BABY&CHILD OSLO CANOPY BED TWIN and is the answer not in the manual?
Questions and answers