Advertisement
Operating instructions
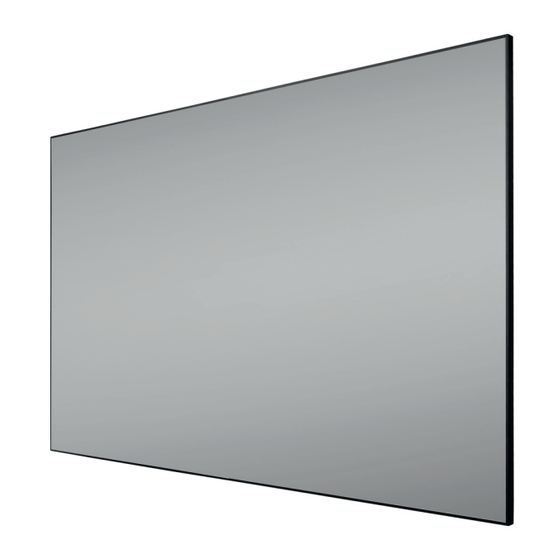
celexon CLR HomeCinema
Performance UST High Contrast
Frame screen
Thank you for purchasing this product. For optimum performance and safety, please
read these instructions carefully before connecting or operating this product. Please
retain these instructions for future reference.
Version: 32423_101
Advertisement
Table of Contents

Related Manuals for Celexon CLR HomeCinema Performance UST High Contrast Frame


Summary of Contents for Celexon CLR HomeCinema Performance UST High Contrast Frame
- Page 1 Operating instructions celexon CLR HomeCinema Performance UST High Contrast Frame screen Thank you for purchasing this product. For optimum performance and safety, please read these instructions carefully before connecting or operating this product. Please retain these instructions for future reference.
- Page 2 Contact the dea- ler immediately from whom you purchased the product or celexon directly (Web: www.celexon.co.uk, Mail: info@celexon.co.uk) for further information.
- Page 3 Incorrect installation or use may also invalidate the warranty. • If you are unsure about the use of the product, please contact your specialist personnel, your dealer or celexon directly (Web: www.celexon.co.uk, Mail: info@celexon.co.uk). • Technical changes and errors excepted.
-
Page 4: Care Instructions
DISCLAIMER The information in this document is subject to change without notice by the manufacturer. Changes will be added to subsequent versions of this manual. The manufacturer does not guarantee or warranty for the correctness of the information in this document. Errors excepted. CARE INSTRUCTIONS NEVER clean the screen with alcohol or other cleaning agents containing sol- vents. -
Page 5: Exploded View
4x Mounting bracket for wall 4x Plastic corner pieces for 18x Plastic clip (P2) mounting mounting (S6) (pre-installed) cover frame (P1) 30x M5x8 mm pan-head screw 4x Countersunk screws 1x Tweezers and press-in tool M5x6 mm (pre-installed) 1x Allen key 8x Mounting screws 5x50 mm 2x Protective gloves + dowels... -
Page 6: Front Side
Front side: Sectional view Rear side: Side view: Front side Rear side *All dimensions in mm... - Page 7 STEP 1: ASSEMBLING THE INNER SILVER FRAME Take the parts F1 and F2 and place them on the left and right sides. Bring the two vertical profiles together and secure S1 and S2 with the M5*8 screws. Repeat this step for the lower profile. Part A: Take the two joined parts A and two parts F3 and arrange them so that they form a rectangle.
- Page 8 STEP 2: MOUNTING THE FABRIC Turn the frame round so that the front is facing upwards, put on the enclosed gloves on and slowly roll the cloth off Front side the roll over the frame. Carefully centre the fabric over the en- tire frame.
- Page 9 STEP 3: MOUNTING THE BLACK COVER FRAME Set up the screen, turn the frame part F5 into the correct position in rela- tion to the frame, then press it firmly Press against the frame. The second person down should hold the frame firmly. The frame part F5 must lock firmly into the pla- stic clips P2 and be centred (this may require light taps with the flat of your...
-
Page 10: Step 4: Mounting Wall Bracket
STEP 4: MOUNTING WALL BRACKET Turn the screen over and fit the four mounting brackets S6 in the slots of F1 and F2 so that the short side of the mounting bracket faces away from the fabric. Attach two mounting brackets at the top and bottom, centred between the support strut and the inner frame. - Page 11 When loosening the fastening straps, make sure to hold the profiles firmly to prevent them from slipping down. Loosen these two screws slightly, to adjust the height of the screen. celexon Europe GmbH | Gutenbergstraße 2 | 48282 Emsdetten | DE...
Need help?
Do you have a question about the CLR HomeCinema Performance UST High Contrast Frame and is the answer not in the manual?
Questions and answers