Celexon HomeCinema CLR UST Operating Instructions Manual
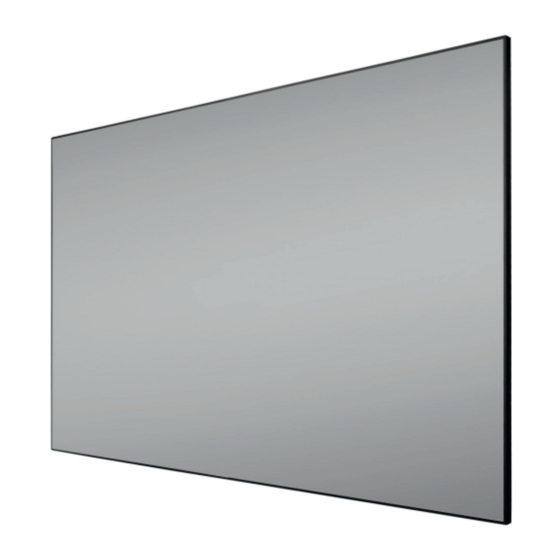
Frame screen
Hide thumbs
Also See for HomeCinema CLR UST:
- Operating instructions manual (96 pages) ,
- Operating instructions manual (88 pages) ,
- Operating instructions manual (11 pages)
Advertisement
Quick Links
Advertisement

Related Manuals for Celexon HomeCinema CLR UST


Summary of Contents for Celexon HomeCinema CLR UST
- Page 1 Operating instructions celexon CLR HomeCinema UST Frame Screen Thank you for purchasing this product. For optimum performance and safety, please read these instructions carefully before connecting or operating this product. Please retain these instructions for future reference. Version: 32422_061...
- Page 2 If you notice any external damage to the unit or any unexpected or unusual functioning, the product must not be used any further. Immediately contact the dealer from whom you purchased the product or celexon directly (Web: www.celexon.co.uk, Mail: info@celexon.co.uk) for further information.
- Page 3 • If you are unsure about the use of the product, please contact specialist personnel, your dealer or celexon directly (Web: www.celexon.co.uk, Mail: info@celexon.co.uk). • Technical changes and errors expected. The manufacturer accepts no responsibility for damage to property or personal injury, if the screen is used outside the recommended specifications, or in the event of improper installation.
-
Page 4: Care Instructions
DISCLAIMER The information in this document is subject to change without notice by the manufacturer. Changes will be added to subsequent versions of this manual. Errors expected. CARE INSTRUCTIONS NEVER clean the screen with alcohol or other cleaning agents containing solvents.Use only a soft and clean, dry cloth. - Page 5 (H) Tension rod (I) 2 x Connecting (J) 4 x Connecting bracket for central bracket for corner 2 x Long for vertical Profi le frame profi les frame profi le 4x Short for horizontal Profi le (K) 4 x Connector (L) 1 x Support strut (M) 2 x Tension springs L-bracket...
-
Page 6: Step 1: Assembly Frame
STEP 1: ASSEMBLY FRAME First plug both parts of the set (A) into each other. Fig 1. Connect both parts with the connecting bracket (I) and fi x this with the screws (O). Fig 2. 3 / 4. Place a connecting bracket(J) (Fig. 3) on both ends of each vertical frame profi le(B).and screw it loosely with only one screw (O) per bracket (Fig. - Page 7 Fix the frame by screwing the four screws (Q) into each L-Bracket. Make sure that as soon as one bracket is fi xed you do the diagonally opposite bracket next. Fig 7. Insert the support strut (L) to the centre of the length of the frame (according to fi g.
- Page 8 STEP 2: FABRIC ATTACHMENT We recommend that you carry out the following steps with a second person. Caution: The projection screen surface is extremely sensitive! Please carry out the installation of the projection screen surface with the utmost care. Take care not to bend the projection screen surface and do not touch it.
- Page 9 Use the tensioning tool (T) and the tensioning springs (M) to attach the projection screen surface to the frame. Start hooking the tension springs onto the tensioning rods at the four corners and pull the tensioning tool to pull the springs into the groove in the frame Fig 12.
- Page 10 STEP 3: ATTACHING THE COVER FRAME Start with the horizontal cover fra- me (C). A cover frame consists of two parts that are placed next to each other on a long side of the frame. Fig 14. Place all four parts on the top and bottom of the frame. Fig 15.
-
Page 11: Step 4: Mounting To The Wall
STEP 4: MOUNTING TO THE WALL The celexon UST frame screen is equipped with sliding wall mounting brackets (R) that allow flexible mounting. Please use the enclosed dowels and screws (N) for mounting to a solid stone wall. For other supporting structures you may need other mounting material. - Page 12 After moun- ting, please check whether the screen hangs absolutely horizontally, slight adjustments can be made by using the safety catches. The assem- bly is now complete. Fig 20. celexon Europe GmbH | Gutenbergstraße 2 | 48282 Emsdetten | DE...
Need help?
Do you have a question about the HomeCinema CLR UST and is the answer not in the manual?
Questions and answers