Celexon HomeCinema Electric Tension screen Operation Manual
Hide thumbs
Also See for HomeCinema Electric Tension screen:
- Operating instructions manual (14 pages)

Related Manuals for Celexon HomeCinema Electric Tension screen


Summary of Contents for Celexon HomeCinema Electric Tension screen
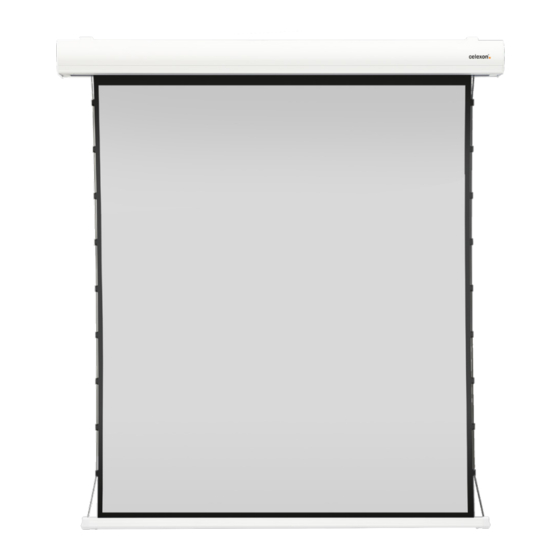
- Page 1 Operation manual celexon HomeCinema Electric Tension screen Thank you for choosing a quality product from celexon. Please read the instructions carefully before using the screen and keep them for future reference!
-
Page 2: Safety Instructions
Safety instructions • Please read the enclosed data sheet with further safety and usage instructions before assembly. • Do not start assembly before reading and understanding the user manual. • This product should only be installed by qualified personnel with mechanical and electro-technical knowledge. -
Page 3: Care Instructions
Care instructions NEVER clean the screen with alcohol or other detergents that contain solvents. Use only a soft and clean cloth with a mild soapy water if necessary to remove dirt from the surface. Be sure to avoid contact with sharp objects as these could permanent- ly damage the projection screen fabric. -
Page 4: Installing The Screen
Electrical Spec Voltage: 230V, 50Hz Consumption: 130W (MAX) Brown-Live (Up) Black-Live (down) 0,4 Watt (Standby) Blue-Neutral Yellow/Green Earth Installing the screen Install the screen at a location visible to all viewers; ideally, the screen should be mounted in the central to the spectators. The lower third of the screen should be about the eye level of the viewer. - Page 5 Installing the screen Use the mounting brackets as a template and mark the holes with a pencil on the wall. Then drill holes according to the markings with an 6mm drill and insert the dowels into the holes. Attach the mounting brackets to the wall with the universal screws (c) 2.
- Page 6 Installing the screen 2. Lift the screen housing with two people and insert it carefully into the mounting bracket. Make sure that the housing profiles engage in the hooks of the mounting brackets. Now slowly slide the housing downwards and release it only when the housing is actually held by the bracket.
- Page 7 Operation of the screen Connect the power to the screen with the included power cord. Please pay attention to a correct voltage supply (230V / AC). Do not lay the cable on hot surfaces and avoid unnecessary tension. Power connection already wired 230V / AC RJ12 Connection (For External IR connection...
- Page 8 Operation of the screen Pairing the radio remote control The radio remote control is already paired with the integrated receiver at the factory. If the pairing is canceled, please proceed as follows: 1. Press the „Up“ button for 3 seconds until the remote control LED lights, then connect the power cord to the screen.
- Page 9 Operation of the screen Using RS485 1) Mode of connection ( marked as 485-A white wire 485-B black wire ) 2) Communication parameters Baud rate:9600 data bits:8 stop bit:1 check bit:None 3) Communication protocol Advice 485-A White cable Start Device address command Command Check code...
- Page 10 Bewegung Befehl Beispiel 0X02 485-A:55 00 00 00 00 02 05 ID0 ID1 ID2 ID3 crcH crcL 485-B:AA ID0 ID1 ID2 ID3 02 01 crcH crcL 0x04 485-A:55 ID0 ID1 ID2 ID3 04 02 crcH crcL 485-B:AA ID0 ID1 ID2 ID3 04 01 crcH crcL Down 0x05 485-A:55 ID0 ID1 ID2 ID3 05 02 crcH crcL...
- Page 11 Manufacturer: celexon Europe GmbH Address: Gutenbergstraße 2, 48282 Emsdetten, DE hereby declares that the following product bearing the celexon brand is Product name: celexon HomeCinema Electric Tension screen In compliance with the manufacturer‘s instructions, the basic provisions of the following...
Need help?
Do you have a question about the HomeCinema Electric Tension screen and is the answer not in the manual?
Questions and answers