Rice Lake CW-90 Installation Manual
Weighvault installation
Hide thumbs
Also See for CW-90:
- Technical manual (84 pages) ,
- Installation manual (78 pages) ,
- Options installation (16 pages)
Table of Contents
Advertisement
Quick Links
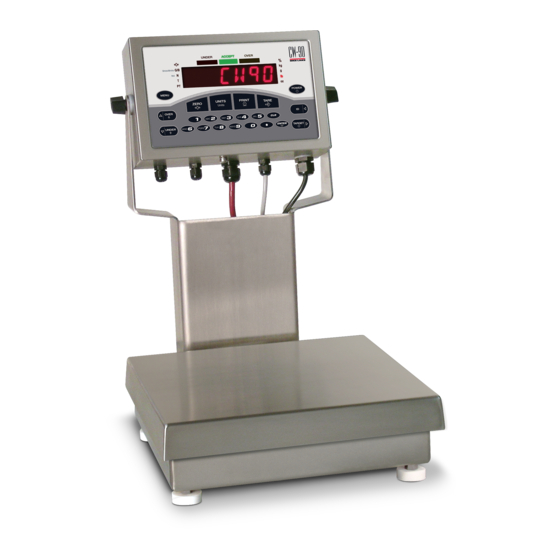
CW-90/90X
WeighVault
WeighVault allows users to add, edit, and access IDs over a Ethernet or WLAN network connection. WeighVault surpasses the
indicator's on-board ID limitation and eliminates front-panel entry of ID parameters. It collects data as transactions occur, and
provides detailed reports which can be exported various file formats including Microsoft Excel, Microsoft Word, and PDF.
Requirements
WeighVault Requirements
Network Requirements
Other Requirements
Ethernet/WLAN Connection
Contents
1.)
page
6)
February 22, 2023
®
Installation
WLAN or
Ethernet
PC
Scale
AdHoc connection with
a single scale and PC
Figure 1. WeighVault Possible Connections
• Windows 10 build 1607 or newer (64 bit only) or equivalent Windows Server OS
• 2.0 GHz processor or faster
• 250 MB drive space needed for install
• 8 GB ram or greater
• Microsoft SQL Server 2019 (Express edition included)
• A supported web browser (Safari, Google Chrome, Microsoft Edge, Mozilla Firefox)
• TCP/IP connections to the indicator
• Static IP address for PC running the WeighVault service
• Known IP address and subnet of the host PC; if connecting via WLAN, known network SSID
and security credentials (pass keys and phrases)
• 5 Ghz Wi-Fi and compatible device (computer, tablet or mobile phone) for WLAN configuration
• Indicator must be connected to a PC via a wired (Ethernet) or wireless network
• Specific WeighVault settings must be configured in the indicator's menu
One of the following:
• Ethernet TCP/IP Interface Option (PN 200578)
• WLAN Option Card (PN 206272)
• External RS-232 to Ethernet/WLAN converter
Table 1. System Requirements
(Section 1.1 on page
(Section 1.2 on page
4)
4)
(Section 2.2 on
Network
Server
Router or
Access Point
Company Network
Scale
Scale
Infrastructure connection with multiple scales
Descriptions
2)
3)
page
12)
Router or
Access Point
Scale
Scale
6)
7)
(Section 2.5 on page
11)
(Section 2.7 on
12)
7)
PN 119661 Rev B
Advertisement
Table of Contents

Related Manuals for Rice Lake CW-90


Summary of Contents for Rice Lake CW-90
-
Page 1: Table Of Contents
(Section 2.6 on page • Configure CW-90/90X (Section 2.1 on page • Configure RS-232 to Ethernet or WLAN converter (Section 2.7 on page • Configure Multiple CW-90/90X Checkweighers (Section 2.2 on • Using WeighVault (Section 3. on page page February 22, 2023... -
Page 2: Installation (Section 1.)
CW-90/90X – WeighVault Installation Instructions 1. Installation 1.1 Install Internal Ethernet or WLAN Cards NOTE: For detailed instructions, refer to the manuals supplied with option kits. Perform the installation at an ESD-safe area. 1. Disconnect the indicator from its power source. -
Page 3: Install Weighvault Computer Software
(such as a router or switch) or computer running WeighVault software. 3. Reinstall the indicator's cover after configuration is complete. 1.2 Install WeighVault Computer Software For WeighVault installation and configuration instructions, see WeighVault for CW-90/90X Technical Manual (PN 212863). © Rice Lake Weighing Systems ● All Rights Reserved... -
Page 4: Configuration
2. Configuration 2.1 Configure CW-90/90X Configuring the CW-90/90X involves navigating the menu system and setting parameter values. For reference Figure 5 displays the menu path of a CW-90/90X to TRIGGE, UID, ID, Type and Port Parameters. AUDIT XXXXXXX CALIBR SETUP... - Page 5 NOTE: The TRIGGE parameter must be set as WAITSS, TARGET, or L-STAB. See CW-90/90X Technical Manual (PN 105942) for information about parameter configuration. 1. With the Audit jumper in the OFF position, remove the Menu mode button access screw from the bottom of the enclosure.
-
Page 6: Configure Multiple Cw-90/90X Checkweighers
2.2 Configure Multiple CW-90/90X Checkweighers If using multiple CW-90/90X units on the same network, the UID (Unit ID) on each machine must be set as a unique identification number. This number will be referenced in WeighVault to identify the unit. To set a UID for a CW-90/90X, perform the following: 1. -
Page 7: Configure Ethernet Card
If not connected to a network, or configuration through the network is not desired/available, then the Web Manager may be accessed through the WLAN card’s Soft AP. By default, the card's Soft AP is available any time the card is powered up. © Rice Lake Weighing Systems ● All Rights Reserved... - Page 8 CW-90/90X – WeighVault Installation Instructions 2.5.2 Soft AP (Access Point) Details • Name: RLWS_XXXXXX • Password: PASSWORD • Configuration Page: http://192.168.0.1 NOTE: The Soft AP only displays as a 5 GHz network. The connecting device must be capable of using the 5 GHz band to connect to the Soft AP.
- Page 9 NOTE: If the necessary network does not display, click the Scan button. It may take several attempts to display the network. If the network is hidden, enter the network name in the box provided. Figure 10. Available Networks in Web Manager © Rice Lake Weighing Systems ● All Rights Reserved...
- Page 10 CW-90/90X – WeighVault Installation Instructions 10. The wireless network information page appears. Enter the network password (if applicable). 11. Click Submit to apply and save the settings. NOTE: The Apply button only applies the settings for the current session, but does NOT save them.
-
Page 11: Set Wlan As Client
4. Set the Address as the IP address of the host PC or server with the WeighVault running. 5. Set the Port as 9090. Figure 17. Web Manager with Address and Port Identified © Rice Lake Weighing Systems ● All Rights Reserved... -
Page 12: Configure Rs-232 To Ethernet Or Wlan Converter
The RS-232 settings must match the device setup to initiate a TCP connection to Port 9090 on the WeighVault host any time data is presented by the CW-90/90X on the RS-232 side.
Need help?
Do you have a question about the CW-90 and is the answer not in the manual?
Questions and answers