Table of Contents
Advertisement
Quick Links
RS485 AC & 24V, I/O
FlexStyle
Cassette Motorized
®
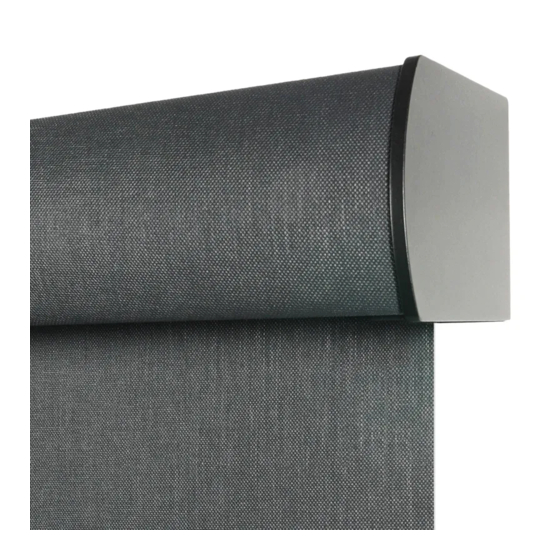
Motorized window shade with cassette-style case
FSTYL CASS MO
Overview - Components
TOOLS
REQUIRED
PENCIL
Contents
Overview - Components .......................................................................................1
PLEASE READ - Important Safety & Installation Information ........................2
PLEASE READ - Field Adjustments, Cleaning and Maintenance ...................2
Section 1 - Installing Mounting Brackets ..........................................................3
Section 2 - Wall Mounting Shade........................................................................4
Section 3 - Ceiling Mounting Shade ...................................................................4
Section 4 - Electrical Connections .....................................................................5
(Square Cassette, Elliptical Style Hem Bar shown)
TAPE MEASURE
LEVEL
AC
PLIERS
POWER DRILL
Section 5 - Cable Exit ...........................................................................................5
Section 6 - Limit Switch Adjustments ...............................................................6
Section 7 - Electrical Connections .....................................................................6
Section 8 - WIring Diagrams ...............................................................................7
Section 9 - Cassette Dimensions .......................................................................8
Section 10 - Shade Dimensions ..........................................................................8
© 2024 All Rights Reserved
INSTRUCTIONS
INSTALLATION & OPERATION
CAUTION
Read and understand
all warnings before
beginning installation.
HARDWARE
(by others)
If you have any difficulties installing or servicing your
Motorized FlexStyle Cassette, call your dealer or Draper, Inc.
Draper, Inc. | 411 S. Pearl St. Spiceland, IN 47385
draperinc.com | 765.987.7999 | 800.238.7999
|
FORM: FlexStyle_Cassette_MO_IO_Inst24
Advertisement
Table of Contents

Subscribe to Our Youtube Channel
Related Manuals for Draper FlexStyle Cassette Motorized I/O AC


Summary of Contents for Draper FlexStyle Cassette Motorized I/O AC
-
Page 1: Table Of Contents
Section 4 - Electrical Connections ..............5 If you have any difficulties installing or servicing your Motorized FlexStyle Cassette, call your dealer or Draper, Inc. Draper, Inc. | 411 S. Pearl St. Spiceland, IN 47385 draperinc.com | 765.987.7999 | 800.238.7999 FORM: FlexStyle_Cassette_MO_IO_Inst24... -
Page 2: Please Read - Important Safety & Installation Information
Most standard Draper fabrics may be cleaned at the window by vacuuming with a soft brush attachment. They also may be cleaned by using a sponge or soft cloth and mild solution of warm soapy If the shade is telescoping, place a piece of shimming water. -
Page 3: Section 1 - Installing Mounting Brackets
FlexStyle Cassette Motorized ® page 3 of 8 Section 1 - Installing Mounting Brackets IMPORTANT: Mounting Brackets must be installed parallel, plumb, and square, with a tolerance of +/- 1/ 8 " (3mm) Verify unit measurements and ensure unit will fit in the desired location. Please Note: Installer is responsible for selecting mounting hardware appropriate for site conditions. -
Page 4: Section 2 - Wall Mounting Shade
FlexStyle Cassette Motorized ® page 4 of 8 Section 2 - Wall Mounting Shade (Curved Cassette with open bottom shown) Please Note: Brackets should be installed no more than 5" in from ends of Cassette Assembly. (127mm) Install any remaining brackets evenly between the outermost brackets. Lift Cassette Assembly into place and align between the Mounting Brackets. -
Page 5: Section 4 - Electrical Connections
Caution: All operating switches should be “off” before power is connected. Please Note: For low-voltage wiring requirements, Draper recommends consulting with a professional low-voltage electrical contractor. It is very important that shielded and stranded CAT 5 cable be used to prevent any electrical interference. -
Page 6: Section 6 - Limit Switch Adjustments
All operating switches should be “off” before power is connected. Please Note: For low-voltage wiring requirements, Draper recommends consulting with a professional low-voltage electrical contractor. It is very important that shielded and stranded CAT 5 cable be used to prevent any electrical interference. -
Page 7: Section 8 - Wiring Diagrams
FlexStyle Cassette Motorized ® page 7 of 8 Section 8 - WIring Diagrams Handheld RF Remote Wired Single Zone Switch Wired Dual Zone Switch 3rd Party Building Management System Integration M12 Connector for 3-Wire Motors Control Integration Allows IntelliFlex I/O shading systems to integrate via BACnet IP. Acts as a Requires A\V Gateway BMS integration option for I/O systems. -
Page 8: Section 9 - Cassette Dimensions
FlexStyle Cassette Motorized ® page 8 of 8 Section 9 - Cassette Dimensions 3 " 4" 4" (98mm) (102mm) (102mm) SQUARE CASSETTE SQUARE CASSETTE SQUARE CASSETTE (no Mounting Brackets) (Ceiling Mounting Brackets) (Wall Mounting Brackets) 3 " 4" NOTE: Minimum depth NOTE: Minimum depth NOTE: Minimum depth (98mm)
Need help?
Do you have a question about the FlexStyle Cassette Motorized I/O AC and is the answer not in the manual?
Questions and answers