Advertisement
Quick Links
Advertisement

Subscribe to Our Youtube Channel
Related Manuals for Autonomous SmartDesk Levitate


Summary of Contents for Autonomous SmartDesk Levitate
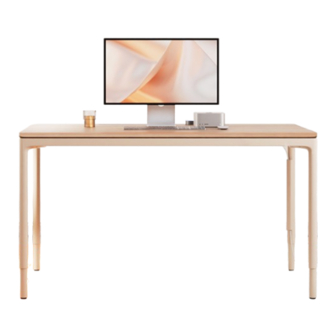
- Page 1 SmartDesk Levitate A s s e m b l y I n s t r u c t i o n s www.autonomous.ai...
- Page 2 Wa rn ing Before assembling this product, please read the instructions carefully Make sure that children, pets, etc... are away from the product while it is in operation. When not using the product for a long time or there is lightning, please unplug the power supply.
- Page 3 Pa r t l ist Before assembling this product, please read the instructions carefully Installation time Installer Installation tools 1.3M 0.3M...
-
Page 4: Component Name
Pa r t l is t Before assembling this product, please read the instructions carefully Component Name Number Unit Desktop P CS Column C P CS Short crossbeam P CS Long crossbeam (with screw holes for keypad) P CS Column D P CS Long crossbeam (with screw holes for cable tray) P CS... - Page 5 Ins ta l la t i on G ui danc e Before assembling this product, please read the instructions carefully Plug the adapter into the tube.
- Page 6 Ins ta l la t i on G ui danc e Before assembling this product, please read the instructions carefully Fix 4 crossbeams with 32 M5×10 hex socket screws and an M3 wrench.
-
Page 7: Ins Tall At Ion G Uid Ance
Ins tall at ion G uid ance Before assembling this product, please read the instructions carefully Fix the cable tray with 2 M6×10 hex socket screws and an M4 wrench on the long crossbeam(6). - Page 8 I ns ta ll at io n G uidanc e Before assembling this product, please read the instructions carefully Connect the cord on the motors and the splitter, the power cord of the control box to the control box. Then connect the splitter to the splitter extension cord pre-assembled inside the column A.
- Page 9 Insta ll at io n G ui danc e Before assembling this product, please read the instructions carefully Put the cord of the track socket through the slot and then put the track socket in to the groove on the desktop. Connect the plug of the track socket into the extension socket.
- Page 10 Ins tall at ion G uid ance Before assembling this product, please read the instructions carefully Place the desktop on the desk frame and fix it with 17 ST5*20 cross self-tapping screws and an M4 wrench.
- Page 11 I ns ta lla t io n Gui danc e Before assembling this product, please read the instructions carefully Fix the cable tray under the desktop with 2 ST5×20 cross tapping screws and an M4 wrench. Fix the splitter with ST4×20 cross self-tapping screws and plug in the single-button keypad and sensor keypad into the splitter.
- Page 12 Ins ta ll at ion G u id ance Before assembling this product, please read the instructions carefully Put the power cord of the extension socket into the upper tube. Then attach the upper tube onto the Column B. Organize the power cord with zip ties.
-
Page 13: Adjusting The Height
Ins tall at ion G uid ance Before assembling this product, please read the instructions carefully 1. Reset Press and hold the single-button keypad for 10 seconds and the system starts to reset. There is a long beep sound. Keep pressing until the reset is completed, there is another long beep sound.
Need help?
Do you have a question about the SmartDesk Levitate and is the answer not in the manual?
Questions and answers