Advertisement
Quick Links
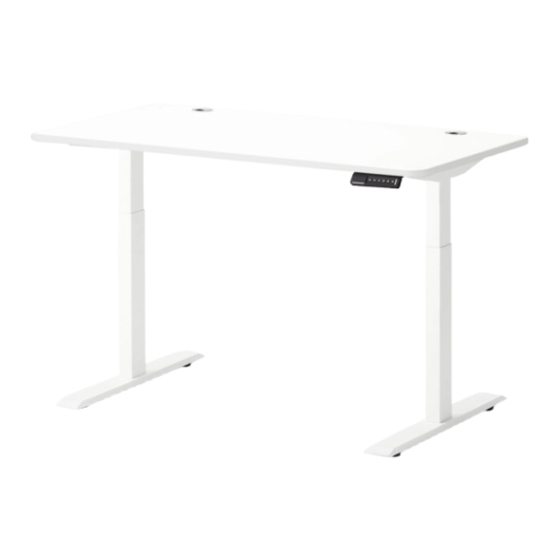
Autonomous Desk Eureka Standard
A S S E M B L Y I N S T R U C T I O N S
I. Leg
J. Control box
K. Keypad
L. Desk Top
M. Side Panel
N. Power cord
O. Connecting cable
P. Frame
Q. Foot
T o o l s n e e d e d :
3mm Allen wrench
(included)
A
I n c l u d e d i n t h e b o x e s
I
J
X2
X1
X1
X1
X2
X1
X2
X1
X2
4mm Allen wrench
(included)
K
L
M
Q
A
(1 pc)
F
(1 pc)
Screwdriver
(not included)
N
O
P
S c r e w s i n c l u d e d
( a c t u a l s i z e ) :
B
C
D
(1 pc)
M6*10
M6*35
(12 pcs)
(8 pcs)
(12 pcs)
G
H
(10 pcs)
(4 pcs)
E1
E2
ST5*16
ST3.5*16
(2 pcs)
Advertisement

Related Manuals for Autonomous Desk Eureka Standard


Summary of Contents for Autonomous Desk Eureka Standard
- Page 1 Autonomous Desk Eureka Standard A S S E M B L Y I N S T R U C T I O N S I n c l u d e d i n t h e b o x e s S c r e w s i n c l u d e d I.
-
Page 2: I N S T R U C T I O N S F O R A S S E M B L Y
I N S T R U C T I O N S F O R A S S E M B L Y 1. Loosen screws (H) of the frame (P) with an 3mm Allen wrench (A), adjust the frame to the right Loosen 4 screws (H) ×4... - Page 3 4. Use M6 x 35mm screws (D) to attach the foot (Q) and leg (I) ×8 5. Use ST5 x 16mm screws (E1) to attach the whole frame to the desk top (L). ×12...
- Page 5 5 seconds, when the keypad screen display "RST", release the button, press and hold the down button until the keypad screen displays the number. Congratulation, you are finished setup and your desk is ready to use. Designed by Autonomous...
-
Page 6: Desk Placement
#worksmarter. Our sole focus is towards realizing the gold standard of the smart office industry. Visit: www.autonomous.ai/warranty. Autonomous - Smart office 21800 Opportunity Way, Riverside, CA 92508 www.autonomous.ai 8am - 5pm PT...
Need help?
Do you have a question about the Desk Eureka Standard and is the answer not in the manual?
Questions and answers