Autonomous SmartDesk Core Duo Assembly Instructions
Hide thumbs
Also See for SmartDesk Core Duo:
- Assembly instructions manual (6 pages) ,
- Assembly instructions manual (11 pages)
Advertisement
Quick Links
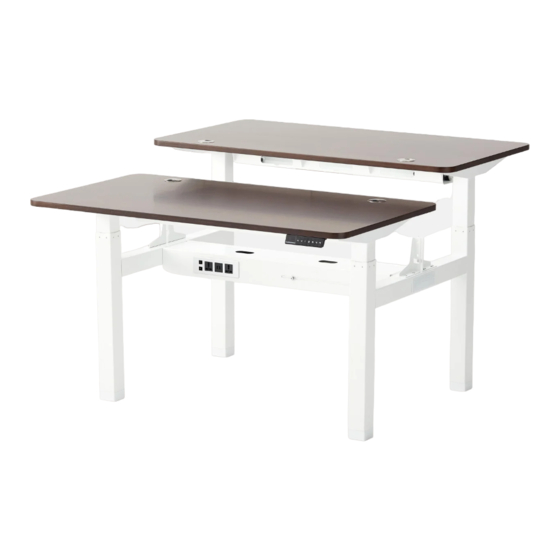
SmartDesk Core Duo
1a. Loosen 4 x (M) Screws of Support Beam (I) using 4mm Allen Wrench, then fully extended the
beam.
Heads up
The 4(M) are
already
attached into
the beam
1b. Place Support Beam (I) over Legs (A1 + A2). Attach with 8 x (W) Screws. Repeat this step with
the other support beam.
Make sure
connectors
are facing the
same side.
2. Attach 2 x Connection Beams (B) to the legs as shown. Place 8 x (Z1) Gaskets on 8 x (V)
Screws, then use them to secure the 2 x Connection Beams (B) in place with the 5mm Allen
Wrench.
M
M
Assemble other
Support Beam
following the
same steps.
Advertisement

Related Manuals for Autonomous SmartDesk Core Duo


Summary of Contents for Autonomous SmartDesk Core Duo
- Page 1 Heads up The 4(M) are already attached into the beam SmartDesk Core Duo 1b. Place Support Beam (I) over Legs (A1 + A2). Attach with 8 x (W) Screws. Repeat this step with the other support beam. Assemble other Support Beam...
- Page 2 6a. Attach 2 x Brackets (D) to each Support Beam (I) using 4 x Screws (W) and 4mm Allen Wrench. 3a. Attach Power Tray (C) to Support Beams (I) using 8 x (X) Screws and the 5mm Allen Wrench. 6b. Place 4 x Support Pads (Z) on each Bracket (D) and 2 x Support Pads (Z) on each Support Beam (I) as shown.
- Page 3 9a. Find the pre-drilled holes on the edge of each Desk Top (G) as shown, then attach Control Switches (H) using 2 x (Y1) Screws. 9b. Attach Control Box (F) beneath Desk Top using 2 (Y), Repeat process with the Desk on the other side. Or you can place each Control Box (F) onto the corresponding Cable Tray (L).
Need help?
Do you have a question about the SmartDesk Core Duo and is the answer not in the manual?
Questions and answers