Table of Contents
Advertisement
Advertisement
Table of Contents

Subscribe to Our Youtube Channel
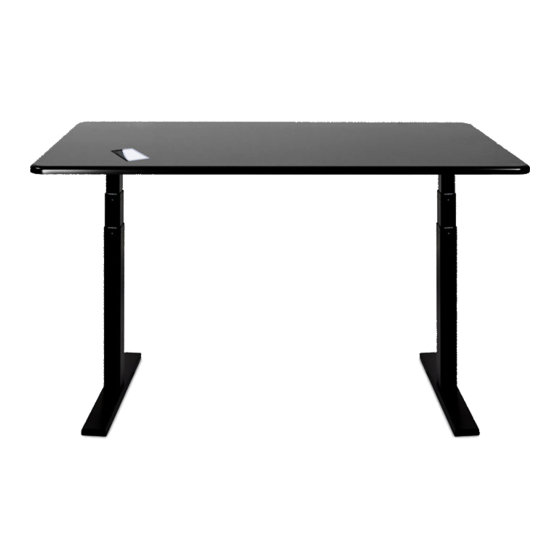
Related Manuals for Autonomous Smartdesk 2


Summary of Contents for Autonomous Smartdesk 2
- Page 2 TOOLS REQUIRED COMPONENTS HARDWARE...
-
Page 3: Table Of Contents
Description Description Noise Dampener Pad Foot M6x14 Screws Crossbar End Combo Screws of Cable Tray Center Rail M6x10 Screws ST4.8x19 Wood Screws Side Bracket Power Cord Cable Clips Control Box ST3.5x20 Wood Screws... - Page 4 Fully separate the Crossbar Ends (P3) by using Allen Wrench to unscrew M6x10. You will find the Crossbar Center Rails (P4) inside. Place the Legs (P1) into the Crossbar End (P3), line up the frame's and the leg's screw holes. Firmly secure the legs using M6x14 screws.
- Page 5 Repeat Step 2 for the other side. Attach the side bracket to either side of the frame using 4 M6x14 screws.
-
Page 6: Crossbar End 2
Repeat Step 2 for the other side. Slide the two Crossbar Center Rails into the two Crossbar Ends (P3). Please make sure the slots in the Center Rails face inward like in the photo below. -
Page 7: Side Bracket 2
Attach the feet (P2) onto the legs (P1) using 4 M6x14 screws (A view). Attach 8 Noise dampeners to the 8 holes on the frame - 3 for each side bracket and 2 at the center. - Page 8 Line up the side bracket with the pre-drilled holes facing upwards. Firmly secure the frame to the table top using ST4.8x19 wood screws - 3 for each side bracket and 2 at the center. Attach the control box to the top using 2 ST4.8x19 wood screws.
- Page 9 Plug the power cable into the other side of control box. If you bought a SmartDesk 2, follow If you bought a SmartDesk 3, follow step 12 to 14 for SmartDesk 2 (page step 12 to 16 for SmartDesk 3 (page 10 - 11). 12 - 14).
- Page 10 Attach the keypad using 2 ST3.5x20 wood screws. Plug the cable from the keypad into the control box and flip the desk.
-
Page 11: Power Cord
Before plugging the table into the outlet, make sure that: - The legs are level and set at the lowest position. - All the screws are tightened, to avoid the desk making noise or wobbling. Activate the desk by following the next steps: - Press “Up”... - Page 12 Flip the Desk. Place the AI controller (comes in a sepa- rate box) on the table top. Take note of the direction of the wire coming out of the AI controller, and ensure it is placed on the grooved side.
-
Page 13: Control Box.
Plug the cable from the AI controller into the control box. Plug the USB Wi-Fi into the AI controller as shown in the picture. Either hub is fine. - Page 14 3. Gestures: - Download the Gestures app for PC/MAC from www.autonomous.ai/gestures. Run the program and login to your Autonomous account to start pairing AI controller and PC. - Select See tips for a user guide on using Gestures on AI controller to control apps on PC.
Need help?
Do you have a question about the Smartdesk 2 and is the answer not in the manual?
Questions and answers