Advertisement
Quick Links
Advertisement

Related Manuals for Mercia Garden Products 03DTSHCR0707FGD2TW-V


Summary of Contents for Mercia Garden Products 03DTSHCR0707FGD2TW-V
- Page 1 2mm Drill bit...
-
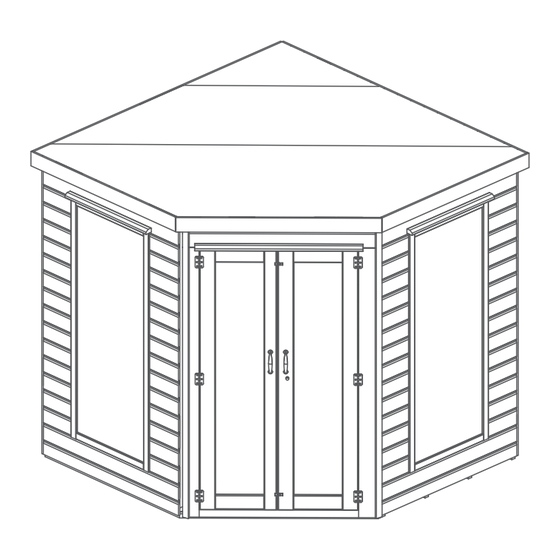
Page 2: Any Questions
PLEASE SCAN HERE: ANY QUESTIONS? Scan code contact us via our customer portal. - Page 3 ACCESSING VIDEO GUIDES... ACCESSING VIDEO GUIDES... 3. Scan QR code... Some steps within this set of instructions come with an added video guide for your convenience. These can be accessed via the QR code and used to aid you in constructing that step.
- Page 4 End View Before assembly Locating Block 28x28x240mm QTY 2 please make sure you have a FS2828-240mm suitable base ready to erect your End View building Door Strip 12x40x996mm QTY 1 S1240-996mm End View Front Panel Framing 28x28x1135mm QTY 1 FS2828-1135mm End View MADE IN GREAT BRITAIN Door Strip 12x40x1740mm QTY 2...
-
Page 5: Pre-Assembly
Pre Assembly End View PLEASE SCAN HERE: Rain Guard - 28x44x990mm QTY 1 Handle QTY 2 Before assembling remove the transportation blocks from the bottom of each RG2844-990mm PI-07-0081 panel. Sand Take care removing the blocks as to not damage the panels. Tap with a at headed Turn Button QTY 2 screwdriver and hammer. - Page 6 Step 1 Step 2 IMPORTANT: Pre-drill before xing screws. IMPORTANT: Pre-drill before xing screws. Parts needed - No.1 QTY 1 Parts needed - No.3 QTY 1 No.11 QTY 1 No.4 QTY 1 No.12 QTY 1 No.5 QTY 1 No.31 QTY 6 No.6 QTY 1 Lay the Door Panel (No.1) on a at surface Fix Large Right Panel (No.3) to Small...
- Page 7 Step 3 Step 5 IMPORTANT: Pre-drill before xing screws. IMPORTANT: Pre-drill before xing screws. Parts needed - No.7 QTY 1 Parts needed - No.5 QTY 1 No.8 QTY 1 No.6 QTY 1 No.19 QTY 1 Place oors (No.7 and No.8) on a rm and level base, ensure base has suitable Place the two already assembled Left drainage...
- Page 8 Step 7 Step 9 IMPORTANT: Pre-drill before xing screws. IMPORTANT: Pre-drill before xing screws. Parts needed - No. 15 QTY 1 Parts needed - No.9 QTY 1 No. 26 QTY 1 No.10 QTY 1 Place the Rear Panel Framing (No.26) Layout the Roof Panels (No.9 &...
- Page 9 Step 13 Step 11 IMPORTANT: Pre-drill before xing screws. IMPORTANT: Pre-drill before xing screws. Parts needed - No.9 QTY 1 No.10 QTY 1 Once the roof is xed, secure the building to the oor. Fix the Place both Roof sections (No.9 &10) panels onto the oor using 50mm on top of building, ensure the roof screws in alignment with the oor...
- Page 10 Step 15 Step 16 IMPORTANT: Pre-drill before xing screws. IMPORTANT: Pre-drill before xing screws. Parts needed - No. 29 QTY 2 Parts needed - No. 32 QTY 2 No. 34 QTY 2 No. 33 QTY 1 *External View* *Internal View* Attach the press lock (No.33) to the Fix the door handles (No.34) to the master door with 4x25mm screws,...
- Page 11 Step 17 IMPORTANT: Pre-drill before xing screws. Parts Needed - No.27 QTY 2 No.28 QTY 1 Fix the rain guards (No.27) above each window, securing in place using 2x50mm screws per guard, ensuring to screw through the framing. Fix the rain guard (No.28) above the door, secure using 3x50mm screws, ensuring to screw through to the framing...
- Page 12 Step 19 Parts Needed: No. 35 *Aerial view of roof* No. 36 No. 38 QTY 1 Front Cut the Sand Capping Felt (No.35) into three sheets measuring: 1800x300mm 1 x 2200mm (L) x 300mm (W) 2200x300mm 1 x 1800mm (L) x 300mm (W). 1 x 400mm (L) x 300mm (W).
- Page 13 Step 20 Parts Needed: No. 37 No. 38 QTY 1 *Aerial view of roof* Cut the Green Felt (No.37) into three sheets measuring: Front 1 x 1420mm (L) x 1000mm (W) 2 x 3020mm (L) x 1000mm (W). 3020x300mm Lay the sheets onto the roof in the order shown in the diagram 1-3. Ensure the sheets overlap each other by 100mm.
- Page 14 Step 22 Step 21 IMPORTANT: Pre-drill before xing screws. IMPORTANT: Pre-drill before xing screws. Parts needed - No. 21 QTY 2 Parts needed - No. 17 QTY 2 No. 25 QTY 2 At the back of the building, measure the Fit the Cover Trims (No.17) to the back of distance from the side to the back using the building onto the joins of the panels,...
- Page 15 Step 23 Step 24 IMPORTANT: Pre-drill before xing screws. Parts needed - No. 22 QTY 3 Once constructed, apply a preserving Measure the distances across the front treatment and a waterproo ng treatment and sides of the building using a tape to your garden building as soon as measure, as shown.
- Page 16 PLEASE SCAN HERE: ANY QUESTIONS? Scan code contact us via our customer portal.
Need help?
Do you have a question about the 03DTSHCR0707FGD2TW-V and is the answer not in the manual?
Questions and answers