Advertisement
Quick Links
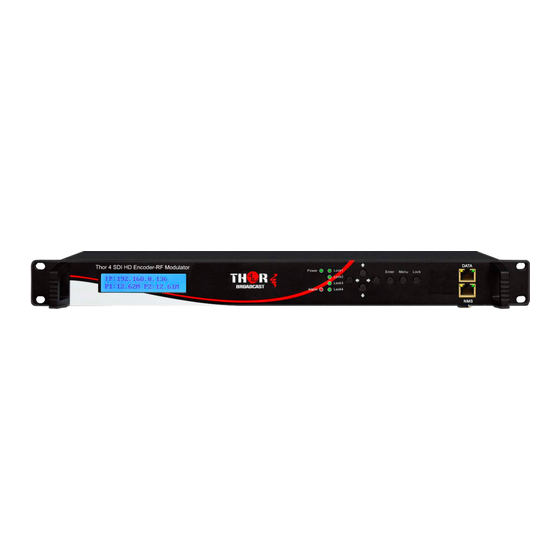
H-4SDI-ATSC-IP-LL
Step 1: CONNECT AND LOGIN
Connect SDI Inputs 1 through 4
Open web browser and go to http://192.168.0.136
Login/Password: admin/admin
Step 2: SELECT "Encoder 1" FROM MAIN MENU
Recommended Settings:
Video Format: MPEG2
Video Bitrate: 18.0
Audio Format: AC3
IMPORTANT:
INPUT LOCK MUST BE GREEN &
SHOWING BITRATE INFORMATION
https://thorbroadcast.com
Click "Apply" to save changes
REPEAT THESE STEPS AS NEEDED FOR ENCODER 2
800-521-8467
Quick Setup Guide
Connect the NMS port to your
PC using an ethernet cable
Select Channel 1 or 2
sales@thorfiber.com
Connect power cable
Advertisement

Related Manuals for Thor Broadcast H-4SDI-ATSC-IP-LL


Summary of Contents for Thor Broadcast H-4SDI-ATSC-IP-LL
- Page 1 800-521-8467 sales@thorfiber.com H-4SDI-ATSC-IP-LL Quick Setup Guide Step 1: CONNECT AND LOGIN Connect power cable Connect SDI Inputs 1 through 4 Connect the NMS port to your PC using an ethernet cable Open web browser and go to http://192.168.0.136 Login/Password: admin/admin Step 2: SELECT “Encoder 1”...
- Page 2 Step 3: SELECT “Modulator” FROM MAIN MENU IMPORTANT: STATUS LIGHTS ARE GREEN ONLY WHEN CHANNEL IS ENABLED Select the very top pencil icon to edit all Select the pencil icon on the same line to edit individually Check box to enable Select desired channel frequency and...
- Page 3 Step 4: SELECT “TS Config” FROM MAIN MENU 1). Select Output TS (1-4) 2). Discover Inputs: Click “Parse Program” 3). Click “+” to expand 4). Assign outputs: Click the checkbox selecting the discovered TS program 5). Press the Blue “ ”...
- Page 4 Enable VCT Insert (optional) Click “General” Check Box to enable VCT Insert Step 5: IP Preferences IMPORTANT: TO ACCESS STREAMS, CONNECT DEVICES TO THE DATA PORT USING AN ETHERNET CABLE Select “Output Settings” from the main menu Click the pencil icon to edit From the popup window, you can enable and edit your IP preferences...
-
Page 5: Step 6: Save Settings
Step 6: SAVE SETTINGS 1. Click “Configuration” 2. Click the “Save” tab 3. Press “Save config” button Scan for more info: 4). Confirmation message will appear briefly until saving is complete. - Page 6 H-4SDI-ATSC-IP-LL Quick Setup Guide https://thorbroadcast.com 800-521-8467 sales@thorfiber.com...
Need help?
Do you have a question about the H-4SDI-ATSC-IP-LL and is the answer not in the manual?
Questions and answers