Advertisement
Table of Contents
Advertisement
Table of Contents

Related Manuals for Rogers SECOND LEVEL SLED LEV/MOD SLED ADD-ON


Summary of Contents for Rogers SECOND LEVEL SLED LEV/MOD SLED ADD-ON
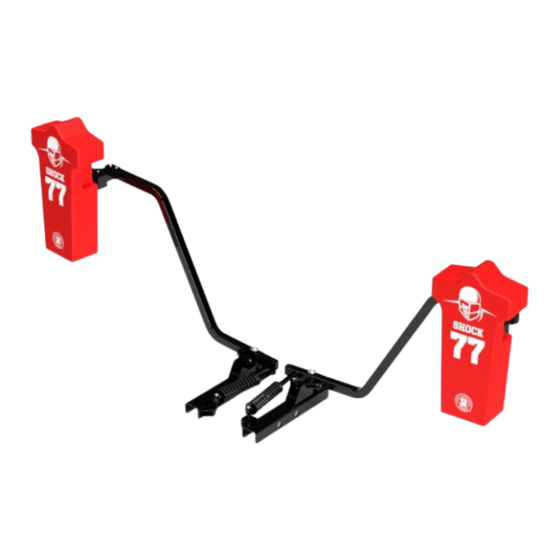
- Page 1 ASSEMBLY INSTRUCTIONS SECOND LEVEL SLED LEV/MOD SLED ADD-ON Updated: 04/17/24...
-
Page 2: General Safety Rules
Introduction The Rogers Athletic Second Level Sled has been designed and manufactured with safety, performance and dependability as top priorities, making it easy to operate and maintain. The care you give your Sled will greatly determine your satisfaction with its performance and service life. - Page 3 General Safety Rules (cont.) l Warning labels are an integral part of this equipment. Become familiar with all caution/warning labels and never cover or deface caution/ warning labels. l Deploy the equipment allowing sufficient room for safe access to the machine, adequate room for the coaches to stand and to ensure that the machine or players do not collide with a wall, another machine, or other players through the entire training exercise.
-
Page 4: Hardware List
Hardware List 1/4” x 1/2” Bolt Pivot Washer 7/16” x 4” Bolt 1/2” x 3/4” Bolt 3/8” x 3-1/2” Bolt (NOTE: Could be partially or fully threaded) Spacer 3/8” Flanged 7/16” Lock Nut Retaining Washer Nylock Nut... -
Page 5: Tools Needed
Tools Needed Box Wrench Size Utility Knife or Sockets 15/16” 3/4” 11/16” 5/8” 9/16” 3/8” For added help scan this QR code with your phone to view our setup video on this product on YouTube. - Page 6 STEP 1 Skip to step 2 if assembling a new LEV, or MOD Sled. Start by disassembling the runner from the connection link using (QTY 2) 15/16” wrenches or sockets. Remove the two 5/8” bolts and nuts. Move the sled runner about 6” away from the connection link.
- Page 7 STEP 2 Drop the Support Plate on the sled runner. Reusing the same bolts removed in step 1, reattach the connection link to the sled runner. Be sure to insert the bolts from the connection link side as shown in the above diagram.
- Page 8 Do not remove banding until after STEP 4 STEP 3 Start by placing the spacer on the small post located on the support plate. Then follow that with the shock. Ensure the spring side of the shock is closest tot he pad side (front) of the sled.
- Page 9 STEP 4 Set the Second Level arm in the orientation shown and secure to the support plate using (QTY 1) pivot washer, and (QTY 1) 1/2” x 3/4” bolt. The bottom pin of the second level arm will be secured to the shock with (QTY 1) retaining washer, and (QTY 1) 1/4”...
- Page 10 STEP 5 Attach the pivot pad adapter base to the Second Level arm by using (QTY 1) 3/8” x 3-1/2” bolts and (QTY 2) 3/8” flanged nylock nuts.
- Page 11 STEP 6 Use (QTY 1) 7/16” x 4” bolt and (QTY 1) 7/16” lock nut to attach the pivot. Tighten enough to secure but do not over tighten. Pivot should still turn freely after tightening.
- Page 12 STEP 7 Slide pad onto the Pivot Pad Adapter and insert the Fastpin (tethered to your pad) to lock the pad in place.
-
Page 13: Need Help
Need Help? For parts or service contact Rogers Athletic Company. When ordering parts be sure to provide all relevant information available. Customer service hours are Monday through Friday from 8:00 a.m. to 5:00 p.m. Eastern Standard Time. info@RogersAthletic.com (800) 457-5337 Rogers Athletic Company 3760 W.
Need help?
Do you have a question about the SECOND LEVEL SLED LEV/MOD SLED ADD-ON and is the answer not in the manual?
Questions and answers