
Related Manuals for Precor 546i Experience


Summary of Contents for Precor 546i Experience
- Page 1 Precor 546i-556i-576i Experience + EFX 833/835/883/885 V1 Assembly Manual - Arm Removal to Fit 29" Door APPLIES to Precor • 546i V4 / 546i Experience • 556i V4 / 556i Experience • 576i V4 + 576i Experience • EFX 833 /883 V1...
- Page 2 A smooth, flat surface under the unit helps keep it level. A level unit has your dealer. Should you need more information regarding customer support fewer malfunctions. numbers or a list of Precor authorized service centers, visit the Precor web site at www.precor.com/corp/contact. •...
- Page 3 Hardware Kit (not to scale) 2 — Bushings (J) Fasteners Quantity (A) Buttonhead screw (1-inch) 2 — Link arm caps (K) (B) Washer (⁵⁄₁₆-inch) (C) Socket head cap screw (1¼-inch) 2 — Pivot arm caps (L) (D) Split washer (⁵⁄₁₆-inch) (E) Hex head screw (1¼-inch) (F) Washer (³⁄₈-inch) (G) Self-tapping screw (1½-inch)
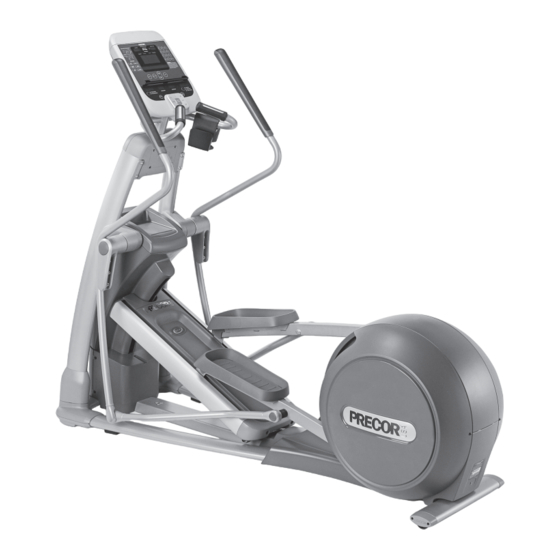
- Page 4 2 — Pivot axle caps (M) 4 — Upright support covers (N) (packaged separately) Inner cover Outer cover EFX576i Elliptical Fitness Crosstrainer Assembly Guide...
-
Page 5: Assembly Steps
Important: Do not stretch, crimp, or damage the cable. Cables damaged by improper installation will not be covered by the Precor Limited Warranty. EFX576i Elliptical Fitness Crosstrainer Assembly Guide... - Page 6 CAUTION: Make sure the display console screws are properly threaded into the inserts. Do not cross thread. The Precor Limited Warranty does not cover damage that occurs during installation. heck alignments and thread the remaining four display console screws (A), four washers (B), and four split washers (D).
- Page 7 Position the water bottle holder as shown and attach it to the right stationary handrail. Secure the holder using three Phillips-head screws (H) and a Phillips-head screwdriver. CAUTION: Handlebars can swing and cause injury. Have your assistant hold the handlebar and gently lower it into a vertical position when the handlebar assembly is complete.
- Page 8 Place one inner and one outer upright support cover (N) around an upright support. Align each pair so the arrows on the covers point toward the front of the unit. Apply pressure to engage the inner cover protrusions with the outer cover screw holes. Slide the covers down into the base mounts.
- Page 9 Level the EFX by placing it on a solid, flat surface. Verify that the heart rate display is operational. 1. Hold on to a stationary handrail and step on the foot pedals. Before allowing users on the EFX, make sure it does not wobble from side to side.
- Page 11 Precor Incorporated ©2006 Precor Incorporated 20031 142nd Avenue NE www.precor.com P.O. Box 7202 EFX576i AG 49062-104, en Woodinville, WA USA 98072-4002 11 February 2008...
- Page 12 This addendum accompanies your EFX Assembly Guide. The upright supports tend to rub against the ramp if they are not properly aligned and wrench tightened in the correct order. Refer to the table below and replace the appropriate step with the following: Step to replace 576i 556i...
Need help?
Do you have a question about the 546i Experience and is the answer not in the manual?
Questions and answers