Advertisement
Quick Links
Advertisement

Related Manuals for Ripmax Harmony


Summary of Contents for Ripmax Harmony
- Page 1 INSTRUCTION MANUAL...
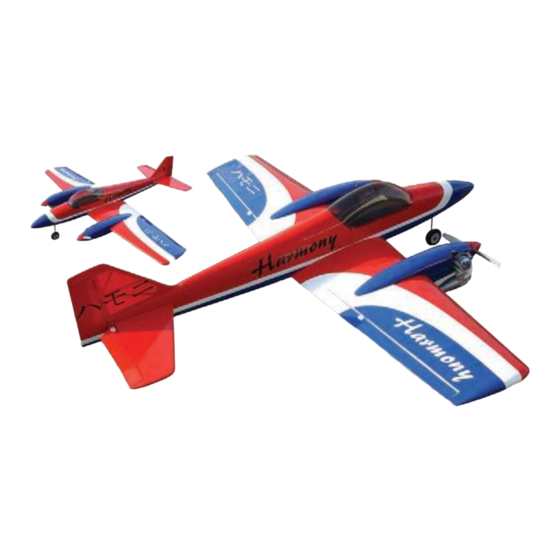
- Page 2 Congratulations on your purchase of the Ripmax Harmony! Despite it being a twin, final assembly is quick and straightforward. We recommend that you read these instructions fully before you commence assembly. The Wings STEP 1. Locate the aileron hinges and insert 4 mid-way into each wing half’s trailing edge (eight hinges in total).
- Page 3 STEP 6. Locate the aileron control rods with pre-formed z-bend ends. Connect the control rods to the aileron servos and tighten the servo horns. Check that both ailerons move freely across their entire throw with no binding. Adjust their neutral positions if necessary. STEP 7.
- Page 4 STEP 12. Check that your choice of retract servo fits the pre-cut aperture. Adjust the size of the mounting hole with a sharp knife if required. Note that the servo may extend through the underside of the wing so trim away the covering to allow this if necessary.
- Page 5 STEP 17. Using 5 minute epoxy or thick cyano, run a bead of glue around the perimeter of the underwing fairing and over the underwing fairing former. Avoid using too much glue as any excess will simply run out onto the wing covering or bond the fairing to the fuselage rather than the wing.
- Page 6 STEP 27. The Harmony is designed for a pair of .40 or .46 engines - the O.S. 46 AX being particularly recommended. Each engine is mounted with its silencer facing down using the mounting screws, washers and nyloc nuts supplied.
- Page 7 STEP 28. Screw a clevis onto each throttle pushrod, thread the z-bend through the servo’s output horn, then connect to each engine’s throttle arm. Adjust the rod lengths carefully to ensure that if you are connecting the servos via a ‘Y’ lead that the idle and high speed positions match.
- Page 8 The Tailplane and Fin STEP 34. Locate the elevator hinges and insert 3 mid-way into each elevator. Use thin cyano to secure each hinge, ensuring the glue soaks into the hinge and the surrounding wood. Now join the two elevator halves using the pre-bent wire elevator joiner coated with epoxy and inserted into the drilled holes in each elevator half.
- Page 9 STEP 40. Coat the underside of the fin fairing and the two dowels with more epoxy. Thread the dowels through the holes in the tailplane and push the fin fully into position. Use a tissue to remove any excess epoxy and check for the correct alignment of the tail and the fin while the epoxy cures.
- Page 10 Nose Retract STEP 46. The nose retract comes pre-fitted. Mount your servo in the pre-cut bay immediately behind the retract unit using the grommets, ferrules and screws supplied with your radio. Fit a clevis to the retract pushrod and connect. Adjust the length of the rod so the noseleg retracts and extends without binding.
- Page 11 • Double-check the Harmony’s Centre of Once comfortable with the Harmony the control throws can be increased to suit your flying style, however, these Gravity. • Check the control surfaces for both the correct are a good starting point for the majority of pilots.
Need help?
Do you have a question about the Harmony and is the answer not in the manual?
Questions and answers