Table of Contents
Advertisement
Quick Links
Advertisement
Table of Contents

Related Manuals for Ripmax mini Bossanova


Summary of Contents for Ripmax mini Bossanova
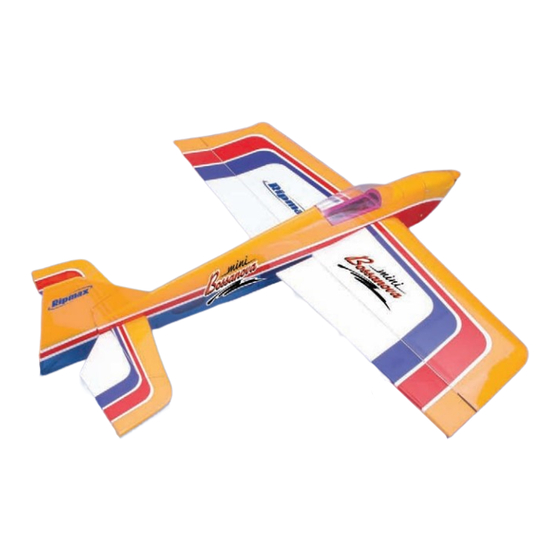
- Page 1 INSTRUCTION MANUAL...
- Page 2 Mini Bossanova - Instructions THE WING STEP 01 Locate the hinges and insert eight mid-way into the wing's trailing edge (four in each wing half half). Each of the slots has been pre-cut for the hinges but may need gentle opening up with a sharp knife.
- Page 3 Mini Bossanova - Instructions STEP 07 Carefully mark the tailplane on the top and bottom where it enters the fuselage using a soft, water-soluble felt tip pen. Now remove the tailplane. STEP 08 Cut away the covering from just inside the marked lines to give a film-free surface for the glue to bond on the top and the bottom of the tailplane.
- Page 4 Mini Bossanova - Instructions STEP 13 Locate the three rudder hinges and slide them half way into the rudder. Using thin cyano, pour a couple of drops onto each hinge - above and below - ensuring the glue soaks into the hinge and the surrounding wood.
- Page 5 Mini Bossanova - Instructions STEP 19 Slide the cowl in position. Re-fit the plywood spinner rings and mount your propeller. Holding the cowl in place and ensuring a small, even gap between the front of the cowl and spinner rings, mark the positions of the cowl mounting screws.
- Page 6 Mini Bossanova - Instructions STEP 25 Mix up sufficient 5 minute epoxy and glue the wing fairing in position using tape to hold it in position as the glue cures. Ensure that the fairing aligns correctly to the fuselage and that the glue does not come into contact with the fuselage.
- Page 7 You should be able to walk between 25-30 metres without interference or losing control. If you lose control or the radio The Mini Bossanova can accept a variety of power systems, but appears to have interference do not attempt to fly.
Need help?
Do you have a question about the mini Bossanova and is the answer not in the manual?
Questions and answers