
Related Manuals for EPLO E18PRO


Summary of Contents for EPLO E18PRO
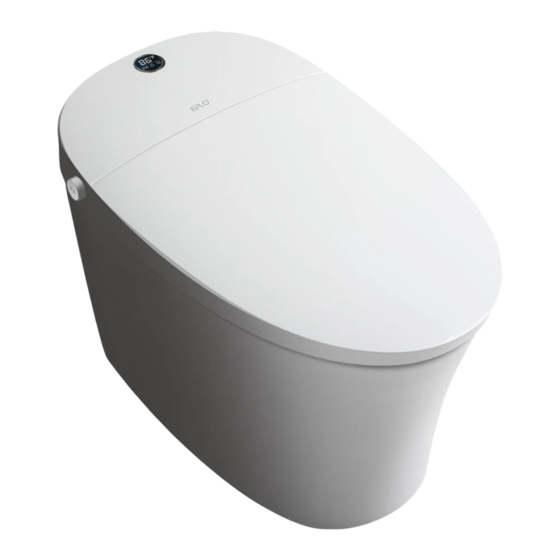
- Page 1 ENJOY SMART LIFE Installation Manual Model:E18PRO/E13PRO Thank you for choosing our products. Please read the instructions carefully before installation and keep it available for future maintenance or reference. E-mail:service@eplo.com...
-
Page 2: List Of Materials
Remote Control Components Sealing Flange Installation Cardboard ENJOY SMART LIFE Installation Manual Model:EP-E18PRO Thank you for choosing our products. Please read the instructions carefully before installation and keep it available for future maintenance or reference. E-mail:service@eploglobal.com Braided Hose Installation Manual... - Page 3 Toilet installation 1. Installation of angle valve 3. Hose Draw drain outlet centerline on the floor. Connect the water inlet and angle valve Install angle valve at proper position on of the toilet with the matching hose and the wall according to the dimension of tighten it.
- Page 4 4. Mounting bracket installation 6. Screw installation Assemble the mounting bracket with Put the screw through the fixing sleeve bolts and then install them to the and then install it through the holes (on both sides of the toilet ceramic) to the pre-installed flange plate on the ground mounting bracket on the ground.
- Page 5 Preparation 1. Turn on the angle valve Check the threaded connection for leaks to ensure complete sealing. Turn the angle valve counterclockwise to the full open position. (Note: The angle valve opens with a large torque for the first time.) Angle valve 2.
Need help?
Do you have a question about the E18PRO and is the answer not in the manual?
Questions and answers