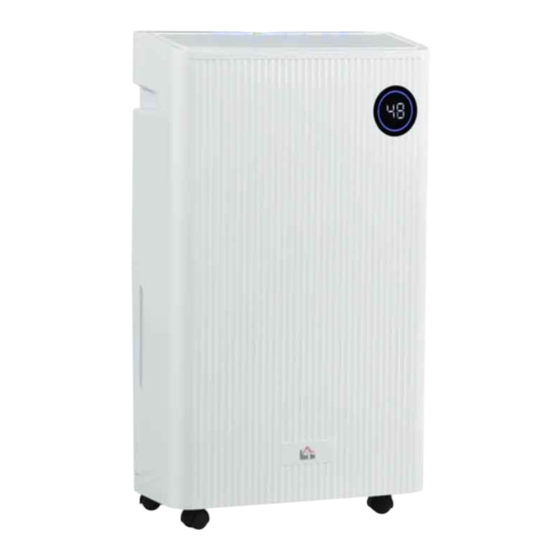
Summary of Contents for HOMCOM 821-024V70
- Page 1 IN230500568V01_UK 821-024V70 Dehumidifier IMPORTANT, RETAIN FOR FUTURE REFERENCE: READ CAREFULLY INSTRUCTION MANUAL...
- Page 2 Precautions Parts names and functions Control panel operation Selecting functions properly Set air filter How to operate Maintenance Specification Troubleshooting Thank you for choosing this dehumidifier. Please read this instruction manual carefully before installing this appliance. Keep this manual safe for future reference.
- Page 3 SAFETY INSTRUCTIONS PLEASE READ AND SAVE THESE IMPORTANT SAFETY INSTRUCTIONS. When using electrical appliances, always follow basic safety precautions to reduce the risk of fire, electric shock and injury to persons. These include the following: WARNING: To avoid the risk of electric shock, fire or injury to persons, always unplug the appliance before moving, servicing or cleaning it.
- Page 4 • Only use the appliance with the power adapter provided. Do not use chargers or power adapters - this can damage the product or battery. • Do not operate the appliance with the water tank removed. • Ensure the mains cable is fully extended before use, ensuring it does not touch any part of the appliance.
- Page 5 Humidity Indicator light This is an indicator of the current air humidity Red: Humidity is more than 70% Green: Humidity is between 50-70%, Blue: Humidity is below Up: 30cm or more Installation For efficient use, ensure there is enough space around the appliance (use the picture on the right for reference).
-
Page 6: Control Panel Operation
Control panel operation 1. Power button Press this button to turn the appliance on and to enter standby. When the appliance turns on, the dehumidifier mode indicator and room humidity will show on display. 2. Mode button Press this button repeatedly to cycle through the different modes, which are: Normal dehumidifying, continuous dehumidifying or strong dehumidifying. - Page 7 Control panel operation 7. 'Air clean' button This appliance has a built-in negative anion and UVC. Press this button to enter the air circulation mode, which cleans the air only. Press the fan speed button to adjust the speed. Ionic and UCV function When the appliance is running, the ionic and UCV lamp works automatically.
- Page 8 To dehumidify a room for comfortable humidity To dehumidify a room or keep a ceiling and/or walls from dew consideration and getting moldy To dry wet clothes quickly To dry a carpet or rug To dehumidify a small space or to dry shoes To clean the air in the room...
- Page 9 1. The air inlet grille of the back cover contains a washable mesh pre-filter and active carbon filter. 2. The unit is also equipped with a HEPA filter for purification. Please remove the active carbon fitler from the back grille and replace with the HEPA filter. Make sure the water tank is set properly.
-
Page 10: Emptying The Water Tank
Emptying the water tank 1. Remove tank from the dehumidifier. 2. Hold the tank by the handle and carry it gently. 3. Tilt the tank to the direction as shown. Slowly empty the water out of the tank. 4. Place the tank back into the dehumidifier. After using the dehumidifier, water is collected in the tank. -
Page 11: Water Tank
Note To avoid malfunctions or abnormal sounds, keep the unit upright. Body of Dehumidifier Wipe the dehumidifier with a dry, soft cloth. To remove heavy dirt, wipe it with a slightly damp cloth (never use a wet cloth for cleaning the controls). To avoid deformation or cracking of the appliance, do not use benzine, thinner or liquid cleaners. - Page 12 Model No: 821-024V70 (FDD16 - 5291ZFUR5) Power Supply: 220V-240V~ 50Hz Dehumidity Capacity: 16L/ Day( 30°C /80 %) Max. Input Power: 290W Max. Input Current : 1.40A Water Tank Capacity: 5.5 L Dimensions: Height 570mm, Length 340mm, width 240mm Room Temperature: 5 °C-32 °C...
- Page 13 Malfunction Points to be checked Measures to be taken Check to see if washed clothes Try to expose the washed clothes are exposed to the unit's to the airflow. Washed airflow. clothes are not dried Check to see if the room Washed clothes are hard to dry in temperature is too low.


Need help?
Do you have a question about the 821-024V70 and is the answer not in the manual?
Questions and answers