Table of Contents
Advertisement
INSTALLATION
MANUAL
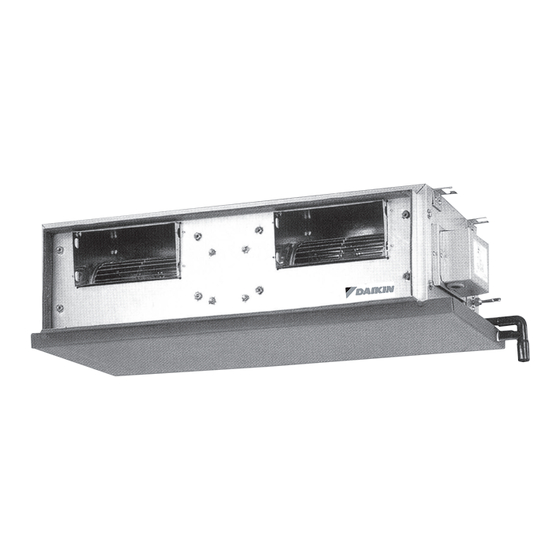
CEILING CONCEALED
R410A SPLIT TYPE AIR CONDITIONER
(C Series)
MODELS
FDMRN25CXV1
FDMRN35CXV1
FDMRN50CXV1
FDMRN60CXV1
FDMRN71CXV1
FDMRN100CXV1
FDMRN125CXV1
FDMRN140CXV1
FDMQN25CXV1
FDMQN35CXV1
FDMQN50CXV1
FDMQN60CXV1
FDMQN71CXV1
FDMQN100CXV1
FDMQN125CXV1
FDMQN140CXV1
CVR IM-5CCC-0912(0)-DAIKIN-EN.in1 1
CVR IM-5CCC-0912(0)-DAIKIN-EN.in1 1
RN25C(G)XV1
RYN25C(G)XV1
RN35C(G)XV1
RYN35C(G)XV1
RN50C(G)XV1
RYN50C(G)XV1
RN50C(G)XY1
RYN50C(G)XY1
RN60C(G)XV1
RYN60C(G)XV1
RN60C(G)XY1
RYN60C(G)XY1
RR71C(G)XV1
RQ71C(G)XV1
RR71C(G)XY1
RQ71C(G)XY1
RR90D(G)XV1
RQ90D(G)XV1
RR90D(G)XY1
RQ90D(G)XY1
RR100D(G)XV1 RQ100D(G)XV1
RR100D(G)XY1 RQ100D(G)XY1
RR125D(G)XY1 RQ125D(G)XY1
RR140D(G)XY1 RQ140D(G)XY1
Installation Manual
R410A Split Type Air Conditioner
Manuel D'installation
Climatiseurs Split System R410A
Installationshandbuch
Doppelfunktions-Klimagerät
and R410A
Manuale Di Installazione
Condizionatore Split A R410A
Manual De Instalación
Equipo de air Acondicionado de
tipo Dividido de R410A
Руководство по установке
R410A разделить Кондиционер
воздуха типа
Kurulum kılavuzu
R410A Split Tipi Klima
IM-5CCC-0912(0)-DAIKIN
Part No.: R08019038167
English
Français
Deutsch
Italiano
Español
Русский
Türkçe
10/9/12 4:11:39 PM
10/9/12 4:11:39 PM
Advertisement
Table of Contents


Need help?
Do you have a question about the RN25CXV1 and is the answer not in the manual?
Questions and answers