Advertisement
Quick Links
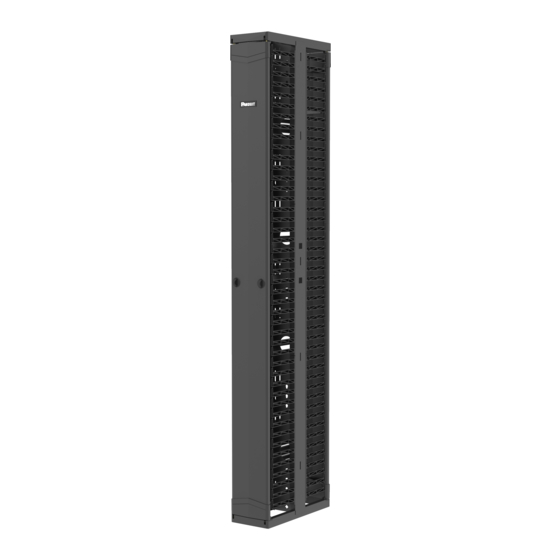
2 Vertical Managers and Racks
P
R
TM
ATCH
UNNER
Part Number(s): See Sheet 2
INSTALLATION INSTRUCTIONS
V00029MX_06
© Panduit Corp. 2023
Table of Contents
Description
Page
Part Numbers and Part Contents.....................................................................................................2
Door Removal..................................................................................................................................3
Installation of Vertical Managers to Racks.......................................................................................4
Door Installation...............................................................................................................................5
Finger Removal and Replacement..................................................................................................7
End Panel Installation......................................................................................................................8
Waterfall Installation.......................................................................................................................11
Other Compatible Accessories.......................................................................................................13
For Technical Support: www.panduit.com
Page 1 of 16
Advertisement


Need help?
Do you have a question about the PATCHRUNNER 2 PR2VD06 and is the answer not in the manual?
Questions and answers