Advertisement
Quick Links
© Panduit Corp. 2010
(2) Side Channel Assembles
(2) Base Angles
(2) Top Brackets
(1) Hardware Kit
R4P**CN**
Step 1
Lay one Side Assembly on the floor or on a pair of sturdy saw
horses. Apply antioxidant paste to painted surfaces that the 3/8"
paint piercing washers will come in contact with. Install Base
Angles and Top Brackets using (8) 3/8" Bolts and Paint Piercing
Washers.
DO NOT TIGHTEN.
Note: The base angles are assembled on the bottom of the rack
and the top angles are assembled at the top of the rack. A dia-
mond on the outer face of each post indicates the bottom of the
rack. See closeup in Step 2.
FOR TECHNICAL SUPPORT www.panduit.com/resources/install_maintain.asp
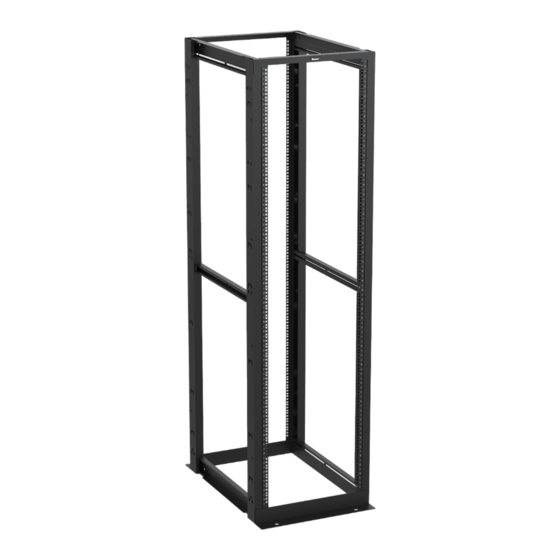
4 Post Rack and Accessories
Part Numbers: R4P, R4PCN, R4P23, R4P23CN, R4P36, R4P36CN, R4P42, R4P42CN, R4P96, R4PCN96,
INSTRUCTIONS CM396F
(25) 12-24 Cage Nuts
(25) 12-24 x.5" Screws
(16) Paint Piercing Washers
(16) 3/8 x 1" Bolts
(1) Tube of Anti-Oxidizing Gel
R4P2396, R4P23CN96, R4P3696, R4P36CN96, R4P4296, R4P42CN96,R4P79, R4PCN79
R4P****
Step 2
Place remaining Side Assembly as shown. Apply antioxidant paste to
painted surfaces that the 3/8" paint piercing washers will come in con-
tact with. Assemble to Base Angles using 3/8" Bolts and Paint Piercing
Washers. One of each per side.
DO NOT TIGHTEN.
Page 1 of 4
(2) Side Channel Assembles
(2) Base Angles
(2) Top Bracket
(1) Hardware Kit
(25) 12-24 x.5" Screws
(16) Paint Piercing Washers
(16) 3/8 x 1" Bolts
(1) Tube of Anti-Oxidizing Gel
Diamond indicates
bottom of rack
Advertisement

Related Manuals for Panduit R4P


Summary of Contents for Panduit R4P
- Page 1 4 Post Rack and Accessories Part Numbers: R4P, R4PCN, R4P23, R4P23CN, R4P36, R4P36CN, R4P42, R4P42CN, R4P96, R4PCN96, R4P2396, R4P23CN96, R4P3696, R4P36CN96, R4P4296, R4P42CN96,R4P79, R4PCN79 INSTRUCTIONS CM396F © Panduit Corp. 2010 (2) Side Channel Assembles (2) Side Channel Assembles (2) Base Angles...
- Page 2 16.00" Panduit recommends putting the front rails 1” back for optimal ther- mal and cable management. Front rails are to be recessed less than 1.5” to be compatible with newer thermal ducts.
- Page 3 Side of post installation Fig, 1 Note: Shelf is designed to support large net- Secure the waterfall as shown in Fig. 1 using working equipment in combination with sup- provided hardware. plied equipment mounting flanges For Technical Support: www.panduit.com/resources/install_maintain.asp Page 3 of 4...
- Page 4 Note: Short POU’s may be orientated using one of installation secure with #12-24 screw. two post hole configurations, side or front of post For instuctions in Local Languages E-mail: and Technical Support: cs@panduit.com Fax: www.panduit.com/resources/install_maintain.asp (708)444-6448 www.panduit.com Page 4 of 4...
Need help?
Do you have a question about the R4P and is the answer not in the manual?
Questions and answers