Table of Contents
Advertisement
Available languages
Available languages
Quick Links
USA office: Fontana
AUS office: Truganina
GBR office: FDS Corporation Limited,Unit 4, Blackacre Road, Great Blakenham,Ipswich, Ip6 0FL,United Kingdom
If you're having difficulty, our friendly
customer team is always here to help.
FRA office: Saint Vigor d'Ymonville
THIS INSTRUCTION BOOKLET CONTAINS IMPORTANT SAFETY INFORMATION.
USA:cs.us@costway.com
AUS:cs.au@costway.com
PLEASE READ AND KEEP FOR FUTURE REFERENCE.
GBR:cs.uk@costway.com
FRA:cs.f r @costway.com
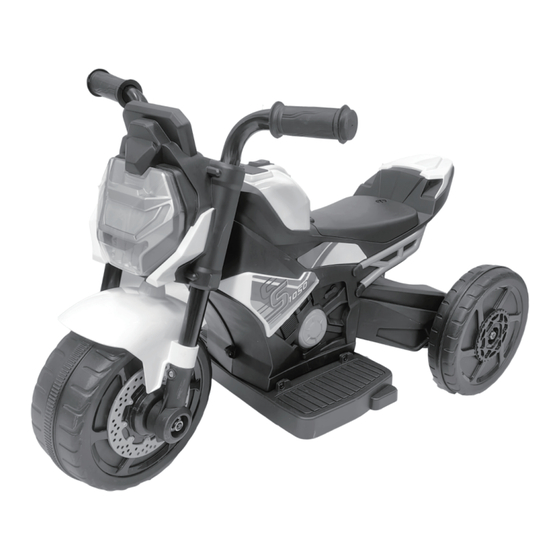
Kids Ride On Motorcycle
Moto Électrique pour Enfants
TQ10215
Advertisement
Table of Contents

Subscribe to Our Youtube Channel
Related Manuals for Costway TQ10215


Summary of Contents for Costway TQ10215
- Page 1 GBR office: FDS Corporation Limited,Unit 4, Blackacre Road, Great Blakenham,Ipswich, Ip6 0FL,United Kingdom THIS INSTRUCTION BOOKLET CONTAINS IMPORTANT SAFETY INFORMATION. USA:cs.us@costway.com If you're having difficulty, our friendly AUS:cs.au@costway.com PLEASE READ AND KEEP FOR FUTURE REFERENCE. GBR:cs.uk@costway.com customer team is always here to help. FRA:cs.f r @costway.com...
-
Page 2: Before You Start
Before You Start Please read all instructions carefully and keep it for future reference. Warnings Attention! Use it with protective equipment. Attention! Do not use it in the traffic. Attention! Children should use this product under the parental supervision. • Suitable for 18-36 Months. WARNING •... -
Page 3: Parts List
Parts List About Your New Vehicle On the purchase of your new Ride-On. This ride-on car will provide your child with many miles of riding 1. Body 2. Handlebar 3. Pedal of enjoyment. To help assure you and your rider a safe ride, we ask you to please read this manual carefully, and keep it for future 4. - Page 4 Safety Rules for Safe Riding • Keep Children within Safe Riding Areas: WARNING - Never use in roadway, near motor vehicles, on lawn space, on or near steep inclines or steps, swimming pools or other bodies of water; PREVENT INJURIES AND DEATHS: •...
- Page 5 Install mudguard and front wheel Install the pedals and rear axle assembly 1.Remove the preinstalled screws(C)*1, machine screw(E)*2 & 1.Remove the screw(C)*4 preinstalled on each side of the body. Nut(F)*2. 2.Connect the control wire to the foot switch. 2.Insert the mudguard into the front fork. 3.Install the pedals on the bottom of the body and press down tightly to align the holes.
-
Page 6: Connect The Power Supply
Connect the Power Supply Install rear and training wheels and handlebars This side faces out 1.Turn the knob on the seat to open the seat. 2.Plug the battery connector into the red vehicle connector as shown. 3.Close the seat and rotate the knob. 1.Slide a washer(D) onto the rear axle. - Page 7 Use your New Ride-on Dear customers, there are 2 modes(three-wheel&double wheel) for you to choose as your children's age. Mode 1: Three-wheel mode change to double-wheel mode 1-2. Press the button inside the rear wheel to remove the entire rear wheel. 3.Flip the rear wheels separately, install them back into the vehicle.
-
Page 8: Troubleshooting Guide
Charging Troubleshooting Guide Problem Possible Cause Solution WARNING: ONLY AN ADULT CAN CHARGE AND RECHARGE THE Battery low on power Recharge battery. Vehicle does not BATTERY! WARNING: Thermal fuse has Reset fuse, see <Fuse> This product with Charging Protection: When charging, all tripped functions will be cut off! Only an adult can charge and recharge the battery! - Page 9 Vehicle runs Battery low on power Recharge battery, Loud grinding or Motor or gears are Contact us please. sluggishly contact us please. clicking noises damaged coming from motor or gear Battery is old Replace battery, contact us please. Battery will not Battery connector or Check that the battery recharge...
- Page 10 Fuse Maintaining • It is parents' responsibility to check main parts of the toy before • The battery features a thermal fuse with a rest fuse that will using,must regularly examine for potential hazard, such as the automatically trip and cut all power to the vehicle if the motor, battery, charger, cable or cord, plug, screws are fastening electric system or battery is overloaded.
-
Page 11: Avant De Commencer
Avant de Commencer Veuillez lire attentivement toutes les instructions et les conserver pour la référence ultérieure. Avertissements Attention ! Utilisez ce produit avec un équipement de protection. Attention ! Ne l'utilisez pas dans la circulation routière. Attention ! Les enfants doivent utiliser ce produit sous la surveillance de leurs parents. •... -
Page 12: Spécifications
Liste de Pièces À Propos de Votre Nouveau Véhicule À propos de l'achat de votre nouveau porteur. Cette voiture électrique offrira à votre enfant de nombreux 1. Carrosserie 2. Guidon 3. Pédale kilomètres de plaisir. Pour garantir une conduite sûre pour vous et votre enfant, veuillez lire attentivement ce manuel et le conserver pour 4. - Page 13 Sécurité Règles pour Une Conduite Sécuritaire ● Gardez les enfants dans des zones sûres : AVERTISSEMENT -Ne l'utilisez jamais sur la route, à proximité de véhicules à moteur, dans des zones herbeuses, sur ou à proximité de pentes ou de marches raides, de piscines ou d'autres plans d'eau ;...
- Page 14 Installer les ailes et la roue avant Installez les pédales et l'ensemble de l'essieu arrière 1. Retirez les vis préinstallées (C)*1, la vis à métaux (E)*2 et l'écrou (F)*2. 1. Retirez la vis (C)*4 préinstallée de chaque côté du corps. 2.
-
Page 15: Connectez L'alimentation
Connectez l'Alimentation Assembler les roues arrière et d'entraînement et le guidon Ce côté est tourné vers l'extérieur 1. Tournez le bouton du siège pour l'ouvrir. 2. Branchez le connecteur de la batterie dans le connecteur rouge du véhicule, comme indiqué. 1. - Page 16 Utilisez Votre Nouvelle Moto Électrique Chers clients, vous avez le choix entre 2 modes (trois roues et doubles roues) en fonction de l'âge de vos enfants. Mode 1 : Le mode à trois roues passe au mode à deux roues. 1-2.
-
Page 17: Guide De Dépannage
Charge Guide de Dépannage Problème Cause Possible Solution AVERTISSEMENT ! SEUL UN ADULTE PEUT CHARGER ET RECHARGER LA Batterie faible Rechargez la batterie. Le véhicule ne BATTERIE ! fonctionne pas AVERTISSEMENT ! Le fusible thermique Réinitialisez le fusible, Ce produit dispose d'une protection de charge : Pendant la s'est déclenché... - Page 18 Le véhicule roule Batterie faible Rechargez la batterie, Le moteur ou la Le moteur ou les Contactez nous s'il vous lentement contactez-nous. boîte de vitesses engrenages sont plait. émet des bruits endommagés Vieille batterie Remplacez la batterie, gênants ou des contactez-nous.
-
Page 19: Entretien
Fusible Entretien ● Il est de la responsabilité des parents de vérifier les principales La batterie intègre un fusible thermique avec un fusible de veille parties du jouet avant de l'utiliser. Ils doivent régulièrement qui se déclenchera automatiquement et coupera toute alimentation examiner les dangers possibles, tels que la batterie, le chargeur, le du véhicule si le moteur, le système électrique ou la batterie est câble ou le cordon, la fiche, les vis qui fixent le boîtier des autres... - Page 20 Return / Damage Claim Instructions DO NOT discard the box / original packaging. In case a return is required, the item must be returned in original box. Without this your return will not be accepted. Take a photo of the box markings. A photo of the markings (text) on the side of the box is required in case a part is needed for replacement.
Need help?
Do you have a question about the TQ10215 and is the answer not in the manual?
Questions and answers