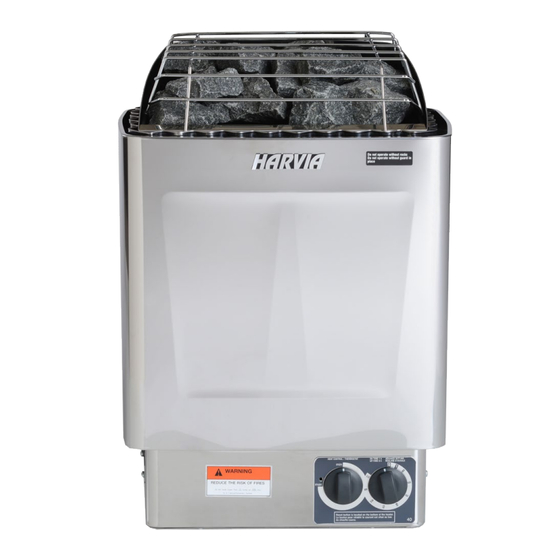
Almost Heaven Saunas Harvia Installation & Owner's Manual
Kip heater
Hide thumbs
Also See for Harvia:
- Installation manual (6 pages) ,
- Installation & owners manual (12 pages)
Table of Contents
Advertisement
Quick Links
Advertisement
Table of Contents

Subscribe to Our Youtube Channel
Summary of Contents for Almost Heaven Saunas Harvia
- Page 1 KIP Heater Installation & Owner’s Manual...
-
Page 2: Important Safety Instructions
IMPORTANT SAFETY INSTRUCTIONS DANGER: Indicates a hazardous situation that, if not avoided, will result in death or serious injury. WARNING: Indicates a hazardous situation that, if not avoided, could result in death or serious injury. CAUTION: Indicates a hazardous situation that, if not avoided, could result in minor or moderate injury. NOTICE: Indicates information considered important, but not hazard-related. - Page 3 If you are above this threshold and are not achieving the aforementioned expectations, please contact Almost Heaven Saunas technical support. HEATER WARRANTY Your Harvia heater comes with a 1 year warranty on the heating elements, and a 5 year warranty on the other components. Information for your electrician: 4.5kW and 6.0kW KIP Heaters •...
- Page 4 POSITIONING YOUR HEATER • Improper installation of heater mounting bracket could cause heater to fall leading to burns and other injuries. Unpack your heater, setting aside the trim pieces and bag with placards and screws (1). Image 1 Remove the hardware bag from the baggie with the safety placards (2), selecting the two longer lag screws (1.5”). You will secure these into the sauna wall so that ¼”...
- Page 5 Hang the heater on the mounting screws to ensure it is level and that its base sits 5-7” off the floor of the sauna. If these criteria are met, make a mark on the wall of the sauna directly behind one of the rubber gaskets on the lower back of the heater (7);...
-
Page 6: Connecting To Power
CONNECTING TO POWER • Turn off power to heater at the breaker before beginning installation. Do not turn power on until installation is complete. Failure to turn off the power could lead to electrocution and even death. • • • Do not use ground fault interrupter (GFI), per UL listing and approval. -
Page 7: Operating The Heater
OPERATING THE HEATER This heater is operated using two dials – the thermostat and the timer. Thermostat (left) controls the temperature of the sauna. Set it according to your personal preference. Timer (right) turns the heater on and off, and has the ability to delay the start. If the heater has power, you should hear a loud “clunk”... - Page 8 PLACING THE STONES • Do not operate the heater without rocks properly installed beyond the initial burn off. This creates a fire risk and damage to the heater. • Before placing or adjusting stones, ensure heater is back to room temperature. Failure to do so may cause burns.
-
Page 9: Temperature Sensor Placement
TEMPERATURE SENSOR PLACEMENT Mount the sensor housing (the metal component zip tied to the elements in step 1) approximately 14” to the side of the heater and 14” below the highest point of the sauna. If it is too high on the wall or too close to the heater, it will sense that the sauna is hotter than it actually is, triggering a premature shut off (23). - Page 10 USING YOUR SAUNA HEATER Your sauna has been paired with an appropriately sized heater to consistently achieve temperatures of 175°-185°F. You should expect your sauna to be at a useable temperature in 45-60 minutes. You have the option to pour water onto the stones to generate steam. Please note, little water is required to achieve this. For most sauna users, a ladle full of water is sufficient.
-
Page 11: Troubleshooting
You can find this button in the cut-out on the bottom plate (33). Image 33 If none of the above recommendations get your heater working, please call Almost Heaven Saunas at 888-355-3050 to diagnose further. - Page 12 almostheaven.com 12-2023...


Need help?
Do you have a question about the Harvia and is the answer not in the manual?
Questions and answers