Almost Heaven Saunas Harvia Installation & Owners Manual
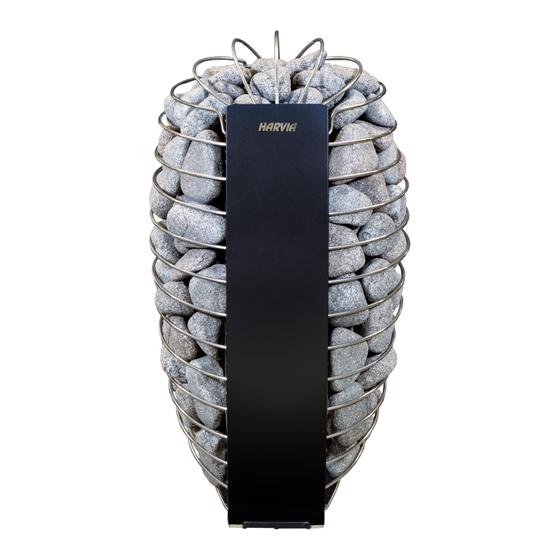
Spirit heater
Hide thumbs
Also See for Harvia:
- Installation manual (6 pages) ,
- Installation & owner's manual (12 pages)
Advertisement
Quick Links
Advertisement

Subscribe to Our Youtube Channel
Related Manuals for Almost Heaven Saunas Harvia


Summary of Contents for Almost Heaven Saunas Harvia
- Page 1 Spirit Heater Installation & Owner’s Guide...
-
Page 2: Important Safety Instructions
IMPORTANT SAFETY INSTRUCTIONS DANGER: Indicates a hazardous situation that, if not avoided, will result in death or serious injury. WARNING: Indicates a hazardous situation that, if not avoided, could result in death or serious injury. CAUTION: Indicates a hazardous situation that, if not avoided, could result in minor or moderate injury. NOTICE: Indicates information considered important, but not hazard-related. - Page 3 HEATER INSTRUCTIONS Your Almost Heaven Sauna is paired with a genuine Finnish heater manufactured by Harvia, the world leader in sauna heaters. This guide should be used in conjunction with the manufacturer’s heater manual found inside the heater box. The Almost Heaven Saunas staff is available to assist with any questions you or your electrician may have.
- Page 4 POSITIONING YOUR HEATER • Improper installation of heater mounting bracket could cause heater to fall leading to burns and other injuries. The Spirit heater is a wall mounted unit. Position the heater in the designated heater location in your sauna according to the instructions below.
- Page 5 ELEMENT INDOOR SAUNAS (Hillsboro, Sutton, Worthington, and Patterson) & Cabin Saunas (Allegheny, Appalachia, & Timberline) • Install the mounting plate on the wall so it sits 4-12” above the floor in the sauna. Use mounting screws provided in heater box. PLACING THE HEATER •...
- Page 6 The image on the right is an example of an enclosure. Alternatively, you can purchase a longer temperature sensor wire directly from Almost Heaven Saunas. Touchpad •...
- Page 7 Outgoing Power Next, you’ll want to relay power to the heater itself. First, connect the ground at the power unit to the ground terminal at the heater. Next, connect outgoing L1 to L1 at the heater, and outgoing L2 to L2 at the heater. Next, complete the high-limit safety-circuit by connecting A1 at the power unit to A1 at the heater, and A2 at the power unit unit to A2 at the heater (Images 7-8).
- Page 8 Image 11 Image 12 We advise mounting this sensor approximately 14” to the side of the heater, and approximately 4” below the highest point of the sauna. Use the provided hardware to mount the sensor. Next, feed the sensor wire out of your sauna in order to connect to the power unit. Secure the wiring to the circuit board mini-terminal.
- Page 9 Touchpad The touchpad should be mounted indoors in a dry location, preferably in your home. Once you’ve determined this location, use a flathead screwdriver to gently pry the screen of the touchpad from the mounting bracket. Feed the data cable through the hole in the mounting bracket, and mount the bracket to the location you selected.
-
Page 10: Operating Your Heater
OPERATING YOUR HEATER Note: Your touchpad’s default settings are compatible with your heater. No changes are necessary. Immediate Start Turn your breaker on. If everything is connected correctly, the buttons at the bottom of the screen should illuminate. The bottom left button is the main power unit - press it, and you should hear a loud “clunk”... -
Page 11: Troubleshooting
If this continues to happen, your sensor may be too high or too close to the heater. If none of the above recommendations get your heater working, please call Almost Heaven Saunas at 888-355-3050 to diagnose further. - Page 12 01-2024 almostheaven.com...
Need help?
Do you have a question about the Harvia and is the answer not in the manual?
Questions and answers