Sign In
Upload
Download
Table of Contents
Contents
Add to my manuals
Delete from my manuals
Share
URL of this page:
HTML Link:
Bookmark this page
Add
Manual will be automatically added to "My Manuals"
Print this page
×
Bookmark added
×
Added to my manuals
Manuals
Brands
Tsun Manuals
Inverter
G3 Plus Series
User manual
Tsun G3 Plus Series User Manual
Hide thumbs
Also See for G3 Plus Series
:
User manual
(77 pages)
1
2
Table Of Contents
3
4
5
6
7
8
9
10
11
12
13
14
15
16
17
18
19
20
21
22
23
24
page
of
24
Go
/
24
Contents
Table of Contents
Troubleshooting
Bookmarks
Table of Contents
Trademarks and Permissions
Audience
Table of Contents
Content
Read this First
Important Safety Information
Product Label
System Introduction
Product Description
Datasheet
Micro Inverter Installation
Pre-Installation Check
Installation Steps
TSUN Monitoring System
Installer
End User
Remote Active Power Control
Self-Test Function for Italy
Fault Code and Troubleshooting
Maintenance Guide
Routine Maintenance
Storage and Dismantling
Recycling and Disposal
Warranty Service
Exclusions
Distributor Responsibility
Advertisement
Quick Links
Download this manual
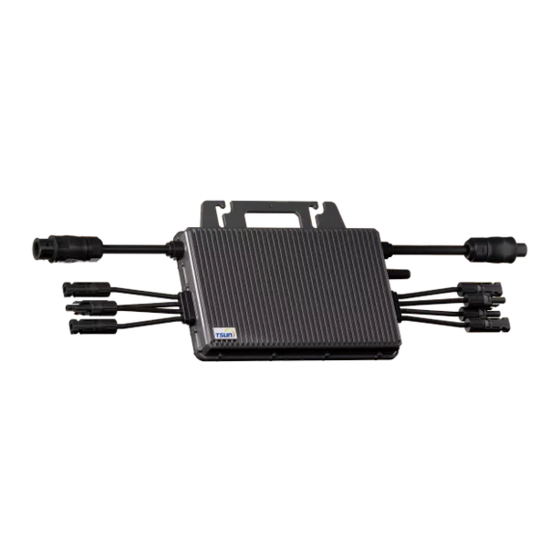
G3 Plus Microinverter
TSOL-MS2000
TSOL-MS1800
TSOL-MS1600
TSOL-MS2000(1500)
TSOL-MS2000(800)
TSOL-MS2000(600)
V1.0
- 1 -
Table of
Contents
Previous
Page
Next
Page
1
2
3
4
5
Advertisement
Table of Contents
Need help?
Do you have a question about the G3 Plus Series and is the answer not in the manual?
Ask a question
Questions and answers
Related Manuals for Tsun G3 Plus Series
Inverter Tsun G3 User Manual
(77 pages)
Inverter Tsun G3 Series User Manual
Microinverter (268 pages)
Inverter Tsun TSOL-MS300 Balcony User Manual
Balcony microinverter (49 pages)
Measuring Instruments Tsun TSOL-MS2000 User Manual
(49 pages)
Inverter Tsun TSOL-MS2000 User Manual
(23 pages)
Inverter Tsun TSOL-MS400 User Manual
(22 pages)
Inverter Tsun TSOL-MS1600 Quick Installation Manual
Microinverter (8 pages)
Inverter Tsun TSOL-MS400 Quick Installation
Microinverter (2 pages)
Inverter Tsun G3 Series User Manual
(25 pages)
Inverter Tsun TSOL-MP3000 User Manual
(24 pages)
Inverter Tsun TITAN TSOL-MS3000 Quick Installation Manual
Microinverter (2 pages)
Inverter Tsun TSOL-MX400 User Manual
(20 pages)
Inverter Tsun TSOL-MP3000 Quick Installation Manual
Titan microinverter (2 pages)
Inverter Tsun TSOL-MS800 Quick Installation
Microinverter (2 pages)
Inverter Tsun TSOL-M350 User Manual
(25 pages)
Inverter Tsun TSOL-MX800 User Manual
(22 pages)
This manual is also suitable for:
Tsol-ms2000
Tsol-ms1800
Tsol-ms1600
Tsol-ms2000 600
Tsol-ms2000 800
Tsol-ms2000 1500
Table of Contents
Print
Rename the bookmark
Delete bookmark?
Delete from my manuals?
Login
Sign In
OR
Sign in with Facebook
Sign in with Google
Upload manual
Upload from disk
Upload from URL


Need help?
Do you have a question about the G3 Plus Series and is the answer not in the manual?
Questions and answers