Advertisement
Quick Links
Advertisement

Related Manuals for NCR 7707-K401


Summary of Contents for NCR 7707-K401
- Page 1 Kit Instructions Panasonic JT-R600 E–Money Field Upgrade 7707-K401 Issue A...
- Page 2 NCR, therefore, reserves the right to change specifications without prior notice. All features, functions, and operations described herein may not be marketed by NCR in all parts of the world. In some instances, photographs are of equipment prototypes. Therefore, before using this document, consult with your NCR representative or NCR office for information that is applicable and current.
-
Page 3: Revision Record
Revision Record Issue Date Remarks Jan 2019 First Issue... - Page 4 Panasonic JT–R600 E–Money Field Upgrade This publication provides procedures for upgrading an NCR SelfServ™ Checkout (7707) R6-Japan unit with or without an existing E-Money Terminal – with a Panasonic JT- R600 E-Money Terminal.
-
Page 5: Kit Contents
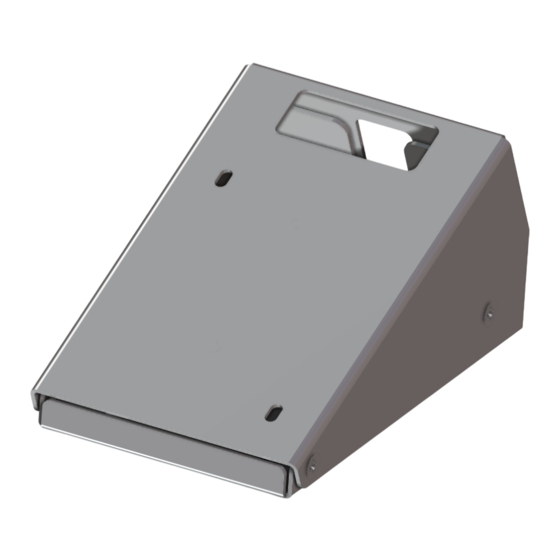
K401Cover Kit Contents Part Number Description 497-0523899 7707–K401 Panasonic RT600 E–Money Field Upgrade 006-8616845 Cable Clamp P-Loops 007-7022120 M4 Screw (4pcs) 009-0006592 M4 Hex Screw (2pcs) 009-0007087 M4 Nut (2pcs) 795-0253701 E-Money Lower Bracket 795-0253901 Panasonic JT-R600 E-Money Bracket * 497-9999619 X/XR7, 15 in POS/Display Carton (no stand) * 497-0423108 Kit Instructions (Reference Sheet) -
Page 6: Installation Procedure
K401Cover 1-vi Installation Procedure Upgrading an NCR SelfServ™ Checkout (7707) R6-Japan unit with or without an existing E-Money Terminal – with Panasonic JT-R600 Panasonic E-Money Terminal involves the following procedures: 1. Do either of the following: • For units with Nanaco E-Money Terminal, remove the existing E-Money Terminal. - Page 7 1-vii K401Cover Removing Nanaco E-Money Terminal To remove the Nanaco E-Money Terminal, follow these steps: 1. Do the following: • Open the back panel of the Upper Enclosure. • Using a key, unlock and open the Upper Cabinet shelf.
- Page 8 K401Cover 1-viii 2. Do the following: a. Disconnect the Nanaco cable from the 7702 Terminal Display. b. Remove the Nanaco cable from the open p-loops, as shown in the image below. 3. Remove two (2) screws located at the rear part of the upper mounting bracket, as shown in the image below.
- Page 9 1-ix K401Cover 4. Raise the upper mount and then remove the screw securing the E-Money Terminal assembly to the Upper Enclosure. 5. Slide the terminal assembly backward to disengage the assembly from the unit. 6. Route the E-Money Terminal cable. For more information, refer to Routing E-Money Terminal Cables on page xi.
-
Page 10: Removing Blanking Plate
K401Cover Removing Blanking Plate To remove the blanking plate, follow these steps: 1. Using a metal pry tool or a flat screwdriver, slowly remove the blanking plate by starting from the sides until the plate is completely detached. Note: Use the pry tool with caution to avoid scratches on the paint. 2. - Page 11 1-xi K401Cover Routing E-Money Terminal Cables To route the E-Money Terminal cables in the R6-Japan unit, follow these steps: 1. Do the following: a. Route the power cable from the lower cabinet up to the Upper Enclosure through P-loops. b. Route the data cable from the 7702 Terminal Display down through the P- loops and to the Upper Enclosure.
- Page 12 K401Cover 1-xii 2. Route the cables through the P-loops of the mounting brackets, as shown on the images below. Note: Ensure that there is enough cable slack to avoid cables from being stretched during installation or removal procedures. 3. Install the Panasonic JT-R600 E-Money Terminal. For more information, refer to Installing Panasonic JT-R600 E-Money Terminal on the next page.
- Page 13 1-xiii K401Cover Installing Panasonic JT-R600 E-Money Terminal To install the Panasonic JT-R600 E-Money Terminal, follow these steps: 1. Route the cables. For more information, refer to Routing E-Money Terminal Cables page xi. 2. Open the terminal cover of the device by removing two (2) screws and connect the power and data cables to the corresponding ports.
- Page 14 K401Cover 1-xiv 4. Secure the upper mount to the lower mounting bracket using four (4) screws. 5. Mount hooks of the E-Money Terminal assembly to the SelfServ Checkout upper enclosure to lock in place and then secure using a screw.
Need help?
Do you have a question about the 7707-K401 and is the answer not in the manual?
Questions and answers