Advertisement
Quick Links
Advertisement

Subscribe to Our Youtube Channel
Summary of Contents for VABCHES D3M573JS0L
- Page 1 D3M573JS0L/D3M573JS0M service@vabchesofficial.com 11/136...
- Page 2 22/136...
-
Page 3: Parts Identification
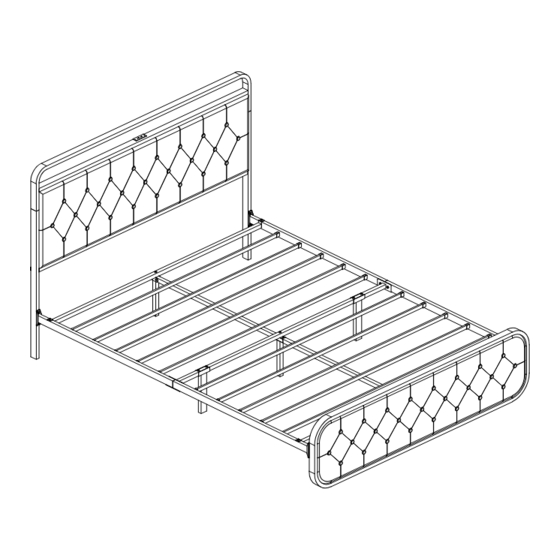
Parts Identification Not actual size HEADBOARD FRAME HEADBOARD POST HEADBOARD BACKREST Q'ty: 1 Q'ty: 2 Q'ty: 1 HEADBOARD CONNECTER SIDE RAIL-1 SIDE RAIL-2 Q'ty: 1 Q'ty: 2 Q'ty: 2 METAL TUBE PORTION METAL TUBE Q'ty: 2 Q'ty: 2 Q'ty: 1 SUPPORT LEG CENTER SUPPORT LEG SUPPORT LEG... -
Page 4: Hardware List
Hardware List Ø1/4" x 13mm M8 x 20mm Ø1/4" x 25mm M8 x 38mm x 12 x 22 BOLT spare: 1 Ø3.5 x 12mm M8 x 60mm SCREW ALLEN KEY x 20 PLASTIC CAP MAGIC STICKER LED STRIP... - Page 5 Parts Identification Not actual size 5/13...
- Page 6 STEP 1 Please tighten the screws to 80% first, and tighten all screws 100% after all Ø1/4" x 13mm parts are assembled. STEP 2 Ø1/4" x 13mm 6/13...
- Page 7 STEP 3 Please tighten the screws to 80% first, and tighten all screws 100% after all Ø1/4" x 13mm parts are assembled. STEP 4 Please tighten the screws to 80% first, and tighten all screws 100% after all Ø1/4" x 13mm parts are assembled.
- Page 8 STEP 5 Please tighten the screws to 80% first, and tighten all screws 100% after all parts are assembled. STEP 6 8/13...
- Page 9 STEP 7 Please tighten the screws to 80% first, and tighten all screws 100% after all Ø1/4" x 25mm parts are assembled. STEP 8 Please tighten the screws to 80% first, and tighten all screws 100% after all M8 x 20mm parts are assembled.
- Page 10 STEP 9 Expand the folded portion 8 x 60mm 8 x 38mm Before you install this bolt, 8x 38mm please make sure the bolt size is 8*60mm. 8 x 60mm Before you install this bolt, please make sure the bolt size is 8*38mm.
- Page 11 STEP 11 Please tighten the screws to 80% first, and tighten all screws 100% after all Ø1/4" x 25mm parts are assembled. STEP 12 Please tighten the screws to 80% first, and tighten all screws 100% after all parts are assembled. M8 x 20mm M8x 60mm M8 x 60mm...
- Page 12 STEP 13 x 20 x 10 STEP 14 Ø3.5 x 12mm 12/13...
- Page 13 STEP 15 Tear off the protective film of LED strips, then stick them on side rails and footboard. 10 10 Buckle the LED strips using magic sticker 13/13...


Need help?
Do you have a question about the D3M573JS0L and is the answer not in the manual?
Questions and answers