
Related Manuals for Techni Mobili MODERN RTA-940TV


Summary of Contents for Techni Mobili MODERN RTA-940TV
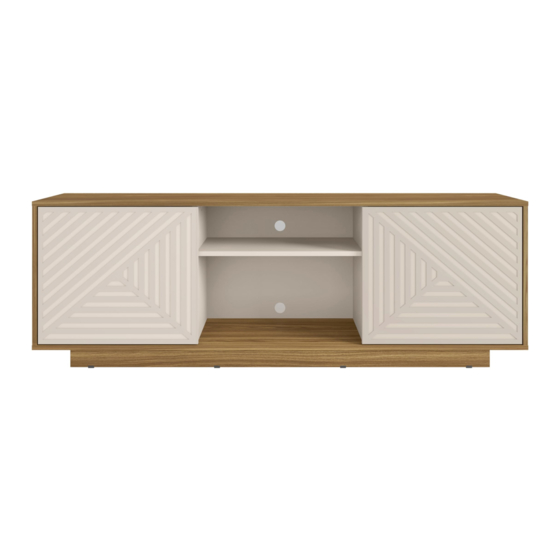
- Page 1 MODERN 2 DOOR TV STAND MODEL RTA-940TV ASSEMBLY INSTRUCTIONS REV-1-CMN-7733-1123 Thank you for purchasing our product...
-
Page 2: Main Parts List
RTA-940TV Replacement Parts for International Do a quick inventory For Support, assembly questions Customers & AK-HI-PR orders: of all the parts and & Replacement Parts within the hardware listed below. 48 Contiguous United States: RTA Products will replace the part free of charge, while the customer is responsible Please email us at: for shipping costs plus any International... - Page 3 RTA-940TV MAIN PARTS LAYOUT (For reference) HARDWARE LIST AND INCLUDED TOOLS ITEM ITEM PART QTY SIZE / DESCRIPTION PART QTY SIZE / DESCRIPTION 100x10mm M4x50 Double side tape M6x32 Self-adhesive round Color sticker Bolt COLOR #1 Self-adhesive round Cam lock Color sticker COLOR #2...
- Page 4 RTA-940TV BEFORE YOU START THE ASSEMBLY, PLEASE READ THE FOLLOWING TIPS AND WARNINGS. • Do not discard this manual or any of the packaging material until the unit is completely assembled. • Please read the assembly instructions throughly and follow step by step. •...
- Page 5 RTA-940TV THE ASSEMBLY STEPS START ON NEXT PAGE CAM BOLT AND CAM LOCK TUTORIAL THE INSTRUCTIONS BELOW ARE NOT ACTUAL ASSEMBLY STEPS This unit uses cam bolts and locks (also known as mini fixes). If you are not familiar with this kind of hardware, the below is a tutorial that explains how to use them on the steps where they are required.
-
Page 6: Assembly Steps
RTA-940TV ASSEMBLY STEPS WE RECOMMEND TO PLACE THE PIECES OVER BLANKETS TO PROTECT THEIR FINISH DURING ASSEMBLY. STEP 1 Install the wooden dowels D into the indicated holes on panels 2, 3, 6, 7, 8, 9 Hardware and 10. Ø6x30 Wooden dowel Tools (Not included) - Page 7 RTA-940TV STEP 3 Hardware With the pieces placed oriented as shown, ensamble the partition panels 7 and 9 to the shelf 8 with cam locks C as explained in the TUTORIAL PAGE. Cam lock Tools (Not included) Alignment STEP 4 Hardware •...
- Page 8 RTA-940TV STEP 5 Pay attention to the orientation of the fixed hinges G, and attach them to the Hardware side panels 6 and 10 with screws I. M3.5x12 Fixed hinge Tools (Not included) STEP 6 Assemble the side panels 6 and 10 to the top main panel 11 with cam locks C. Hardware Alignment Cam lock...
- Page 9 RTA-940TV STEP 8 On the indicated profile of the skirting boards 1 and 4 install 2 pieces of the glide Hardware feet E using nails J at approximately 2" from each end, then another 2 pieces E in the middle at equidistant length. Glide 2"...
- Page 10 RTA-940TV STEP 11 • FIRST, and with the help of another person, carefully flip the unit over its front. This step • THEN place all the back boards 15, 16, 17 and 18 over the unit on their requires of 2 persons respective places making sure they are flush with each other and their edges fit and are centered within the edges of the unit.
- Page 11 RTA-940TV P.10 P.10 STEP 12 • FIRST place the decorative panels 13 and 14 upside-down and carefully peel- Hardware off and attach to each of them 20 pieces of the double-sided tape K, but DO NOT PEEL OFF on the top side until ready to join with doors 12. Double •...
- Page 12 RTA-940TV P.11 P.11 STEP 14 • FIRST, inside the unit loosen up the middle screws on the fixed hinges G, and Tools (Not included) on the doors 12 tighten the screw on the hinges F just a little bit to allow both pieces of hinges to connect well one to another.
- Page 13 RTA-940TV P.12 P.12 WEIGHT LIMITS 2.2 Lbs (1 Kg) 42 Lbs (19 Kg) 6.6 Lbs (3 Kg) WARNINGS • Always pay close attention to small children playing near the unit or when they are watching TV very close to it to prevent tip-over accidents. •...
- Page 14 RTA-940TV P.13 P.13 TECHNI MOBILI WARRANTY TV Stand/Entertainment Center: 2 YEAR WARRANTY RTA Products, LLC warrants to the Original Purchaser who acquired a new product from RTA Products or its authorized resellers that this product will be free from defects in its workmanship and materials, under normal use and service conditions, as described herein.
Need help?
Do you have a question about the MODERN RTA-940TV and is the answer not in the manual?
Questions and answers