
Related Manuals for Patiowell T-PS23-0383A-DGY


Summary of Contents for Patiowell T-PS23-0383A-DGY
- Page 1 ASSEMBLY INSTRUCTIONS RESIN GARDEN SHED SKU: T-PS23-0383A-DGY YOUR Resin Garden House LIFE BUILDER Installation Tutorial https://www.patiowell.com/ pages/video-t-ps23-0383a-dgy www.patiowell.com saleservice@patiowell.com...
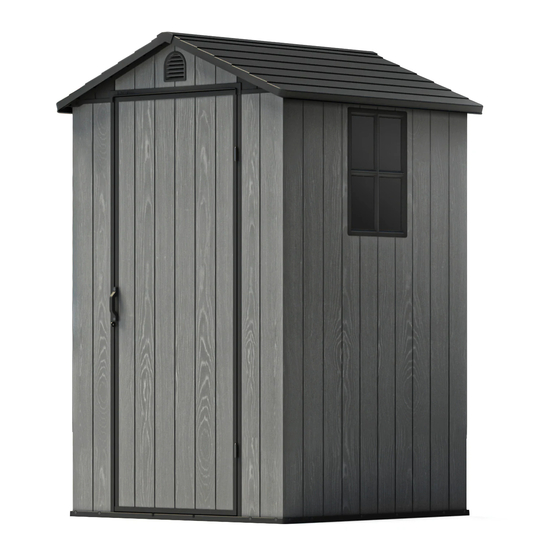
- Page 2 SITE PREPARATION Level the ground surface. Recommendation: Construct a wooden or concrete base as a foundation. The external dimensions of the product : 76.6’’ 76.2’’ 48.8’’...
- Page 3 Requires two people and takes 1-2 hours for Installation. Recommended to wear gloves to avoid scratches. Please read the manual carefully before installation. DO NOT RETURN YOUR UNIT TO THE STORE Contact us first saleservice@patiowell.com...
- Page 4 FLOOR PARTS A1 X4 A2 X2 WALL PARTS B1 X2 B2 X4 B3 X1 B5 X2 B4 X2 B1-1 X1 B1-2 X1 B4-1 X2...
- Page 5 WINDOW PARTS W1 X2 W2 X1 ROOF PARTS F1 X2 F2 X2 F3 X2 C7 X2 F4 X1 F5 X1 F6 X1 C1 X1 C2 X1 C3 X1 C4 X1 C5 X1 C6 X1 E2 X1 E3+E4 X1...
- Page 6 DOOR PARTS D1-2 X2 D1 X1 D1-4 X1 D1-1 X1 ACCESSORIES C7-1 X2 F4-1 X1 F4-2 X1 E1 X2 D1-3 X1 D1-1-2 X2 D1-2-1 X1 B1-2-1 X1 A1-1 X4...
- Page 7 SCREW 131+2 44+2 inch inch SC5x14 M5*14 SC5x30 M5*30 12+2 inch inch SC4x30 M4*30 SC5x12 M5*12 CHOOSE THE LOCATION OF THE WINDOW There are four ways to install wall panels with windows, and our instructions show the fourth way of installation. (as shown in the picture) ①...
- Page 8 CONTENTS 09-12 Floor Part Instruction (page) 12-19 Wall Part Instruction (page) 20-26 Roof Part Instruction (page) 27-30 Door Part Instruction (page)
- Page 9 STEP 1 STEP 2...
- Page 10 STEP 3 STEP 4...
- Page 11 STEP 5 Insert A1 at an angle.
- Page 12 STEP 6 SC5x14 Screw position SC5x14 12 pcs STEP 7 ① ② Textured side facing down. FINISH ③...
- Page 13 STEP 8 STEP 9...
- Page 14 STEP 10 STEP 11...
- Page 15 STEP 12 STEP 13...
- Page 16 STEP 14 STEP 15...
- Page 17 STEP 16 STEP 17...
- Page 18 STEP 18 STEP 19 Note: After installing B1-1, B1-2 in B1-1/B1-2 sequence, please measure whether the size is equal to 30mm (as shown in the picture). √ × B1-2 B1-1 SC5x14 SC5x14 6 pcs...
- Page 19 STEP 20 Do not hit the screws here yet. B4-1 SC5x14 SC5x14 6 pcs STEP 21 Do not hit the screws here yet. B4-1 SC5x14 SC5x14 6 pcs...
- Page 20 STEP 22 Note the snaps on C7-1. C7-1 SC5x14 SC5x14 For Front Door SC5x14 3 pcs STEP 23 Note the snaps on C7-1. C7-1 SC5x14 SC5x14 3 pcs...
- Page 21 STEP 24 SC5x14 SC5x14 SC5x14 6 pcs STEP 25 SC5x14 SC5x14 SC5x14 7 pcs...
- Page 22 STEP 26 SC5x12 E3+E4 SC5x12 4 pcs STEP 27 SC5x14 SC5x14 4 pcs...
- Page 23 STEP 28 SC5x30 SC5x30 4 pcs STEP 29 SC5x30 SC5x30 12 pcs...
- Page 24 STEP 30 Adjusting roof and wall joints with a scraper.
- Page 25 STEP 31 F4-2 F4-2 F4-1 F4-1 STEP 32 F4-1 CLICK...
- Page 26 STEP 33 Note: Another person should be on the outside to hold down the roof while the screws are being driven. ① ② SC5x14 SC5x14 ④ ③ SC5x14 SC5x14 SC5x14 52 pcs...
- Page 27 STEP 34 D1-2 √ × D1-4 SC5x14 D1-1 Note: After installing D1, D1-1, D1-4, D1-2 in sequence, please measure whether the size is equal to 167.8mm (as shown in the picture). SC5x14 D1-2 8 pcs STEP 35 D1-1-2 D1-3 D1-2-1 SC4x30 SC5x30 SC4x30...
- Page 28 STEP 36 B1-2-1 SC4x30 SC4x30 SC4x30 6 pcs STEP 37 A1-1...
- Page 29 STEP 38 SC5x30 SC5x30 26 pcs...
- Page 30 CARE & SAFETY • In case of fire, do not attempt to extinguish any burning polypropylene with water Unsuitable for storage of flammable or corrosive substances. • It is of utmost importance to assemble all of the parts according to the directions. Do not skip any step.
Need help?
Do you have a question about the T-PS23-0383A-DGY and is the answer not in the manual?
Questions and answers