Sign In
Upload
Download
Table of Contents
Contents
Add to my manuals
Delete from my manuals
Share
URL of this page:
HTML Link:
Bookmark this page
Add
Manual will be automatically added to "My Manuals"
Print this page
×
Bookmark added
×
Added to my manuals
Manuals
Brands
Crestron Manuals
Switch
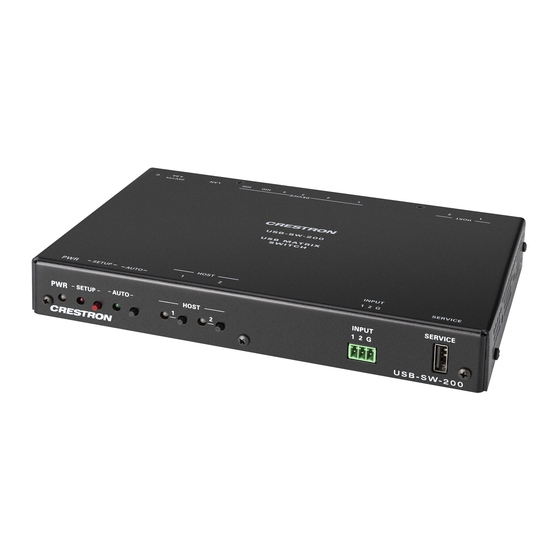
USB-SW-200
Product manual
Crestron USB-SW-200 Product Manual
Usb 3.2 data matrix switchers
Hide thumbs
1
2
Table Of Contents
3
4
5
6
7
8
9
10
11
12
13
14
15
16
17
18
19
20
21
22
23
24
25
26
27
28
29
30
31
32
33
34
35
36
37
38
39
40
41
42
43
44
45
46
47
page
of
47
Go
/
47
Contents
Table of Contents
Bookmarks
Table of Contents
Table of Contents
Overview
Products
Specifications
USB-SW-200 Specifications
Product Specifications
Dimension Drawings
USB-SW-400 Specifications
Product Specifications
Dimension Drawings
Installation
In the Box
Mount the Device
Connect the Device
USB-SW-200 Connections
USB-SW-400 Connections
Observe the LED Indicators
Configuration
Web Interface Configuration
Access the Web Interface
Create an Admin Account
Web Configuration
Action Menu
Status
Settings
Security
802.1X Configuration
Resources
Crestron Support and Training
Programmer and Developer Resources
Product Certificates
Advertisement
Quick Links
Download this manual
USB-SW-200 and USB-SW-400
USB 3.2 Data Matrix Switchers
Product Manual
Crestron Electronics, Inc.
Table of
Contents
Previous
Page
Next
Page
1
2
3
4
5
Advertisement
Table of Contents
Need help?
Do you have a question about the USB-SW-200 and is the answer not in the manual?
Ask a question
Questions and answers
Related Manuals for Crestron USB-SW-200
Switch Crestron USB-SW-400 Product Manual
Usb 3.2 data matrix switchers (47 pages)
Switch Crestron Crestron CEN-SW-POE-5 Installation Manual
5-port power over ethernet switch (24 pages)
Switch Crestron CEN-SWPOE-16 Operation Manual
16-port managed poe switch (28 pages)
Switch Crestron HD-MD4X2-4KZ-E Configuration Manual
4k60 4:4:4 hdr av switchers (51 pages)
Switch Crestron HD-MD8X8-4KZ-E Configuration Manual
Web interface 4k60 4:4:4 hdr av switchers (54 pages)
Switch Crestron DM NVX Series Product Manual
Network av encoders/decoders (90 pages)
Switch Crestron DM-MD8X8 Operation Manual
Digitalmedia (196 pages)
Switch Crestron DigitalMedia DM-MD8X8-CPU3 Product Manual
(80 pages)
Switch Crestron DM-NVX-DIR-80 Product Manual
(118 pages)
Switch Crestron DIN-8SW8 Operations & Installation Manual
Din rail high-voltage switch (32 pages)
Switch Crestron DigitalMedia XiO Director DM-XIO-DIR-ENT User Manual
Virtual switching appliance (2 pages)
Switch Crestron HD-MD6X2-4K-E Supplemental Manual
4k hdmi switchers (28 pages)
Switch Crestron GreenLight DIN-8SW8 Operations & Installation Manual
Din rail high-voltage switch (32 pages)
Switch Crestron DM-MD8X1-4K-C Supplemental Manual
4k scaling auto-switcher (20 pages)
Switch Crestron CEN-SW-POE-5 Installation Manual
5-port poe switch (24 pages)
Switch Crestron DM NVX Series Design Manual
(42 pages)
This manual is also suitable for:
Usb-sw-400
Table of Contents
Print
Rename the bookmark
Delete bookmark?
Delete from my manuals?
Login
Sign In
OR
Sign in with Facebook
Sign in with Google
Upload manual
Upload from disk
Upload from URL


Need help?
Do you have a question about the USB-SW-200 and is the answer not in the manual?
Questions and answers