Sign In
Upload
Download
Table of Contents
Contents
Add to my manuals
Delete from my manuals
Share
URL of this page:
HTML Link:
Bookmark this page
Add
Manual will be automatically added to "My Manuals"
Print this page
×
Bookmark added
×
Added to my manuals
Manuals
Brands
Crestron Manuals
Switch
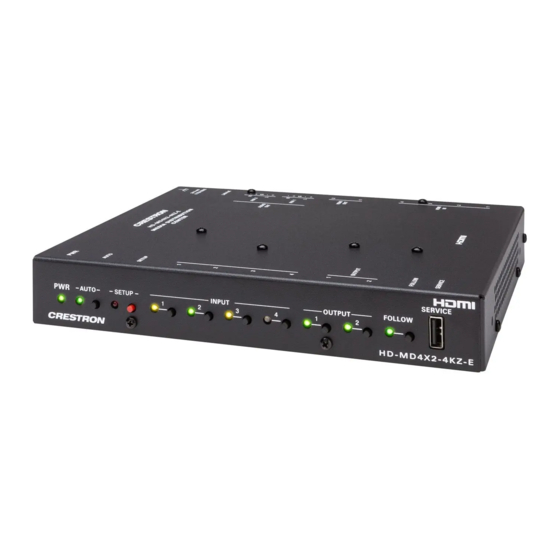
HD-MD4X2-4KZ-E
Configuration manual
Crestron HD-MD4X2-4KZ-E Configuration Manual
4k60 4:4:4 hdr av switchers
Hide thumbs
1
2
Table Of Contents
3
4
5
6
7
8
9
10
11
12
13
14
15
16
17
18
19
20
21
22
23
24
25
26
27
28
29
30
31
32
33
34
35
36
37
38
39
40
41
42
43
44
45
46
47
48
49
50
51
page
of
51
Go
/
51
Contents
Table of Contents
Bookmarks
Table of Contents
Table of Contents
Introduction
Web Interface Configuration
Access the Web Interface
Access the Web Interface with a Web Browser
Access the Web Interface with the Crestron Toolbox™ Application
Actions Menu
Rebooting the AV Switchers
Restoring to Factory Default Settings
Updating Firmware
Downloading Logs
Managing Certificates
To Add Certificates
To Delete Certificates
EDID Management
To Load a Custom EDID File
To Delete a Custom EDID File
Downloading Configuration
Uploading Configuration
Status
Device
Input/Output
Inputs
Outputs
Network
Control System
Settings
System Setup
Network
Configure DHCP
Front Panel
Cloud Settings
Auto Update
Date/Time
Time Synchronization
Time Configuration
Control System
Service Ports
Inputs
Global EDID
Inputs
Edit HDMI Input Settings
Outputs
Edit AUX Output Settings
Edit HDMI Output Settings
Routing
Configure Auto Route
Configure Follow Output
Configure Priority Routing
Route a Single Input to All the Outputs
Manually Route a Local Input to the Output
Security
Current User
Users
Create New Local User
Add Active Directory User
Delete User
View User Details
Update User Details
Groups
Create Local Group
Add Active Directory Group
Delete a Group
View Group Details
802.1X Configuration
To Configure AV Switchers for 802.1X Authentication
Advertisement
Quick Links
1
Web Interface Configuration
2
Restoring to Factory Default Settings
Download this manual
HD-MD4X2-4KZ-E and HD-MD4X1-4KZ-E
4K60 4:4:4 HDR AV Switchers
Web Interface Configuration Guide
Crestron Electronics, Inc.
Table of
Contents
Previous
Page
Next
Page
1
2
3
4
5
Advertisement
Table of Contents
Need help?
Do you have a question about the HD-MD4X2-4KZ-E and is the answer not in the manual?
Ask a question
Questions and answers
Related Manuals for Crestron HD-MD4X2-4KZ-E
Switch Crestron QuickSwitch HD-MD8X2 Operations & Installation Manual
Hd, hdmi switcher (32 pages)
Switch Crestron QuickSwitch HD-MD8X1 Operations & Installation Manual
Hd, hdmi switcher (32 pages)
Switch Crestron DM-MD8X1-4K-C Do Manual
4k scaling presentation switchers (2 pages)
Switch Crestron DM-MD8X1-4K-C Supplemental Manual
4k scaling auto-switcher (20 pages)
Switch Crestron DM-MD8X1-4K-C Manual
4k scaling auto-switchers (2 pages)
Switch Crestron DM Lite HD(I)-MD Series Supplemental Manual
Auto-switchers and extenders (40 pages)
Switch Crestron HD-MD-400-C-E Do Manual
Hd scaling auto-switcher and extender 400 (2 pages)
Switch Crestron HD-MD-300-C-E User Manual
Hd scaling auto-switcher and extender 300 (2 pages)
Switch Crestron HD-MD6X2-4K-E Do Manual
(2 pages)
Switch Crestron HD-MD6X2-4K-E Supplemental Manual
4k hdmi switchers (28 pages)
Switch Crestron HD-MD4X1-4KZ-E Configuration Manual
4k60 4:4:4 hdr av switchers (51 pages)
Switch Crestron HD-MD8X8-4KZ-E Configuration Manual
Web interface 4k60 4:4:4 hdr av switchers (54 pages)
Switch Crestron HD-MD8X4-4KZ-E Configuration Manual
Web interface 4k60 4:4:4 hdr av switchers (54 pages)
Switch Crestron HD-MD4X4-4KZ-E Configuration Manual
Web interface 4k60 4:4:4 hdr av switchers (54 pages)
Switch Crestron HD-MD2X1-8K Product Manual
2x1 8k av switcher and smart display controller (58 pages)
Switch Crestron HD-RX-4K-210-C-E Quick Start Manual
Dmps lite 4k multiformat 2x1 av switch and receiver (7 pages)
This manual is also suitable for:
Hd-md4x1-4kz-e
Table of Contents
Print
Rename the bookmark
Delete bookmark?
Delete from my manuals?
Login
Sign In
OR
Sign in with Facebook
Sign in with Google
Upload manual
Upload from disk
Upload from URL


Need help?
Do you have a question about the HD-MD4X2-4KZ-E and is the answer not in the manual?
Questions and answers