
Related Manuals for Sentera Controls SPVL8-010-EP


Summary of Contents for Sentera Controls SPVL8-010-EP
- Page 1 SPVL8-010-EP EC FAN CONTROLLER WITH MODBUS/DCI OUTPUT Mounting and operating instructions...
-
Page 2: Table Of Contents
TECHNICAL DATA STANDARDS OPERATIONAL DIAGRAMS WIRING AND CONNECTIONS MOUNTING INSTRUCTIONS IN STEPS VERIFICATION OF INSTALLATION OPERATING INSTRUCTIONS TRANSPORT AND STORAGE WARRANTY AND RESTRICTIONS MAINTENANCE MIW-SPVL8-010-EP-EN-000 - 23 / 06 / 2023 2 - 9 www.sentera.eu back to the table of contents... -
Page 3: Safety And Precautions
In case there are any questions that are not answered, please contact your technical support or consult a professional. MIW-SPVL8-010-EP-EN-000 - 23 / 06 / 2023 3 - 9 www.sentera.eu... -
Page 4: Product Description
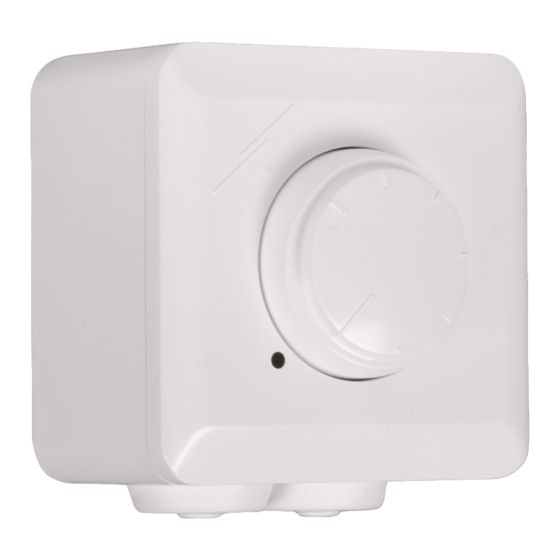
MODBUS/DCI OUTPUT PRODUCT DESCRIPTION The SPVL8-010-EP is a speed controller and monitoring device for Modbus RTU fans with DCI interface (EBM-Papst protocol). The Modbus RTU/DCI interface (DCI Gen. 1) is used to configure, control and monitor up to 20 fans. Fans featuring the EBM-Papst Modbus/DCI interface will be addressed automatically by the SPVL8-EP controller. -
Page 5: Operational Diagrams
Cat5 cable / UTP RS485 + DCI MOUNTING INSTRUCTIONS IN STEPS Before you start mounting the unit, read carefully “Safety and Precautions” and follow the steps: MIW-SPVL8-010-EP-EN-000 - 23 / 06 / 2023 5 - 9 www.sentera.eu back to the table of contents... - Page 6 Fig. 1 Wiring and connections Modbus DCI Power supply: 230 VAC / 50—60 Hz Modbus RTU (RS485) Fig. 2 Mounting dimensions - flush mounting Correct Incorrect MIW-SPVL8-010-EP-EN-000 - 23 / 06 / 2023 6 - 9 www.sentera.eu back to the table of contents...
- Page 7 Mount the external enclosure onto the surface by means of the screws and dowels adhering to the mounting dimensions shown in Fig. 3 Mounting dimensions - surface mounting. MIW-SPVL8-010-EP-EN-000 - 23 / 06 / 2023 7 - 9 www.sentera.eu back to the table of contents...
- Page 8 Register Map of the product. NO T E Mount the unit so that the terminal block and connections are at the lower side. MIW-SPVL8-010-EP-EN-000 - 23 / 06 / 2023 8 - 9 www.sentera.eu back to the table of contents...
-
Page 9: Verification Of Installation
In case of heavy pollution, clean with a non-aggressive product. In these circumstances the unit should be disconnected from the supply. Pay attention that no fluids enter the unit. Only reconnect it to the supply when it is completely dry. MIW-SPVL8-010-EP-EN-000 - 23 / 06 / 2023 9 - 9 www.sentera.eu...
Need help?
Do you have a question about the SPVL8-010-EP and is the answer not in the manual?
Questions and answers