Table of Contents
Advertisement
Advertisement
Table of Contents

Related Manuals for Lectron V-BOX PRO 48A


Summary of Contents for Lectron V-BOX PRO 48A
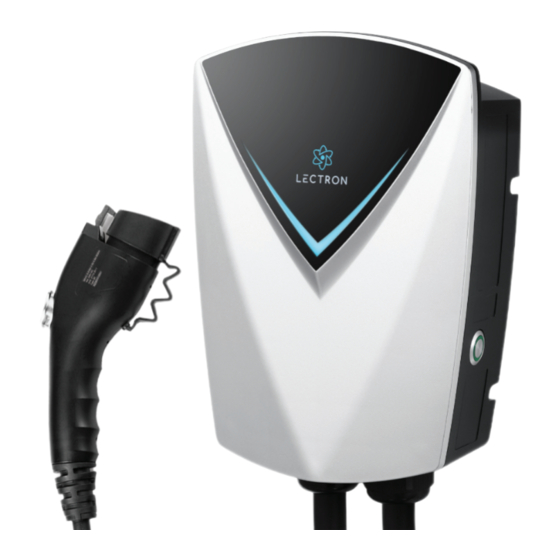
- Page 1 V - B O X P R O 4 8 A EV Charging Station U S E R M A N U A L...
-
Page 2: Table Of Contents
C O N T E N T S What’s Included ................................Safety Instructions ............................... LED Status Indicators ..............................Before Installation ................................ Installation Guide ................................. Hardwiring the V-BOX Pro ............................ Charging Your Vehicle .............................. Disconnecting Your Vehicle ..........................Specifications .................................. Get More Support ................................ -
Page 3: What's Included
C O M P A T I B I L I T Y NEMA 14-50 J1772 (240 V) Connector... -
Page 4: Safety Instructions
Do not use this product if the flexible power cord or assistance, please contact customer support at EV cable is frayed, has broken insulation, or shows contact@ev-lectron.com. any other signs of damage. Do not use this product if the enclosure or the EV connector is broken, cracked, open, or shows any other indication of damage. -
Page 5: Led Status Indicators
L E D S T A T U S I N D I C A T O R S Status indications are displayed on the V-shaped LED of the V-BOX Pro Charging Station. The Power Button LED on the right-hand side of the unit indicates if the charging station is switched on. F U N C T I O N &... - Page 6 E R R O R I N D I C A T I O N ( V - S H A P E D L E D ) F A U LT S T A T U S R E D L E D Control pilot fault 1 flash followed by 2 seconds off, repeating Input UVP (Under Voltage Protection)
-
Page 7: Before Installation
B E F O R E I N S T A L L A T I O N To adjust the charging current (Amps) on the V-BOX PRO: 1. Remove the cover on the back of the V-BOX PRO. 2. Locate the dial and turn it to your desired charging current setting. -
Page 8: Installation Guide
I N S T A L L A T I O N G U I D E 1. Use the drilling reference paper to mark the wall for 3. Insert wall anchors, align the mounting plate, and the mounting plate’s location. attach it firmly. - Page 9 5. Align V-BOX Pro slots with mounting plate tabs, 7. Connect the power cable to a NEMA 14-50 outlet. adjust Amp setting, and attach. Please note, the unit must be hardwired for 48A; do not use the plug. 6. Reinsert V-BOX Pro screws, conceal with screw caps.
-
Page 10: Hardwiring The V-Box Pro
H A R D W I R I N G T H E V - B O X P R O Prior to any hardwire installation, deactivate the circuit breaker associated with the relevant electrical circuit. The hardwiring process should be conducted by an electrician with the necessary qualifications. -
Page 11: Charging Your Vehicle
C H A R G I N G D I S C O N N E C T I N G Y O U R V E H I C L E YO U R V E H I C L E Important: Prior to charging, ensure your vehicle is parked 1. -
Page 12: Specifications
S P E C I F I C A T I O N S Maximum current: 48 A Current settings: 16 A, 32 A, 40 A(default setting: NEMA plug), 48 A(Hardwired) Input / output: 208 - 240 V AC Frequency: 50 / 60 Hz Cable length: 16 ft... -
Page 13: Get More Support
G E T M O R E S U P P O R T Need assistance? Scan the QR code below or email us at contact@ev-lectron.com www.ev-lectron.com Made in China...
Need help?
Do you have a question about the V-BOX PRO 48A and is the answer not in the manual?
Questions and answers