Table of Contents
Advertisement
Quick Links
Advertisement
Table of Contents

Related Manuals for Contixo TD1


Summary of Contents for Contixo TD1
- Page 1 TD1 DRONE INSTRUCTION MANUAL...
-
Page 2: Safety Precautions
NEVER use for any illegal purpose or use beyond the scope of which your local laws and regulations have stipulated. The TD1 drone should only be operated by individuals over 14 years of age, and is best suited for experienced UAV pilots. This is a precision device, from its electronics, mechanical components, and high-frequency transmission technology, to its aerodynamic design. - Page 3 4. Avoid controlling it independently: New users may face obstacles while learning to operate this aircraft, in this case, please try to avoid operating the aircraft alone. When available, operate this aircraft under the guidance of a more experienced user. 5.
- Page 4 WARNING 1. There is important information contained in this package and instruction manual, please keep it for future reference. 2. You have the responsibility to make sure that this model of aircraft won’t cause injury to yourself, or others, and won’t cause any property damage. 3.
- Page 5 17. Please DO NOT cause the battery to short-circuit or decompose, keep the battery far away from fire and sources of excessive heat. 18. The aircraft should be kept far away from any other electrical equipment that may cause interference. 19.
- Page 6 14. The user promises to use the product only for legitimate purposes and agrees to abide by these terms and any relevant policies or guidelines that may be formulated by Contixo Inc. Some details of this document may change with the upgrade of the product software version and its terms of use.
-
Page 7: Remote Control Functions
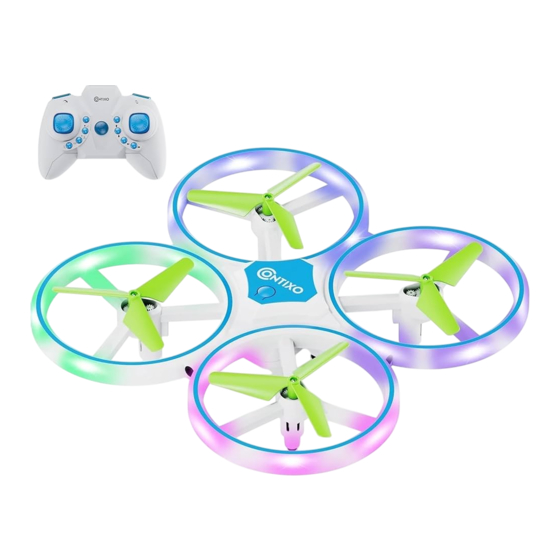
REMOTE CONTROL FUNCTIONS 1. Speed switch 2. 3D Roll 3. Light switch 6. Forward fine-tuning (Short press) One key rotation (Long press) 4. Throttle stick 5. Direction stick (ascend / descend/ (forward / backward / turn left / turn right) left and right side flying) 10. -
Page 8: Charge The Battery
3.DRONE LITHIUM BATTERY CHARGING INSTRUCTIONS CHARGE THE BATTERY 1. First remove the lithium battery from the drone battery compartment (Fig.C). 2. Disconnect the power link of the plug (Fig.D). 3. Connect the USB charging cable to the corresponding socket. The light turns on when charging and turns off when it is fully charged. -
Page 9: Calibration Gyroscope
2. Calibration Gyroscope After the drone and the remote control are connected successfully, push the left and right joystick to the lower right corner. At this time, the indicator light will flashes rapidly and change to a steady light. The calibration is completed. Note: If the drone flies unstably after takeoff, it can also be corrected by calibrating the gyroscope. -
Page 10: Trimming Function
Note: When the drone is 30cm from the ground, the drone will become unstable due to the airflow below. The closer it is to the ground, the greater the impact. 5. Trimming Function When the drone spins in the air or tilts in different directions, you can use trimming function to correct the action. - Page 11 6.Obstacle Avoidance Mode Press the obstacle avoidance button to turn on the bostacle avoidance mode, press again to turn off (Fig.5). The obstacle avoidance mode is turned on by default at takeoff. Avoid obstacles on four sides and when an obstacle is detected, the drone will retreat to a safe distance. When the drone turns on the obstacle avoidance mode, the fast gear cannot be turned on.
- Page 12 9. Headless Mode & One Key Return Headless Mode The drone defaults to Normal Mode when the drone and remote control are matched successfully. Click the headless mode / one key return button to enter into Headless mode. Click again to exit Headless mode. Normal Mode: The power switch of the drone indicates the backward direction.
-
Page 13: Install The Propellers
11. Install the Propellers Align the blades with the motor shaft and install them (the arm identification must be consistent with the blade identification). Tighten the screw clockwise. 12. Trouble Shooting Problem Cause Solu�on 1. Remote is not synced to 1.
Need help?
Do you have a question about the TD1 and is the answer not in the manual?
Questions and answers