Advertisement
Quick Links
Advertisement

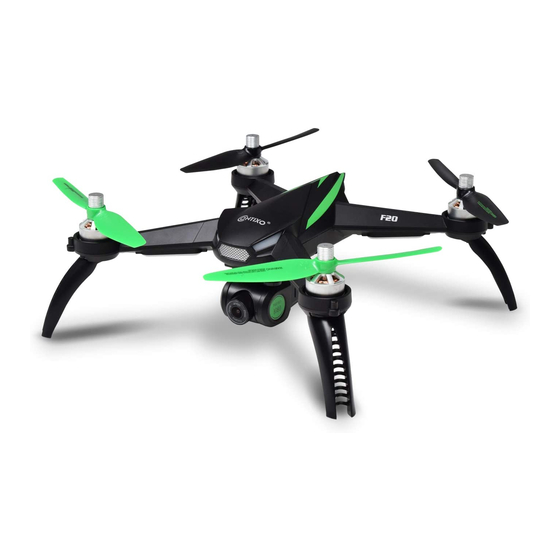
Summary of Contents for Contixo F20
- Page 1 www.contixo.com...
-
Page 2: Pre-Flight Preparation
1. Pre-Flight Preparation Before you take off, make sure that: 1. The drone and the remote controller are completely charged. 2. The propellers are installed correctly. 3. The motors work normally after unlocking. Drone Battery Charging How to charge the drone battery: 1. -
Page 3: Download The Mobile App
App to record videos, take photos, view your gallery, and enter the VR Headset FPV viewer (VR headset not included). ATTENTION: Please make sure that your mobile device supports 5G Wi-Fi before linking to the Contixo F20 App. -
Page 4: Product Assembly
3. Product Assembly Remote Battery Installation Using the supplied screwdriver, unscrew counterclockwise to open the battery compartment cover and install four (4) AA batteries into the battery compartment according to the given polarity. Screw clockwise to close the battery compartment. - Page 5 4. Product Assembly (continued) Smartphone Clip Holder Locate the F20 smartphone clip and attach it to the antenna of your remote. Simply slide the phone holder into place until you hear a “click” indicating the clip is secured. The smartphone device clip is essential for FPV (First Person Viewing) while flying your device.
- Page 6 6. Link the Remote Controller with the Drone Remote Control Signal Connection The drone must first be turned off for this to work. All you need to do is “simultaneously” press the red button on top of the remote and turn on the power of the remote controller.
- Page 7 7. Calibrate the Drone’s Compass Step 1) Horizontal Calibration When the drone's front and rear lights flash yellow alternatively, hold the drone horizontal and rotate it 360 degrees (counterclockwise) along the central axis for about 3 circles. The drone’s front and rear lights will change from flashing yellow to flashing green alternatively when you complete this step.
- Page 8 8. Enable GPS (Global Positioning System) GPS mode enables precise positioning and prevents drone loss. Simply move the GPS switch to the “ON” position before operating the drone to use all of the GPS features (such as Auto Return/Return to Home and Low Battery Return To Home). ATTENTION: After the compass is calibrated, you must wait approximately 1-2 minutes until you achieve a GPS signal of at least 7.
- Page 9 9. How to Start or Stop the Drone Unlocking the Drone Short-press the red button. The motors will begin to rotate and the drone will be ready for liftoff. Locking the Drone Pull down the throttle stick to the bottom position until the propellers stop.
- Page 10 10. One Key Takeoff and Landing One Key Takeoff After the drone is unlocked, short-press the take off button (as indicated below), the drone will automatically takeoff and hover at a altitude of 5 ft. One Key Landing When the drone is flying, short-press the landing button (indicated as below), the drone will automatically land on the ground.
-
Page 11: Return To Home (Rth)
11. Return To Home (RTH) The Return-to-Home(RTH) procedure brings the drone back to the last recorded Home Point. There are 3 types of RTH procedures: smart RTH, failsafe RTH and low battery RTH. Description Home The Home Point is the location from Point where the drone takes off. - Page 12 12. Congratulations, you are now ready to fly! Please be careful and have fun. Please refer to the user manual for flight controls and additional information. Always use common sense when flying a drone. Thank you for choosing Contixo Products. support@contixo.com 909-666-8566...


Need help?
Do you have a question about the F20 and is the answer not in the manual?
Questions and answers