Table of Contents
Advertisement
Quick Links
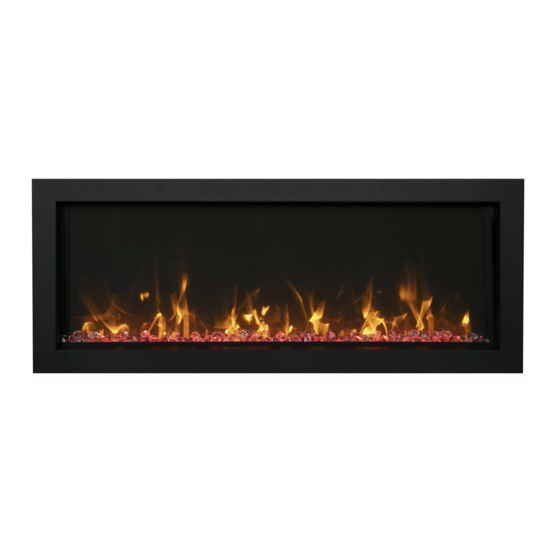
INSTALLATION AND OPERATION INSTRUCTIONS FOR
BI-SLIM UNITS
BI-40-SLIM
BI-50-SLIM
BI-60-SLIM
BI-72-SLIM
BI-88-SLIM
SAFETY INFORMATION
WARNING
If the information in these
instructions are not followed exactly,
a fire or explosion may result causing
property damage, personal injury or
loss of life.
Do not store or use gasoline or other flammable
vapors and liquids in the vicinity of this or any other
appliance.
INSTALLER: LEAVE THIS MANUAL WITH THE APPLIANCE.
CONSUMER: RETAIN THIS MANUAL FOR FUTURE REFERENCE.
Advertisement
Table of Contents

Related Manuals for Amantii BI-SLIM


Summary of Contents for Amantii BI-SLIM
- Page 1 INSTALLATION AND OPERATION INSTRUCTIONS FOR BI-SLIM UNITS BI-40-SLIM BI-50-SLIM BI-60-SLIM BI-72-SLIM BI-88-SLIM SAFETY INFORMATION WARNING If the information in these instructions are not followed exactly, a fire or explosion may result causing property damage, personal injury or loss of life.
-
Page 2: Table Of Contents
Please read and carefully follow all of the instruction found in this manual. Please pay special attention to the safety instructions provided in this manual. The instructions included here will as sure that you have many years of dependable and enjoyable service from your Amantii product. -
Page 3: Important Instructions
IMPORTANT INSTRUCTIONS PLEASE READ THE FOLLOWING INSTRUCTIONS CAREFULLY BEFORE USING THE APPLIANCE. When using electrical appliances, basic precautions should be followed to reduce the risk of fire, electric shock, and injury to persons, including the following: 1. If the appliance is damaged, check immediately with the supplier before installation and operation. -
Page 4: Handling And Unpacking
21. Do not use this heater with a programmer, timer, separate remote-control system or any other device that switches the heater on automatically, since a fire risk exists if the heater is covered or positioned incorrectly. 22. CAUTION: In order to avoid a hazard due to inadvertent resetting of the thermal cutout, this appliance must not be supplied through an external switching device, such as a timer, or connected to a circuit that is regularly switched on and off by the utility. -
Page 5: Bi-40-Slim
BI-40-SLIM Description Built-in Appliance Voltage 240V AC 60Hz Watts 1900W Max NO HEATER MOTOR HEATER Appliance Width 38 5/8” or 98.1 cm Appliance Height 23 5/8” or 60 cm Appliance Depth 6 3/4” or 17.2 cm Gross Weight 88 lbs or 40kg Plug Location Left side Cord Length... -
Page 6: Bi-50-Slim
BI-50-SLIM Model Number BI-50-SLIM Voltage 240V AC 60Hz Watts 1900W Max NO HEATER MOTOR HEATER Appliance Width 48 5/8” or 123.5 cm Appliance Height 23 5/8” or 60 cm Appliance Depth 6 3/4” or 17.2 cm Gross Weight 105.6 lbs or 48kg Plug Location Left side Cord Length... -
Page 7: Bi-60-Slim
BI-60-SLIM Description Built-in Appliance Voltage 240V AC 60Hz Watts 1900W Max NO HEATER MOTOR HEATER Appliance Width 58 5/8” or 148.5 cm Appliance Height 23 5/8” or 60 cm Appliance Depth 6 3/4” or 17.2 cm Gross Weight 123.2 lbs or 56kg Plug Location Left side Cord Length... -
Page 8: Bi-72-Slim
BI-72-SLIM Description Built-in Appliance Voltage 240V AC 60Hz Watts 1900W Max NO HEATER MOTOR HEATER Appliance Width 72 1/8” or 183.2 cm Appliance Height 23 5/8” or 60 cm Appliance Depth 6 3/4” or 17.2 cm Gross Weight 149.6lbs or 68kg Plug Location Left side Cord Length... -
Page 9: Bi-88-Slim
BI-88-SLIM Description Built-in Appliance Voltage 240V AC 60Hz Watts 1900W Max NO HEATER MOTOR HEATER Appliance Width 88 5/8” or 225.2 cm Appliance Height 23 5/8” or 60 cm Appliance Depth 6 3/4” or 17.2 cm Gross Weight 187lbs or 85kg Plug Location Left side Cord Length... -
Page 10: Installation
INSTALLATION The BI-SLIM models are designed to be built-in and allow for the finishing material (drywall, stone, tile, etc) to be built right down to the glass edge. However, that application is not always desirable or available so the surround could be used as an alternate finish option. -
Page 11: Panorama Cover Installation
PANORAMA COVER INSTALLATION Make sure install the pan-cover when the fireplace used in outdoors. Remove the cover from the packaging. The handles will need to be attached to the cover with the provided hardware as shown in fig. 1 Fig 1 First, place a plate washer and then a spring washer on the screw as shown in fig. -
Page 12: Media Options
Media Options The BI-40-SLIM, BI-50-SLIM,BI-60-SLIM is shipped with 3 large glass nuggets, clear and blue diamond shaped media and 6 piece log set. The BI-72-SLIM, BI-88-SLIM is shipped with 6 large glass nuggets, clear and blue diamond shaped media and 6 piece log set. Fire Glass Media-Log Installation 1. -
Page 13: Operation
OPERATION The fireplace can be operated either by the switches located on the left bottom of the fireplace unit or by supplied remote control. Plug the fireplace into a 10 Amp wall socket. MANUAL OPERATION 1. The main power ON/OFF switch in position O, the fireplace is OFF. 2. - Page 14 REMOTE CONTROL OPERATION For remote to function make sure the heater is plugged in and mains power switch located on the bottom left hand side is at position I. When operating the remote make sure you point the remote to the centre of the fireplace and make sure each time you press the button.
-
Page 15: Replacement Parts
REPLACEMENT PARTS This list contains replacement parts DESCRIPTIO BI-40-SLI BI-50-SLI BI-60-SLI BI-72-SLI BI-88-SLI 602120C 602120C 602120C 602120C 602120C BLOWER AND HEATER ASSEMBLY FIREPLACE BOX 10104010 10104010 10104010 10104010 10104010 SWITCH 601032B 601032B 601032B 601032B 601032B CONTROL PANEL 601097 601097 601097 601097 601097 CIRCUIT BOARD... -
Page 16: Exploded View
EXPLODED VIEW... -
Page 17: Trouble Shooting
TROUBLE SHOOTING PROBLEM POSSIBLE CAUSE SOLUTION Dim or no flame Flame LED’s are burnt out Inspect the LED’s and replace them if necessary. Ember Ember LED’s are burnt out Inspect the ember bed LED’s and glowing or dimming replace them if necessary. Appliance turns Appliance... -
Page 18: Service History
SERVICE HISTORY This heater must be serviced annually depending on usage. Date Dealer Service technician Service Performed Special Concerns Name Name NOTES:... -
Page 19: Wrrranty
Products covered by this limited warranty have been tested and inspected prior to shipment and, subject to the provisions of this warranty, Amantii warrants such products to be free from defects in material and workmanship for a period of two (2) years from the date of the first purchase of such products.
Need help?
Do you have a question about the BI-SLIM and is the answer not in the manual?
Questions and answers