Table of Contents
Advertisement
Quick Links
Advertisement
Table of Contents

Related Manuals for Renogy Solar 400W 2.56kWh Extension Solution


Summary of Contents for Renogy Solar 400W 2.56kWh Extension Solution
- Page 1 Solar 400W 2.56kWh Extension Solution VERSION A0...
-
Page 2: Before Getting Started
Renogy is not responsible or liable for any failure, damage, or injury resulting from repair attempts by unqualified personnel, improper installation, or inappropriate operation. -
Page 3: System Wiring
ANL Fuse Cable 2000W 100Ah Lithium Inverter Battery 200A ANL Fuse 2. Get to Know Renogy Solar 400W 2.56kWh Extension Solution Battery █ 100Ah Lithium Battery × 2 4 AWG 1 ft Battery Interconnect Cable × 2 Charge Controller █... -
Page 4: Solar Panels
Solar Panels █ × 4 × 4 × 8 × 4 × 8 × 4 × 8 200W Rigid Solar Panel × 2 Solar Panel Mounting Z Bracket × 2 15A Solar Connector Fuse × 2 Solar Branch Connector (MMF + FFM Pair) × 1 12 AWG 10 ft Adapter Kit Solar Entry Gland ×... - Page 5 3. Required Tools & Accessories Phillips Wrench Wrench Screwdriver (#2) (7/16 in) (9/16 in) Impact Drill Phillips Driver Bit (#2) Masonry Drill Bit (21/64 in) Wire Stripper Ground Fault Circuit MS Adhesive and Interrupter (GFCI) (≥20A) MS Applicator Gun Insulating Gloves —...
- Page 6 4. How to Install the Solar Panel Mounting Z Bracket 70.8-106.2 in·lbs (8-12 N•m) Solar Panel Solar Panel — 06 —...
- Page 7 5. How to Install the Solar Entry Gland 12 AWG 10 ft Solar Panel to Charge Controller Adapter Kit Run the Adapter Kit Drill a hole in the RV roof. through the hole. Do not move the entry Apply MS gland before the MS adhesive to adhesive is fully dry.
- Page 8 Step 1. Connect the Batteries in Parallel Step-1 Ensure that all batteries are in shelf mode. Step-2 Connect the batteries in parallel. 88.5 in·lbs (10 N·m) RS485 UP Shelf Active Mode Mode 88.5 in·lbs (10 N·m) 4 AWG 1 ft Battery Interconnect Cables 100Ah Lithium Batteries —...
- Page 9 Step 2. Connect the Charge Controller to the Batteries Note: Connect the batteries first and then the solar panels to avoid irreversible damage to the charge controller. 40A MPPT Charge Controller STEP-1 Install the cables on the charge controller. Open Closed RS232 1.18 in...
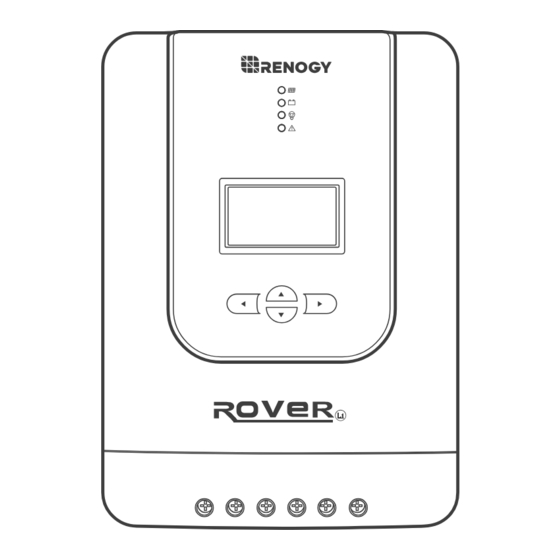
- Page 10 Step 3. Connect the Bluetooth Module to the Charge Controller 40A MPPT Charge Controller BT-1 Bluetooth Module POWER LINK BT-1 Bluetooth Module RS232 Temp. BAT+ BAT- LOAD+ LOAD- My Renogy RCC40RVRU My Renogy HUB Mode NOT CHARGING Add Devices History PV Screen RCC40RVRU Total Energy Solar Volts...
- Page 11 Step 4. Connect the Solar Panels to the Charge Controller Note: Connect the batteries first and then the solar panels to avoid irreversible damage to the charge controller. 200W Rigid Solar Panels STEP-1 Install 15A Solar Connector Fuses 15A Solar Connector Fuse STEP-2 Connect the solar panels in parallel.
- Page 12 Step 5. Install the Inverter and Loads STEP-1 Install the cables on the batteries. 88.5 in·lbs (10 N·m) 100Ah Lithium Batteries 2/0 AWG 1 ft ANL Fuse Cable 88.5 in·lbs (10 N·m) 200A Fuse STEP-2 Install a 200A ANL fuse 2/0 AWG 5 ft Battery Inverter...
- Page 13 Step 6. Communication and Monitoring Wiring Step-1 Ensure that all batteries are in active mode. Monitoring Screen Active Shelf for Smart Lithium Battery Mode Mode RMS-LFPS Step-2 Install the monitoring screen on the first battery. RMS-LFPS RJ45 Communication RS485 UP Cable Step-3 Install the communication cable on the batteries.
- Page 14 To explore more possibilities of solar systems, visit Renogy Learning Center at: renogy.com/learning-center For technical questions about your product in the U.S., contact the Renogy technical support team through: renogy.com/contact-us 1(909)2877111 For technical support outside the U.S., visit the local website below: Canada ca.renogy.com...
-
Page 15: Safety Information
Safety Information General z Wear proper protective equipment and use insulated tools during installation and operation. Do not wear jewelry or other metal objects when working on or around the devices. z Keep the devices out of the reach of children. z Do not dispose of the devices as household waste. - Page 16 Save 105 gallons of water from being consumed Renogy Power PLUS Renogy Power Plus allows you to stay in the loop with upcoming solar energy innovations, share your experiences with your solar energy journey, and connect with like-minded people who are changing the world in the Renogy Power Plus community.
Need help?
Do you have a question about the Solar 400W 2.56kWh Extension Solution and is the answer not in the manual?
Questions and answers