Advertisement
Quick Links
Advertisement

Subscribe to Our Youtube Channel
Related Manuals for Hay STEFAN DIEZ BOA


Summary of Contents for Hay STEFAN DIEZ BOA
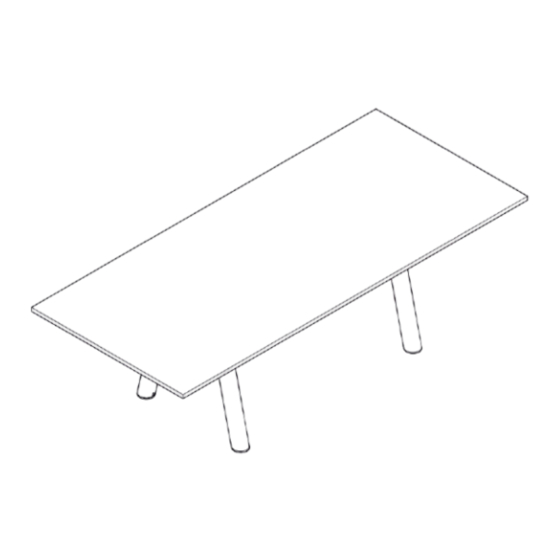
- Page 1 – INSTRUCTION MANUAL – BOA TABLE ALL SIZES DESIGN BY STEFAN DIEZ...
- Page 3 During assembly, place the parts of the frame and the table top on a carpet to avoid scratches and other damage.
- Page 4 – PARTS – Leg section x2 Crossbar x2 Tabletop...
-
Page 5: Mounting Bag
– PARTS – MOUNTING BAG 1 Allen key Torx bit Screw x4 Washer x4 MOUNTING BAG 3 MOUNTING BAG 4 Feet x4 Connector Screw End cap x4 – Only for connecting tabletops – MOUNTING BAG 5 ... - Page 6 Place the crossbars in the openings of the leg sections Make sure the small tabs in the crossbar openings are aligned as illustrated. Two people are required to carry out the table assembly.
- Page 7 Slide the crossbars towards the middle of the leg sections, making sure they slide over the plastic insert.
- Page 8 Rotate the crossbars away from the centre, so the small tabs lock into the plastic insert.
- Page 9 If your table has outlets, make sure to pull all cables through the legs before going to the next step.
- Page 10 Carefully bend the legs towards the centre. Push down on the crossbars to keep them in place.
- Page 11 Keep going until you hear a click. This might require some extra force.
- Page 12 Secure the legs with screws with the washer in between. Carefully tighten it with the Allen key Avoid scratching the frame.
- Page 13 Insert the feet. Align the tab with the cut-out in the leg. Then turn the table over.
- Page 14 If the floor is uneven, adjust the feet until the table is level.
- Page 15 Place the connectors.
- Page 16 Rotate the connectors towards the centre of the table so that they lock in place. This might require some extra force.
- Page 17 Insert the end caps. Make sure they are aligned with the holes as illustrated.
- Page 18 Place the tabletop on top. If you are connecting two tabletops, continue to step 15 after this.
- Page 19 Align the cut-out with the two connectors.
- Page 20 CONNECTING TWO TABLETOPS If your table only has one tabletop, continue to step 20. Align the tabletops, and push them together. Make sure to insert the pins into the corresponding holes.
- Page 21 Mount the latches with the screws over the pre-drilled holes. Make sure the screws go into the pre-drilled holes.
- Page 22 Connect the latches to the receivers.
- Page 23 Push down the handle on the latches to lock their position. Then mount the connector with screws . Do not fully tighten the screws.
- Page 24 Fully tighten the screws.
- Page 25 Secure the table top with the screws Make sure the screws go into the pre-drilled holes. Make sure the screws go into the pre-drilled holes.
- Page 26 Done!
-
Page 27: Care And Maintenance
– CARE & MAINTENANCE – Our Care & Maintenance offers guidance for optimal maintenance of your HAY product. It includes advice and instructions on cleaning and caring for specific materials to prolong the life of your furniture. Please find our Care & Maintenance... - Page 32 Havnen 3 8700 Horsens Denmark +45 3164 6000 / hay@hay.com 30/03/2023...
Need help?
Do you have a question about the STEFAN DIEZ BOA and is the answer not in the manual?
Questions and answers