Advertisement
Quick Links
Download this manual
See also:
Instruction Manual
> I N ST R U C T I O N S M A N U A L <
C P H 3 0
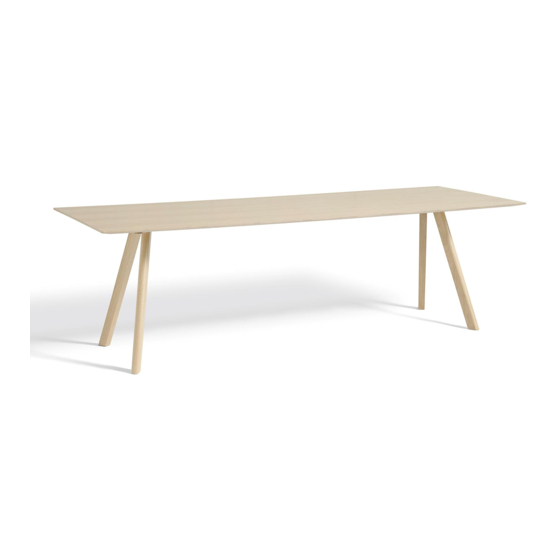
L 2 0 0 / 2 5 0 / 3 0 0 x W 9 0 x H 7 4 c m • L 2 0 0 x W 8 0 x H 1 0 5 c m
B y R O N A N & E R WA N B O U R O U L L E C
HAY
Advertisement

Summary of Contents for Hay CPH30
- Page 1 > I N ST R U C T I O N S M A N U A L < C P H 3 0 L 2 0 0 / 2 5 0 / 3 0 0 x W 9 0 x H 7 4 c m • L 2 0 0 x W 8 0 x H 1 0 5 c m B y R O N A N &...
- Page 2 > I N T R O D U C T I O N < Copenhague is a furniture series designed by Ronan and Erwan Bouroullec designed especially for the University of Copenhagen in 2013. In addition to a homely and welcoming expression, functionality, durability and ease of cleaning were important design requirements for the university.
- Page 3 > C A R E A N D M A I N T E N A N C E < When you move the table, make sure to lift it rather than daily maintenance, wipe the table with a clean, dry cloth. pulling or pushing it, as that would damage the legs For cleaning, use a clean cloth wrung in water or in a and mountings.
- Page 4 > PA R T S < While assembling, keep the table inside the cardboard box to protect the tabletop from scratches etc. Make sure that all parts are included. A x 1 B x 4 C x 12 D x 6 E x 12 F x 12 Allen key...
- Page 5 Place 2 of the C parts in the shown holes. Make sure that the thread Place 1 of the D parts in the shown holes. Make sure that the is pointing upwards and that the holes are facing each other. tapered holes are pointing upwards.
- Page 6 Drop 2 of the E parts in the shown holes and make sure to hit the D parts’ Place 4 of the C parts in the shown holes. Make sure that the thread tapered holes. Gently tighten all 4 E parts little by little with the Allen key. is pointing upwards and that the holes are facing each other.
- Page 7 Place 2 of the D parts in the shown holes at the same time. Drop 4 of the E parts in the shown holes and make sure to hit the Make sure that the tapered holes are pointing upwards. D parts’ tapered holes. Gently tighten all E parts little by little.
- Page 8 Tighten all E parts completely. Repeat step 6 - 8 at the other end of the table. Use a proper screwdriver to fasten part F in the remaining free holes in the frame.
- Page 9 1 1. Flip the table (2 persons recommended).
- Page 11 Havnen 1 8700 Horsens Denmark +45 4282 0282 / hay@hay.dk...


Need help?
Do you have a question about the CPH30 and is the answer not in the manual?
Questions and answers