Advertisement
Quick Links
Advertisement

Summary of Contents for Hay T12
- Page 1 I NST RUCTION M A N UA L T 1 2 B y H AY...
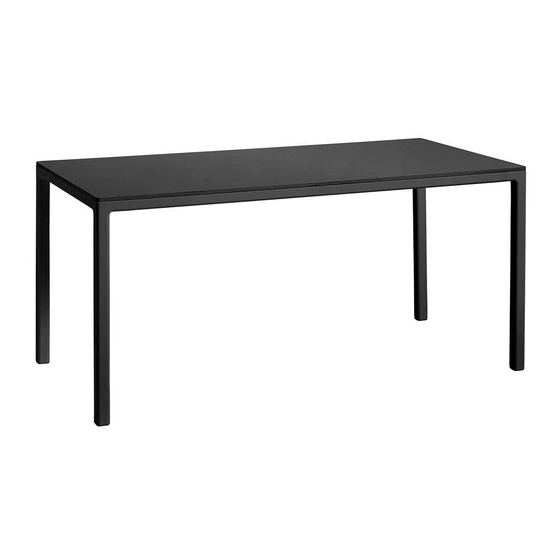
- Page 2 I N T RODUCTION Defined by its pure functionality, HAY’s T12 Table serves as a dining or work table in a tight composition and a clear aesthetic. Fundamental to the table’s design are the legs, which are positioned in the corners to seat as many people as possible, and the generous size which offers optimal working space.
-
Page 3: Care And Maintenance
C A R E A N D M A I N T ENA NCE C A R E A N D M A I N T ENA NCE CAUTION LAMINATE With a little care you can prolong the life of your •... - Page 4 CON T EN TS PAGE 08 - 17 L160 / L200 / L250 cm PAGE 18 - 30 L320 / L400 cm...
- Page 5 PA RTS INSTRUCTION M A NUA L L 160 x W 80 / L 200 x W 95 / L 200 x W 120 L 250 x W 95 / L 250 x W 120 cm A X 1 K X 16 J X 16 (J X 20 / W 120cm) B X 2...
- Page 6 While assembling, keep the table inside the cardboard box with foam edge in order to protect Slide the F part into the D part. the tabletop from scratches etc. Make sure that all parts are included. Repeat this step for all 4 x D parts.
- Page 7 Screw the E part onto the D part, using the G part. Place B and C parts into the E part. Repeat this step for all 4 x E parts. Repeat this step for all 4 x E parts.
- Page 8 Screw 4 x K parts using the I part. Place the tabletop (A) on top of the frame. Repeat this step for all 4 x E parts.
- Page 9 Screw the C, D and E parts onto the J part, using the H part.
- Page 10 PA RTS INSTRUCTION M A NUA L L 320 x W 95 / L 320 x W 120 L 400 x W 95 / L 400 x W 120 A X 1 (A x 2 / L400 cm) L X 24 K X 32 (I X 36 / W 120cm) B X 4...
- Page 11 Slide the G part into the D part. Screw the E part onto the D part, using the H part. Repeat this step for all 6 x D parts. Repeat this step for all 4 x E parts.
- Page 12 Place B and C parts into the E part. Screw 4 x L parts using the J part. Repeat this step for all 4 x E parts. Repeat this step for all 4 x E parts.
- Page 13 . 5. Screw the F part to the D part, using the H part. Repeat this step for both F parts.
- Page 14 Place the M part in the F parts and tighten the bolt. Screw 4 x L parts using the J part. Repeat this step for both F parts. Repeat this step for both F parts. A WRENCH IS REQUIRED TO COMPLETE THIS STEP...
- Page 15 Place the tabletop ( A ) on the frame Screw the C, D and E parts onto the K part to the A part using the I part. Please be aware that the L400cm tabletop is split in two.
- Page 16 1 1. DISASSEMBLE Please note: when disassembling the table, loosen the screws, bash firmly on the screw with a rubber head hammer or something similar that will not break the screw, and pull the leg. Please use a rubber head hammer or similar tool.
- Page 18 Havnen 1 8700 Horsens Denmark +45 4282 0282 / hay@hay.dk ITEM NO. 706354 710441 245872 30082017...


Need help?
Do you have a question about the T12 and is the answer not in the manual?
Questions and answers