
Related Manuals for Hay CPH30 series


Summary of Contents for Hay CPH30 series
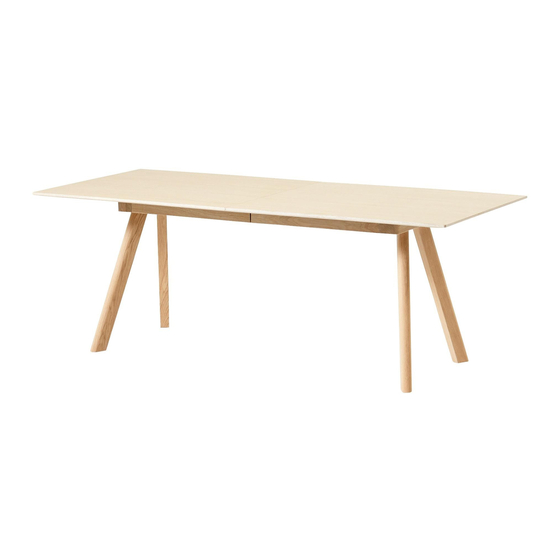
- Page 1 I NST RUCTION M A N UA L C OP E N H AG U E TA B L E C PH 3 0 B y R o n a n & E r w a n B o u r o u l l e c...
- Page 2 I N T RODUCTION Copenhague is a furniture series designed by Ronan and Erwan Bouroullec designed especially for the University of Copenhagen in 2013. In addition to a homely and welcoming expression, functionality, durability and ease of cleaning were important design requirements for the university.
- Page 3 C A R E A N D M A I N T ENA NCE C A R E A N D M A I N T ENA NCE LINOLEUM CAUTION LACQUERED OR STAINED WOOD With a little care you can prolong the life of your •...
- Page 4 CON T EN TS PAGE 08 - 19 L200 / 250 / 300 x W90 x H74 cm L200 x W80 x H105 cm PAGE 22 - 33 L250/300 x W120 x H74 cm...
- Page 5 PA RTS INSTRUCTION M A NUA L L200/250/300 x W90 x H74 cm L200 x W80 x H105 cm A x 1 B x 4 C x 12 D x 6 E x 12 F x 12 Allen key...
- Page 6 NOT E ON HOW TO USE THE A S SEMBLY BR ACK ETS While assembling, keep the table inside the cardboard box with foam edge in order to protect the tabletop from scratches etc. Make sure that all parts are included. The instructions below show how to assemble the brackets, which appear in different steps throughout the instruction manual.
- Page 7 Place 2 of the C parts in the holes as indicated. Make sure that the threads are Place 1 of the D parts in the holes as indicated. Make sure that the pointing upwards and that the holes are facing each other. tapered holes are pointing upwards.
- Page 8 Drop 2 of the E parts into in the holes as indicated and make sure to hit the D parts’ Place 4 of the C parts in the holes as indicated. Make sure that the threads tapered holes. Gently tighten all 4 E parts little by little with the Allen key. are pointing upwards and that the holes are facing each other.
- Page 9 Place 2 of the D parts in the holes as indicated at the same time. Drop 4 of the E parts into the holes as indicated and make sure that they Make sure that the tapered holes are pointing upwards. fit the D parts’...
- Page 10 Tighten all E parts completely. Repeat steps 6 - 8 at the other end of the table. Use a proper screwdriver to fasten part F in the remaining free holes in the frame.
- Page 11 1 1. Turn the table over (2 persons recommended).
- Page 12 PA RTS INSTRUCTION M A NUA L 250/30 0 X W120 X H74 CM B x 4 A x 1 G x 2 C x 16 D x 8 E x 16 F x 16 Allen key...
- Page 13 While assembling, keep the table inside the cardboard box with foam edge in order to protect Place 4 of the C parts in the holes as indicated. Make sure that the threads the tabletop from scratches etc. Make sure that all parts are included. are pointing upwards and that the holes are facing each other.
- Page 14 Place 2 of the D parts in the holes as indicated. Make sure that the Drop 4 of the E parts into the holes as indicated and make sure they fit the E parts’ tapered holes are pointing upwards. tapered holes. Gently tighten all 4 E parts little by little with the Allen key. Tighten all E parts completely.
- Page 15 Place 4 of the C parts in the holes as indicated. Make sure that the threads Place 2 of the D parts in the holes as indicated at the same time. are pointing upwards and that the holes are facing each other. Make sure that the tapered holes are pointing upwards.
- Page 16 Drop 4 of the E parts in the holes as indicated and make sure they fit the Tighten all E parts completely. Repeat steps 6 - 9 at E parts’ tapered holes. Gently tighten all E parts little by little. the other end of the table.
- Page 17 1 1. Use a proper screwdriver to fasten part F in the free holes in the frame. Turn the table over (2 persons recommended).
- Page 19 Havnen 1 8700 Horsens Denmark +45 4282 0282 / hay@hay.dk ITEM NO. 706307 5 710441 206583 30082017...
Need help?
Do you have a question about the CPH30 series and is the answer not in the manual?
Questions and answers