Advertisement
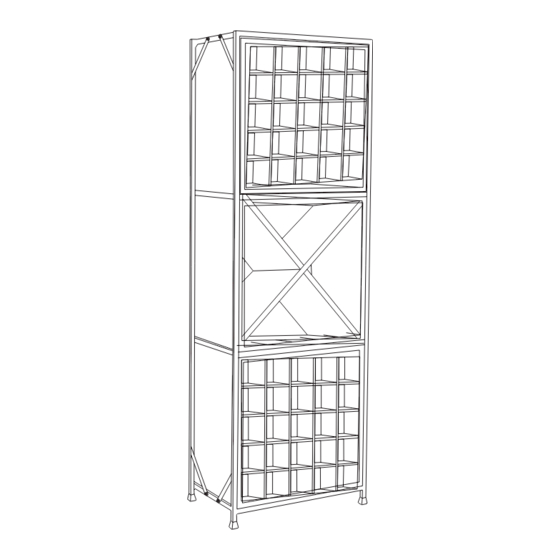
PRODUCT NAME: Thayer Wine Cubes
ITEM NUMBER: SR064
ASSEMBLED DIMENSIONS : 78.25"H x 25.75"W x 16.3"D
PRODUCTS ARE NOT INTENDED
FOR COMMERCIAL USE.
UPDATED: 7-21-2020
Customer Service: 800-367-2810
Online: www.ballarddesigns.com
Prevent accidentally discarding small parts or
hardware. Retain all carton contents until assembly
and installation are complete.
MADE IN INDONESIA
Page 1 of 7
Advertisement
Table of Contents

Summary of Contents for Ballard Designs SR064
- Page 1 Customer Service: 800-367-2810 Online: www.ballarddesigns.com PRODUCT NAME: Thayer Wine Cubes ITEM NUMBER: SR064 ASSEMBLED DIMENSIONS : 78.25”H x 25.75”W x 16.3”D Prevent accidentally discarding small parts or hardware. Retain all carton contents until assembly and installation are complete. PRODUCTS ARE NOT INTENDED MADE IN INDONESIA FOR COMMERCIAL USE.
- Page 2 Assemble in location for intended use. Ltr. Qty. Hardware Included REQUIRED TOOLS: Phillips Screwdriver, Small Screws Drill with 3/8” Bit, Pencil Allen Wrench (included) Large Screws -Two person assembly suggested. Allen Bolts Remove all parts, hardware and Flat Washers protective packaging from carton and carefully arrange on a clean, level, padded surface.
- Page 3 Assemble in location for intended use. STEP 1: Front and back of Frame (G) connected by folding hinges. Carefully pull Frame apart and straighten hinges as illustrated. Position attached Support Brackets, align holes then insert Allen Bolt (C) with Flat Washer (D). Insert ALL Bolts and Washers on all Support Brackets then fully tighten and secure using Allen Wrench (E).
- Page 4 Assemble in location for intended use. STEP 3: Carefully insert X Box (H) into middle compartment in Frame (G). Orient Box with label(s) facing down toward Legs on Frame. Insert LARGE SCREWS (B) through hole in pre-installed Tabs mounted onto Frame. Fully tighten using a Phillips Screwdriver. STEP 4: Carefully insert remaining Grid Box (I) into lower compartment in Frame (G).
- Page 5 Assemble in location for intended use. STEP 5: Complete assembly by securing each Box (H, I) to Frame (G) by inserting SMALL SCREW (A) through hole in Corner Bracket and tightening into back of Box with a Phillips Screwdriver. SAFETY NOTICE Boxes MUST be secured to Frame using Screws.
- Page 6 Wall Anchoring / Anti-Tip Hardware Installation WARNING Screws Tip-Over Hazard Serious or fatal crushing injuries can occur from a furniture tip-over Prevent tipping accidents. Anchor your furniture. Expansion Bolts Wall Brackets NOTICE Optimal protection against a dangerous tip-over accident provided when Bracket is Retention Belts anchored to a WALL STUD.
- Page 7 INSTALLING EXPANSION BOLTS Drywall 3/8” Drill Bit Teeth Tap in Bolt until teeth sink into wall surface. Create Pilot Hole Barrel Turn screw clockwise until it begins to slip. Back out and completely remove screw. Place Screw through Bracket, replace. Customer Service: 800-367-2810 Page 7 of 7 Online: www.ballarddesigns.com...


Need help?
Do you have a question about the SR064 and is the answer not in the manual?
Questions and answers