Table of Contents
Advertisement
Quick Links
Advertisement
Table of Contents

Related Manuals for Ballard Designs CASA Florentina Josephina Bookcase with Cabinet MV430


Summary of Contents for Ballard Designs CASA Florentina Josephina Bookcase with Cabinet MV430
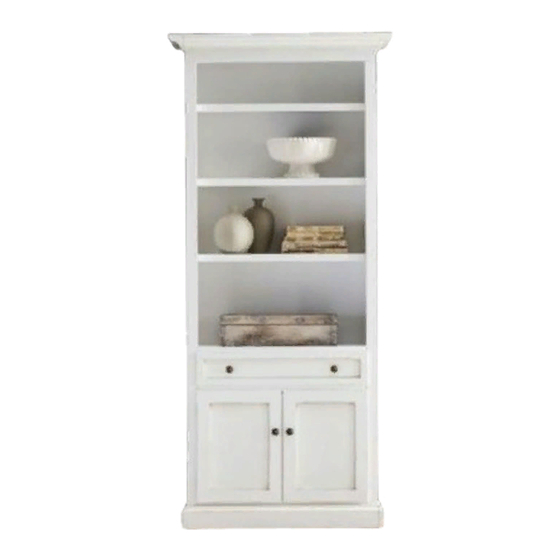
- Page 1 Customer Service : 800-367-2810 Online: www.ballarddesigns.com PRODUCT NAME: MV430 ITEM NUMBER: Josephina Bookcase with Cabinet ASSEMBLED DIMENSIONS: 82 1/2”H x 37 1/4”W x 15”D PRODUCT NOT INTENDED MADE IN ITALY FOR COMMERCIAL USE. Page 1 of 6 UPDATED: 3-18-2020...
- Page 2 Ltr. Qty. Hardware Included REQUIRED TOOLS : Phillips Screwdriver Shelf Supports -Two person assembly suggested. Remove all parts, hardware and Connector Brackets protective packaging from carton (For joining 2 or more cabinets and carefully arrange on a clean, level, padded surface. Screws NOTE: To avoid accidentally...
- Page 3 STEP 1: Bookcase (J) is equipped with removable Base (G) and Crown Molding (H). BASE: On a soft, padded surface gently lay Bookcase face down. Orient base molding with square edge to back and insert Bolts (D) through pre-drilled holes and into T-nut in Base Molding. Use a screwdriver to firmly tighten.
- Page 4 STEP 3: Determine placement for Shelves (I) then insert Shelf Supports (A) into corresponding pre-drilled holes inside Bookcase (J). Tilt in and gently lay Shelf upon Supports. STEP 4: Bookcase (J) is equipped with Levelers under each corner which are accessible from the bottom INSIDE of Bookcase.
- Page 5 STEP 5: (OPTIONAL) Muliple Casa Florentina Josephina components (each sold separately) may be joined together into a single unit. First, remove Crown and Base Molding (Steps 1 and 2) on sides of units that abut one another. Push units together and use Connector Brackets (B) to join at seams on back side.
- Page 6 ANTI-TIP ANCHORING HARDWARE (Part F) Hardware Included Ltr. Qty. Small Screw Large Screw Brackets Retention Belt Anti-Tip Hardware Installation 1. Locate and mark a Wall Stud behind Bookcase at location for installation. 2. Corresponding to Stud location, attach one Bracket (C) to back of Bookcase using Small Screw (B). 3.
Need help?
Do you have a question about the CASA Florentina Josephina Bookcase with Cabinet MV430 and is the answer not in the manual?
Questions and answers