Table of Contents
Advertisement
Quick Links
Advertisement
Table of Contents

Related Manuals for ritetemp 6010


Summary of Contents for ritetemp 6010
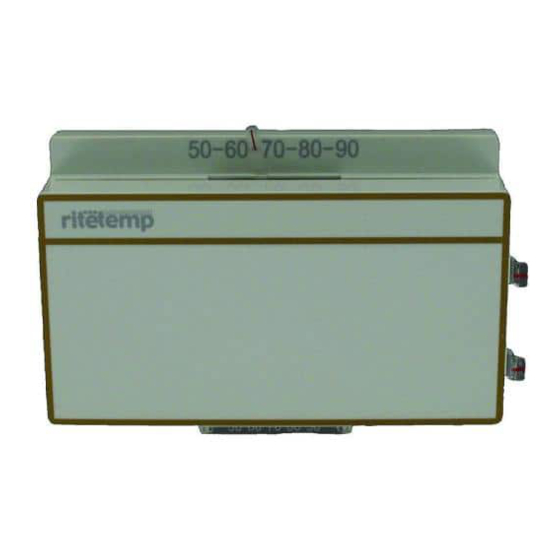
- Page 1 Install Guide 6010 ENGLISH...
- Page 2 Install Guide 6010 To avoid electrical shock and to prevent damage to the furnace, air conditioner, Caution and thermostat, disconnect the power supply before beginning work. This can be done at the circuit breaker, or at the appliance. You will need #1 Phillips screwdriver (small) and Tools Drill with 3/16-in.
- Page 3 • Remove the old thermostat from the wall. Fill wall opening with fiber glass insulation to prevent drafts. Mount the 6010 • Separate front from back of unit. Grasp the front of the unit and the back of the unit and pull apart. The thermostat body away from the base.
-
Page 4: Install Batteries
The batteries will last well over 1 year. If the batteries are not replaced the thermostat will stop working. 2) The 6010 can run on the C wire if available. As shown in the wiring diagrams, The C wire is the other side of the 24VAC heating... -
Page 5: Wire Connections
If you have a Zoned Heating/Cooling system with multiple thermostats, please refer to our website at www.ritetemp-thermostats.com for installation notes or call 1-877-505-2353. Before you Connect Wires Please refer back to these guidelines for safe and secure wire connections. -
Page 6: Check Unit
Go To Page 16 Go To Page 15 Go To Page 17 If you do not find the wiring information for your system try our webiste www.ritetemp-thermostats.com for more information or call our customer service hotline at 877-505-2353. Wire Connections cont When you have finished connecting the wires attach control unit to wall unit. - Page 7 2 WIRE Heating a c e F r o m F u r n (GAS MILLIVOLT or 24vac STEP 1 - Connect the R (or RH) wire to the RH Thermostat terminal on the thermostat. This connects the Heater Power to the thermostat. jumper wire STEP 2 - Connect the W wire...
-
Page 8: Hvac System
a c e F ro m F u rn STEP 1 - Connect the Y wire to a n d A C u n 4 WIRE NON_HEAT PUMP the Y terminal on the thermostat. This connects to the Cooler Thermostat compressor. - Page 9 (If you have both O and B Power Over Single Stage HEAT PUMP contact Ritetemp or your local HVAC contractor for further help) This connects the change over valve. NOTE: Wires marked with STEP 5 - Connect the R wire to the RC terminal on the the dotted line are optional.
- Page 10 Your HVAC system is now connected to the thermostat. 6010 Features The 6010 can be used with most 24 volt gas, oil or electric heating and air conditioning systems, heat pump systems with or without auxiliary heat, Normal 2 Stage systems, Zoned Hot-Water, Zoned Forced air systems, or gas millivolt heating systems.
Need help?
Do you have a question about the 6010 and is the answer not in the manual?
Questions and answers