Sign In
Upload
Download
Table of Contents
Contents
Add to my manuals
Delete from my manuals
Share
URL of this page:
HTML Link:
Bookmark this page
Add
Manual will be automatically added to "My Manuals"
Print this page
×
Bookmark added
×
Added to my manuals
Manuals
Brands
Hytera Manuals
Radio
HP50X
User manual
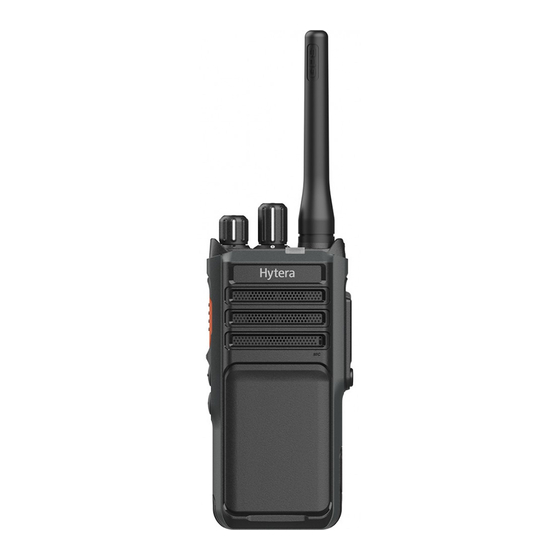
Hytera HP50X User Manual
Digital portable radio
Hide thumbs
Also See for HP50X
:
User manual
(43 pages)
1
2
3
Table Of Contents
4
5
6
7
8
9
10
11
12
13
14
15
16
17
18
19
20
21
22
23
24
25
26
27
28
29
30
31
32
33
34
page
of
34
Go
/
34
Contents
Table of Contents
Troubleshooting
Bookmarks
Table of Contents
Table of Contents
Documentation Information
Packing List
Product Layout
Before Use
Charge the Battery
Attach the Antenna
Attach the Belt Clip
Attach the Battery
Attach the Audio Accessory
Basic Operations
Turn on or off the Radio
Adjust the Volume
Select a Zone
Select a Channel
LED Indications
Call Services
Call on Digital Channel
Make a Call
Answer a Call
End a Call
Call on Analog Channel
Call Without Signaling
Call with Signaling
Safety and Security
Emergency
Make an Emergency Call
Receive an Emergency Call
End an Emergency Call
Lone Worker
Encryption
Enable Encryption
Set Encryption
Basic Settings
Profiles
Audio Settings
Switch the Audio Routing
Enable AI-Based Noise Cancellation
Positioning
GPS Report
Enable BT
Connect to a BT Device
Switch the BT Audio Output Path
PMR Features
One Touch Call
Roam
Talk Around
Squelch Level
Priority Interrupt
Xpt
Scrambler
Troubleshooting
Radio Care
Radio
Battery
Cleaning
Sterilizing
Storing
Optional Accessories
Abbreviations
Advertisement
Quick Links
1
Table of Contents
2
Product Layout
3
Basic Operations
Download this manual
HP50X Digital Portable Radio
User Manual
Hytera Communications Corporation Limited
Table of
Contents
Previous
Page
Next
Page
1
2
3
4
5
Advertisement
Table of Contents
Need help?
Do you have a question about the HP50X and is the answer not in the manual?
Ask a question
Questions and answers
Related Manuals for Hytera HP50X
Portable Radio Hytera HP50X User Manual
Intrinsically safe digital portable radio (43 pages)
Portable Radio Hytera HP56 Series User Manual
(46 pages)
Radio Hytera HP70X Quick Reference Manual
(12 pages)
Radio Hytera HP60X Quick Reference Manual
Digital portable radio (2 pages)
Radio Hytera HP6 0X User Manual
Digital portable radio (33 pages)
Radio Hytera HP56 Series Quick Reference Manual
(3 pages)
Radio Hytera HP505 User Manual
Digital portable radio (34 pages)
Radio Hytera PD78X Service Manual
(44 pages)
Radio Hytera HM78X User Manual
Digital moile radio (67 pages)
Radio Hytera HM782 User Manual
Digital mobile radio (64 pages)
Radio Hytera HM785LG User Manual
Digital mobile radio (66 pages)
Radio Hytera HM65X Quick Reference Manual
Digital mobile radio (9 pages)
Radio Hytera HM652GBTV User Manual
Digital mobile radio (33 pages)
Radio Hytera HM68X User Manual
Digital mobile radio (45 pages)
Radio Hytera HM68X Quick Reference Manual
Digital mobile radio (30 pages)
Radio Hytera HM652 User Manual
Digital mobile radio (33 pages)
This manual is also suitable for:
Hp505
Hp565
Table of Contents
Print
Rename the bookmark
Delete bookmark?
Delete from my manuals?
Login
Sign In
OR
Sign in with Facebook
Sign in with Google
Upload manual
Upload from disk
Upload from URL


Need help?
Do you have a question about the HP50X and is the answer not in the manual?
Questions and answers