Advertisement
Quick Links
Advertisement

Related Manuals for Fieldmann FDB 200301-E


Summary of Contents for Fieldmann FDB 200301-E
-
Page 2: Table Of Contents
Contents Multi Function Tool INSTRUCTION MANUAL Thank you for your purchase of the multi function tool. For your personal safety, read and understand the Instruction Manual before using. Keep the Instruction Manual in a safe place for future reference. CONTENTS 1. -
Page 3: General Safety Instructions
General safety instructions GENERAL SAFETY INSTRUCTIONS WARNING! Carefully read the instruction manual before use. Important safety warnings Unpack the product carefully and be sure not to throw away any part of the package before having found all components of the product. Keep the product in a dry place out of reach of children. - Page 4 General safety instructions Carefully read, remember and keep these safety instructions WARNING! In the use of electric machines and power tools, it is necessary to respect and follow the following safety instructions for the reasons of protection against electric shock, personal injury and danger of fire. The term “power tool” in the instructions below refers both to mains-operated (corded) power tool or battery-operated (cordless) power tool.
- Page 5 General safety instructions If an extension cord is used, always check whether its technical parameters match the information specified in the type label of the power tool. When operating a power tool outdoors, use an extension cord suitable for outdoor use. If extension drums are used, these must be rolled out to prevent overheating of the cord.
- Page 6 General safety instructions Power Tool Use and Maintenance Always disconnect the power tool from the mains in case of any problem during the work, before cleaning the power tool or its maintenance, during each transportation and after the completion of the work! Never operate a power tool if it is damaged in any way. Immediately stop working if the power tool generates abnormal noise or smell.
- Page 7 General safety instructions Service Do not replace parts of the power tool, do not make any repairs or interfere in any way with the construction of the power tool. Have your power tool repaired by qualified repair persons. Any repair or modification of the product without our company’s authorisation is impermissible (it could cause injury or damage to the user).
-
Page 8: Symbols
Symbols SYMBOLS The product complies with the applicable standards and regulations. Read the Instruction Manual attentively prior to use. Double-insulated. Use eyes protective equipment Use ears protectiove equipment Wear a breathing mask. Subjected to recycling MULTI FUNCTION TOOL OPERATING INSTRUCTIONS... -
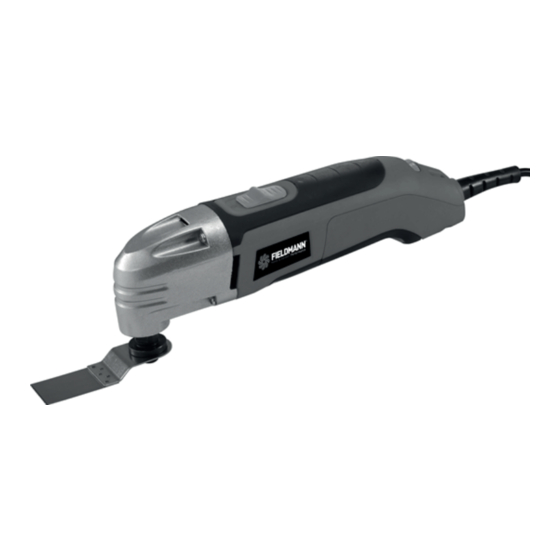
Page 9: General Description
General description | Accessories 3. GENERAL DESCRIPTION 1. ON/OFF Switch 2. Speed Control Wheel 3. Accessory Holder 4. Air Vents 4. ACCESSORIES AVAILABLE ACCESSORIES WARNING: Use only accessories that are recommended for this multi-tool. Follow the instructions that accompany the accessories. The use of improper accessories may result in injury to the operator or damage to the tool. - Page 11 Installing accessories 2. Place the blade (5) on the accessory holder (Fig. 2) Fig. 2 NOTES: Make sure the alignment holes (6) in the blade fit over the alignment pins (7) in the accessory holder and the printed side of the blade is facing the tool. The blade can be mounted at various angles left or right of center if required.
- Page 12 Installing sandpaper 5.2 INSTALLING SANDPAPER 1. Install the hook & loop sanding pad (1) onto the tool (Fig. 3) 2. Firmly press the sandpaper (2) onto the hook & loop pad. Fig. 3 NOTE: Place the sandpaper so the holes in the sandpaper line up with the matching holes in the hook & loop pad Press the sandpaper firmly onto the hook &...
- Page 13 ON/OFF switch | Speed control wheel 5.3 ON/OFF SWITCH To turn the too ON, slide the ON/OFF switch (1) toward the front of the tool (Fig. 5). To turn the tool OFF, slide the ON/OFF switch toward the rear of the tool. Fig.
- Page 14 Speed control wheel | Flush cutting a door jamb and casing for installing flooting PROJECT: ACCESSORY: SPEED: Drywall Half circle blade Maximum Restoring windows Half circle blade Medium Door Jamb Wood blade Maximum Door casing Wood blade Medium / Maximum Wood dowels Wood blade Maximum...
- Page 15 Flush cutting a door jamb and casing for installing flooting | Cutting a hole in wood flooring to install a heating vent Fig. 7 NOTE: Make sure the “good” side of the tile is facing upward to provide a smooth surface for the blade to follow.
- Page 16 Cutting a hole in wood flooring to install a heating vent Fig. 8 3. Place the saw blade (2) near the floor surface in the middle of one of the cutting lines. 4. Set the tool speed at a medium speed and turn the tool ON (Fig. 5 & 6) NOTE: The tool and blade should be at a 45°...
- Page 17 Cutting a hole in drywall for installing an electrical outlet box 5.6 CUTTING A HOLE IN DRYWALL FOR INSTALLING AN ELECTRICAL OUTLET BOX The multi-tool can be used to cut a hole in drywall for installing an electrical outlet box. 1.
- Page 18 Using the detail sander attachment | Using the scraper blade NOTE: Do not use the saw blade to pry the cut-out from the drywall. You will break the blade. If the cut- out is not easy to pry from the drywall, check to make sure each line is cut completely into th corner of the rectangle.
-
Page 19: Mainenance
Mainenance 6. MAINENANCE GENERAL WARNIING: When servicing, use only identical replacement parts. The use of any other part may create a hazard or cause product damage Do no use solvents when cleaning plastic parts. Plastics are susceptible to damage from various types of co- mmercial solvents and may be damaged by their use. -
Page 20: Technical Specifications
Technical specifications 7. TECHNICAL SPECIFICATIONS MULTI FUNCTION TOOL OPERATING INSTRUCTIONS... -
Page 21: Disposal
Disposal 8. DISPOSAL INSTRUCTIONS INFORMATION DISPOSAL USED PACKAGING Put any used package material to the place determined by the municipality for waste disposal. DISPOSAL OF USED ELECTRIC AND ELECTRONIC EQUIPMEN This symbol on products or accompanying documents means that used electric or electronic products must not be put to ordinary municipal waste.
Need help?
Do you have a question about the FDB 200301-E and is the answer not in the manual?
Questions and answers